Box of Chocolates
This week's feature is a hodge podge of projects that I completed as part of the bedroom transformation.
~ A Sweet Little Treat for the Home ~
Box of Chocolates
Hello my Sweets!
This is the eighth post, in a series of blog posts, about transforming our bedroom. I will post a new piece each week that I have transformed. Once all of the pieces have been completed, I will post an entire before and after of our bedroom with all of the pieces included. If you missed any of the previous blog posts in the series:
You can check out the first transformation here: https://sugarplumpreserves.com/snowball-cookie/
You can check out the second transformation here: https://sugarplumpreserves.com/madeleine/
You can check out the third transformation here: https://sugarplumpreserves.com/snowball-cupcake/
You can check out the fourth transformation here: https://sugarplumpreserves.com/chou-a-la-creme/
You can check out the fifth transformation here: https://sugarplumpreserves.com/earl-gray-macaron/
You can check out the sixth transformation here: https://sugarplumpreserves.com/vanilla-ice-cream/
You can check out the seventh transformation here: https://sugarplumpreserves.com/wedding-cake/
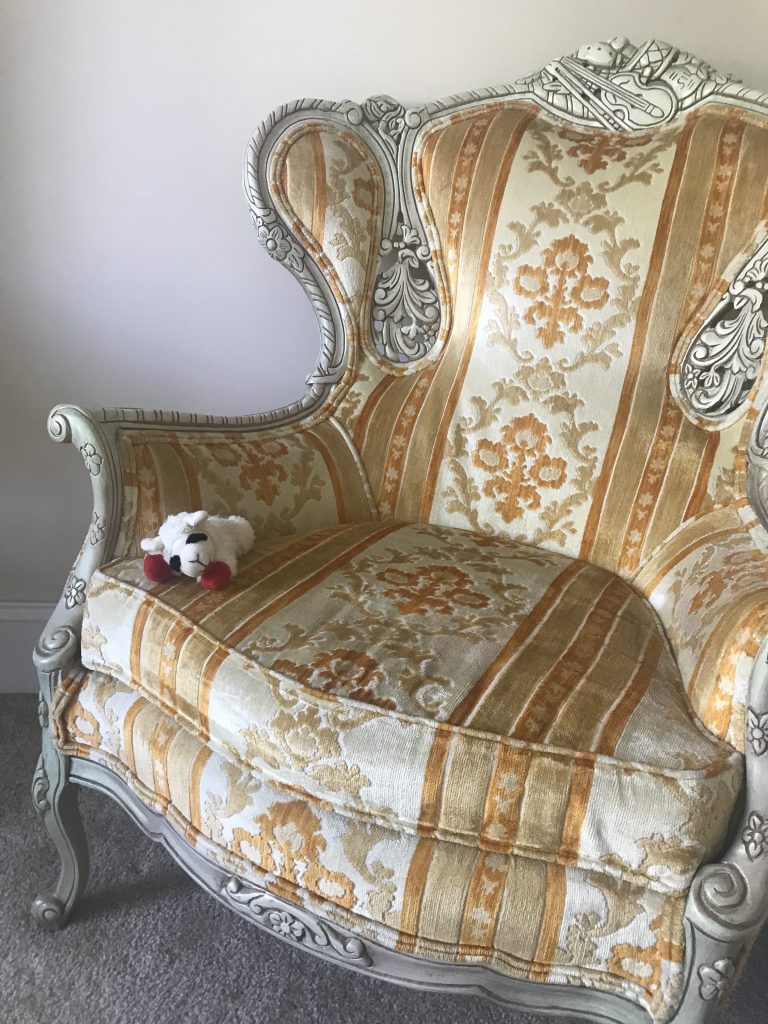
This post is an assortment of odds and ends that I refinished as part of the bedroom transformation, but didn’t warrant blog posts of their own. They are little accessory pieces to pull the room together. In that vein, I have to talk about an elephant in the room. So, we all have that one friend that is a liiiiiiiittle too loud and likes attention a liiiiiiiittle too much. They don’t really like to blend into the scenery, they like to stand out. We invite them to the party anyway because even though we know they are a little loud, we really love them and want them around. That is the situation with my Great Aunt’s chair. I was lucky enough to acquire it when she passed and I treasure it. It really doesn’t go with the color scheme, or style that I am going for, but I loved my Aunt so much, so I love that chair. It makes me think of her when I look at it, and brings me joy to sit in it. There is no way I am getting rid of that chair, so my only option was try to blend it in. Somehow. Behold……
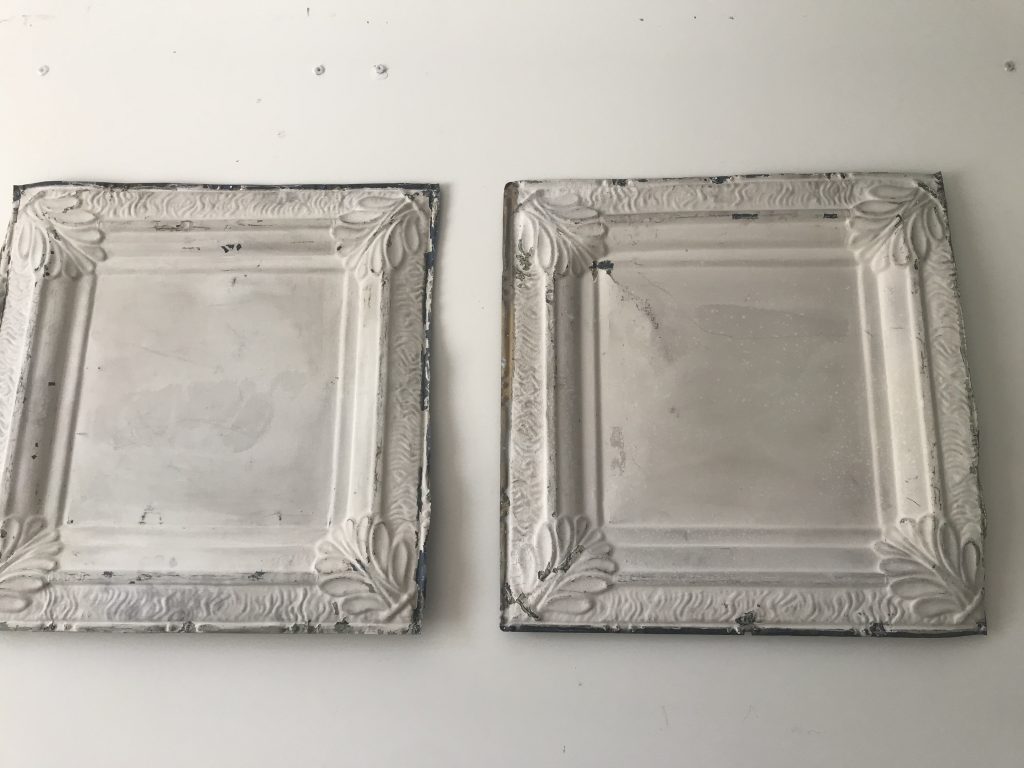
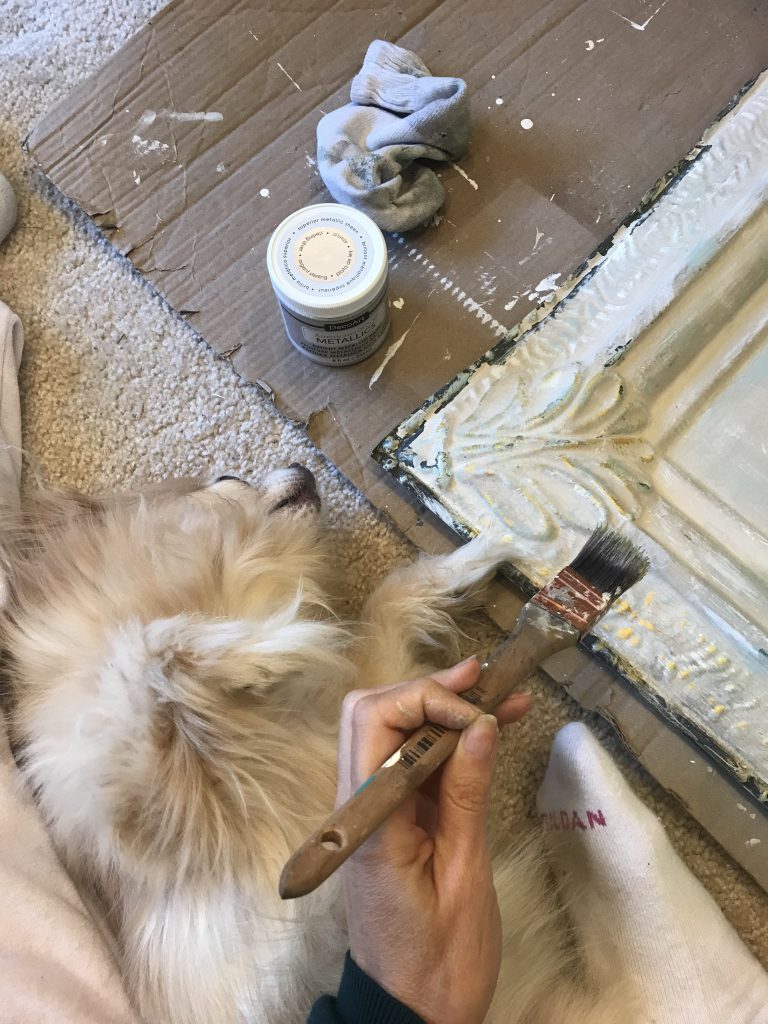
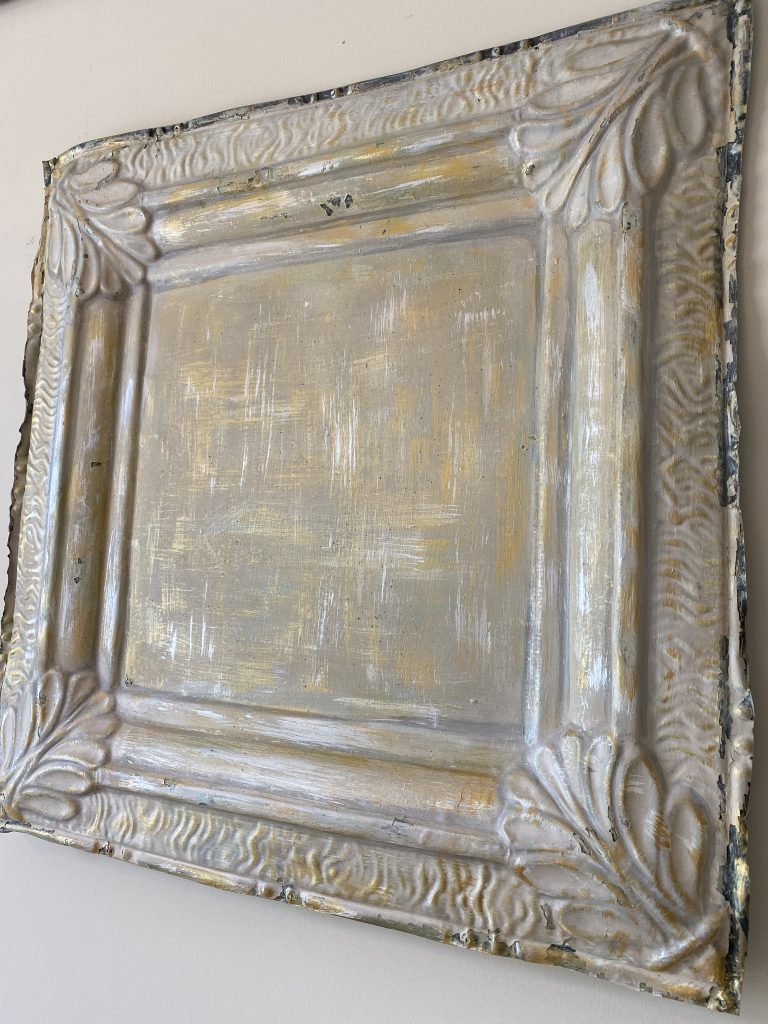
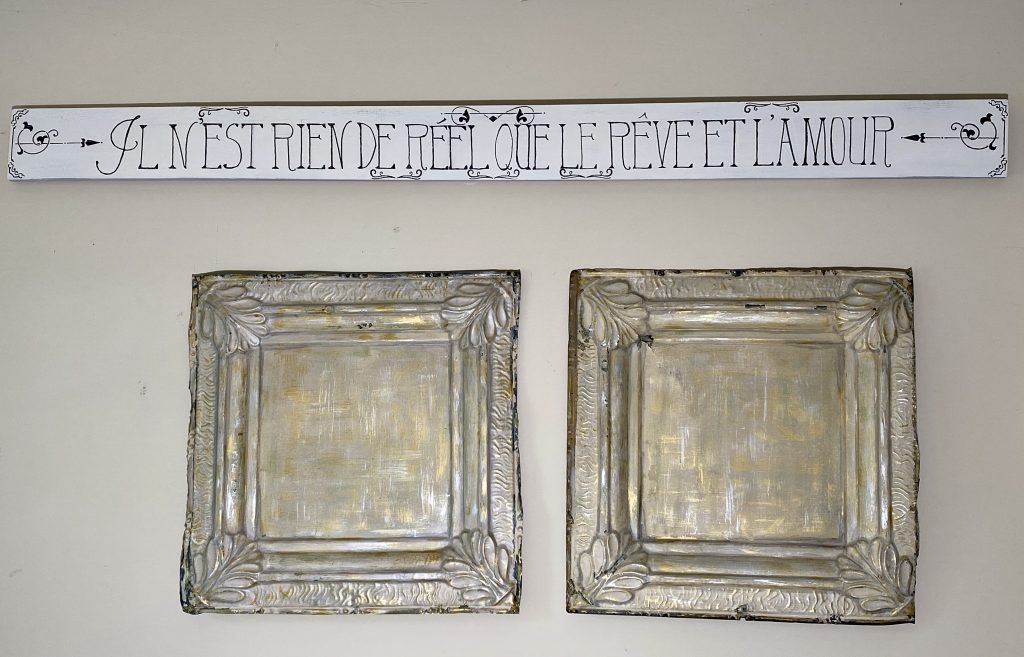
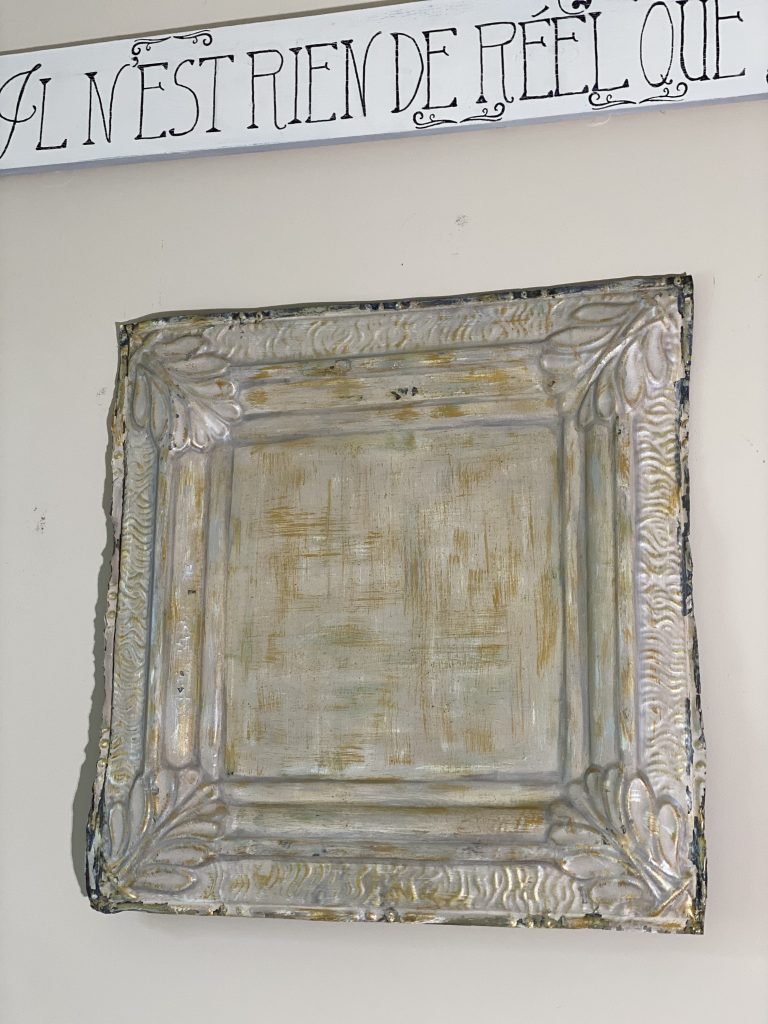
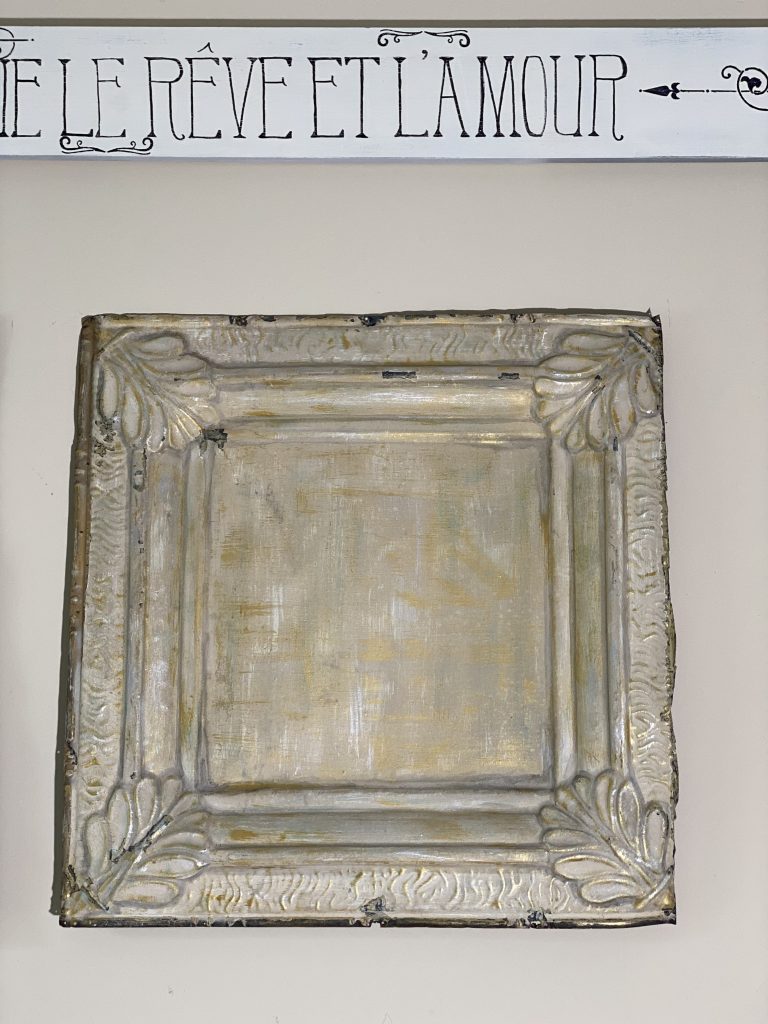
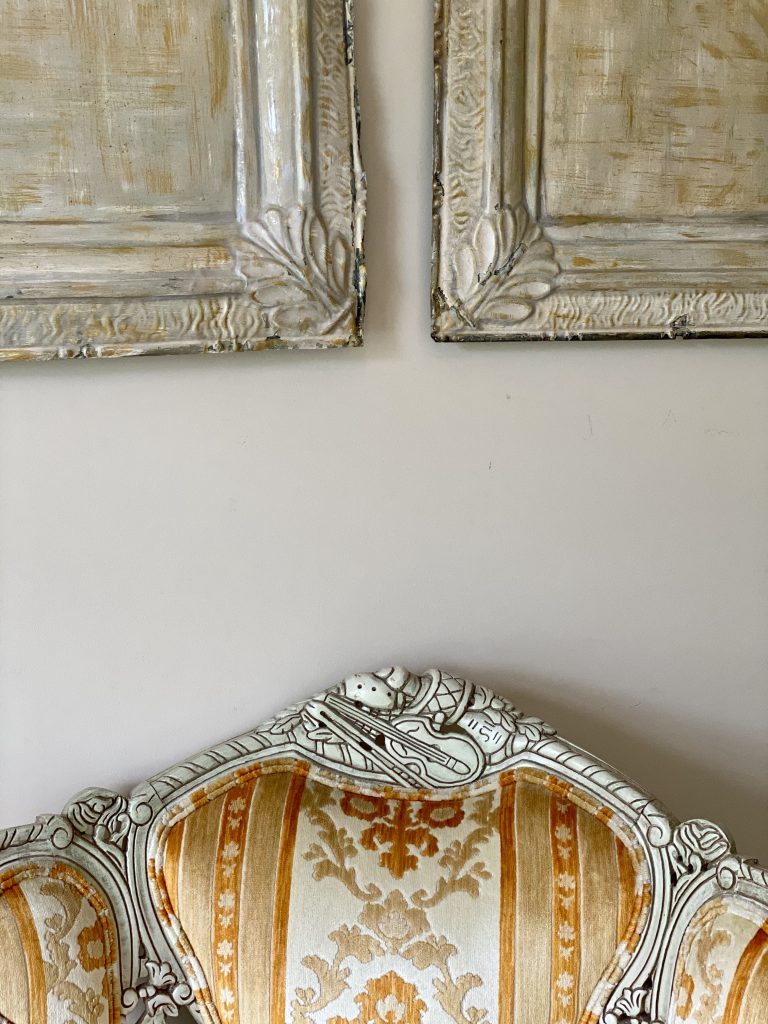
One thing that I did to try and make it blend, is to create some art to hang above it that had some yellow, cream, and gold in it. The stores have been closed due to quarantine, so I decided to get creative with things that I had around the house. I had these two antique tin ceiling tiles that I got for another project, but they didn’t work out. So, I got out some paint and just started brushing it on haphazardly. I wanted the tiles to look metallic, aged, and worn. I started with an off white chalk paint to highlight some of the raised areas and lighten up the base color. I then brushed on metallic gold and metallic silver over the high points, in the crevices, and on the center of the tile. There was no method to this, I just added the metallic paint wherever I thought looked good. To add some patina, I sparingly brushed on a bluish green color – Inglenook by Fusion. Lastly, to add some age, I created a wash with Coffee Bean by Dixie Belle and brushed it into all of the crevices. For a little added interest, I also lightly splattered the wash on top by tapping the brush against my hand.
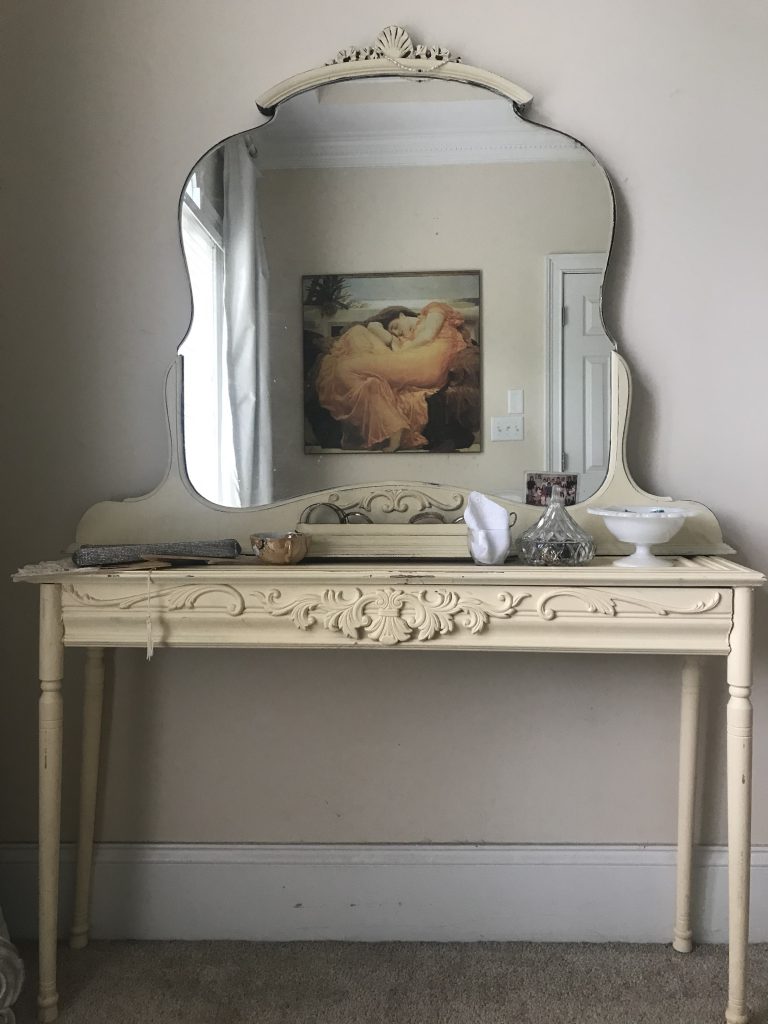
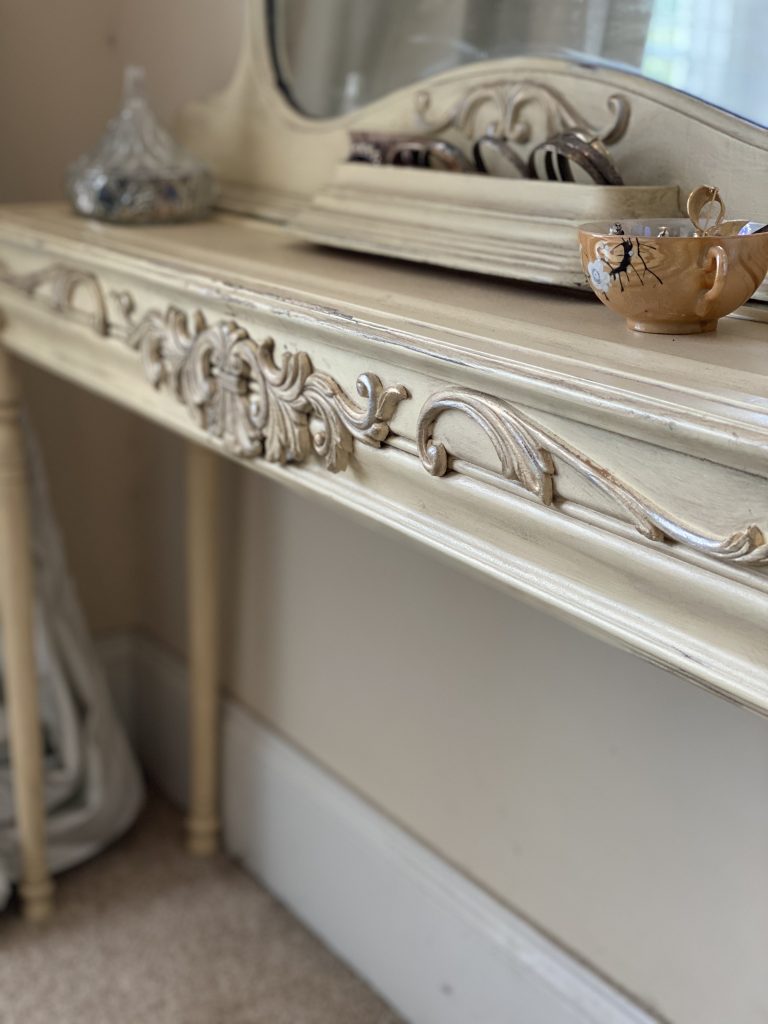
To tie in the artwork and blend the chair further, I gave the same treatment to the little table and mirror that I already had. I used the same colors as the tiles (gold, silver, and coffee bean wash) and highlighted to bring out the details. You can also see in the reflection, I relocated a piece of artwork into the sitting area to bring a little orange to the space to tie in the chair. I’m really trying to make my well-loved friend more comfortable at the party! 😉
On the wall where the chair is (across a large length of the wall), there are several large holes left by previously anchoring a wall unit. The anchors were the butterfly kind that leave a plastic ring on the wall where the screw goes in. They are very difficult to cover up without spackling and repainting. Since the room is quite large, I am not ready to repaint it yet (although it needs it and a new color would take the makeover to another level, that task is for another time). I came up with a solution to hide the holes instead. I made a 5 foot sign. I got a board from Lowe’s that is about 1x5ish and made an antique looking French sign.
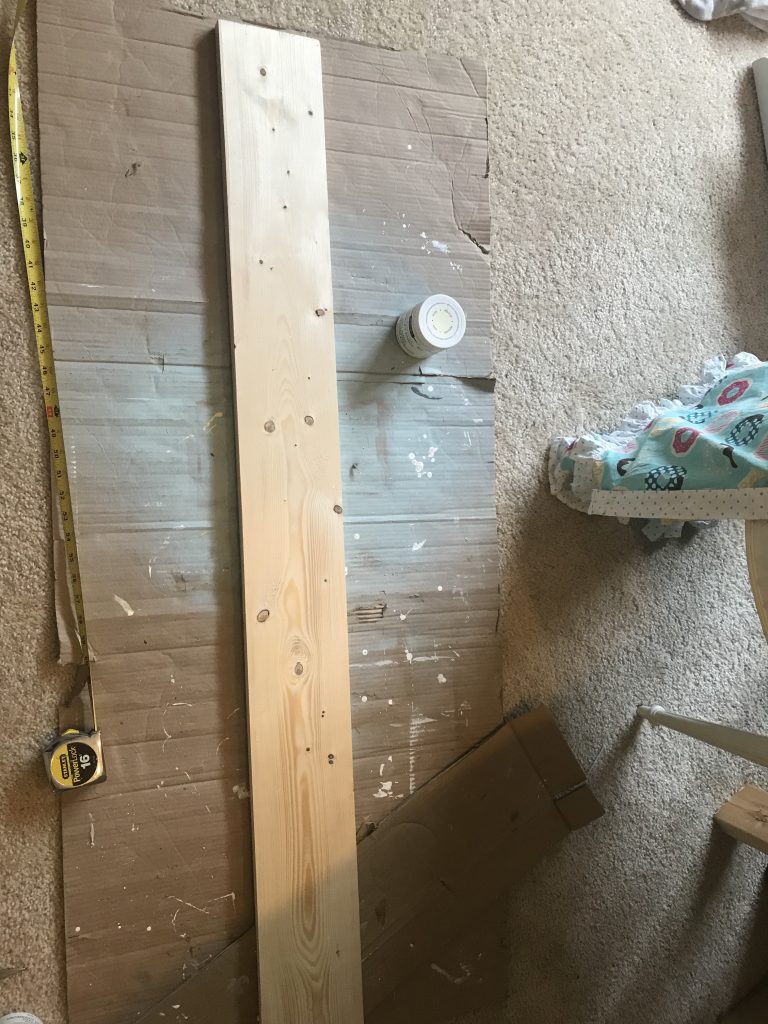
I thought that I would distress the sign once it was painted and wanted a gray color to come through, instead of the wood, so I first painted two coats of Manatee Gray by Dixie Bell. I painted over that with Deco Art Chalk Paint in Lace. I used a few different stencils and a black sharpie to create a design border. I knew that I wanted to write a phrase in French since, if you haven’t figured it out yet, there is a French(ish) theme in the makeover. I wanted the font to reflect an antique French sign. I went online and found a font that I liked, and tried to mimic it the best I could. I used a black sharpie and freehanded the writing. This part was a little challenging, since I wanted the letters fairly equal in size, and I didn’t want to run out of space at the end. I divided the sign and number of letters into fourths and tried to keep each fourth within it’s allotted section. I settled on the phrase “Nothing is real but dreams and love” by Anna de Noailles. I thought it looked pretty in writing and was appropriate for a bedroom. I lightly distressed it so that the gray would come through sparingly. It came out pretty cute (it actually looks better in person, but I couldn’t capture a good photo because of the length) and more importantly, covered up most of those unsightly holes. 💁🏻♀️
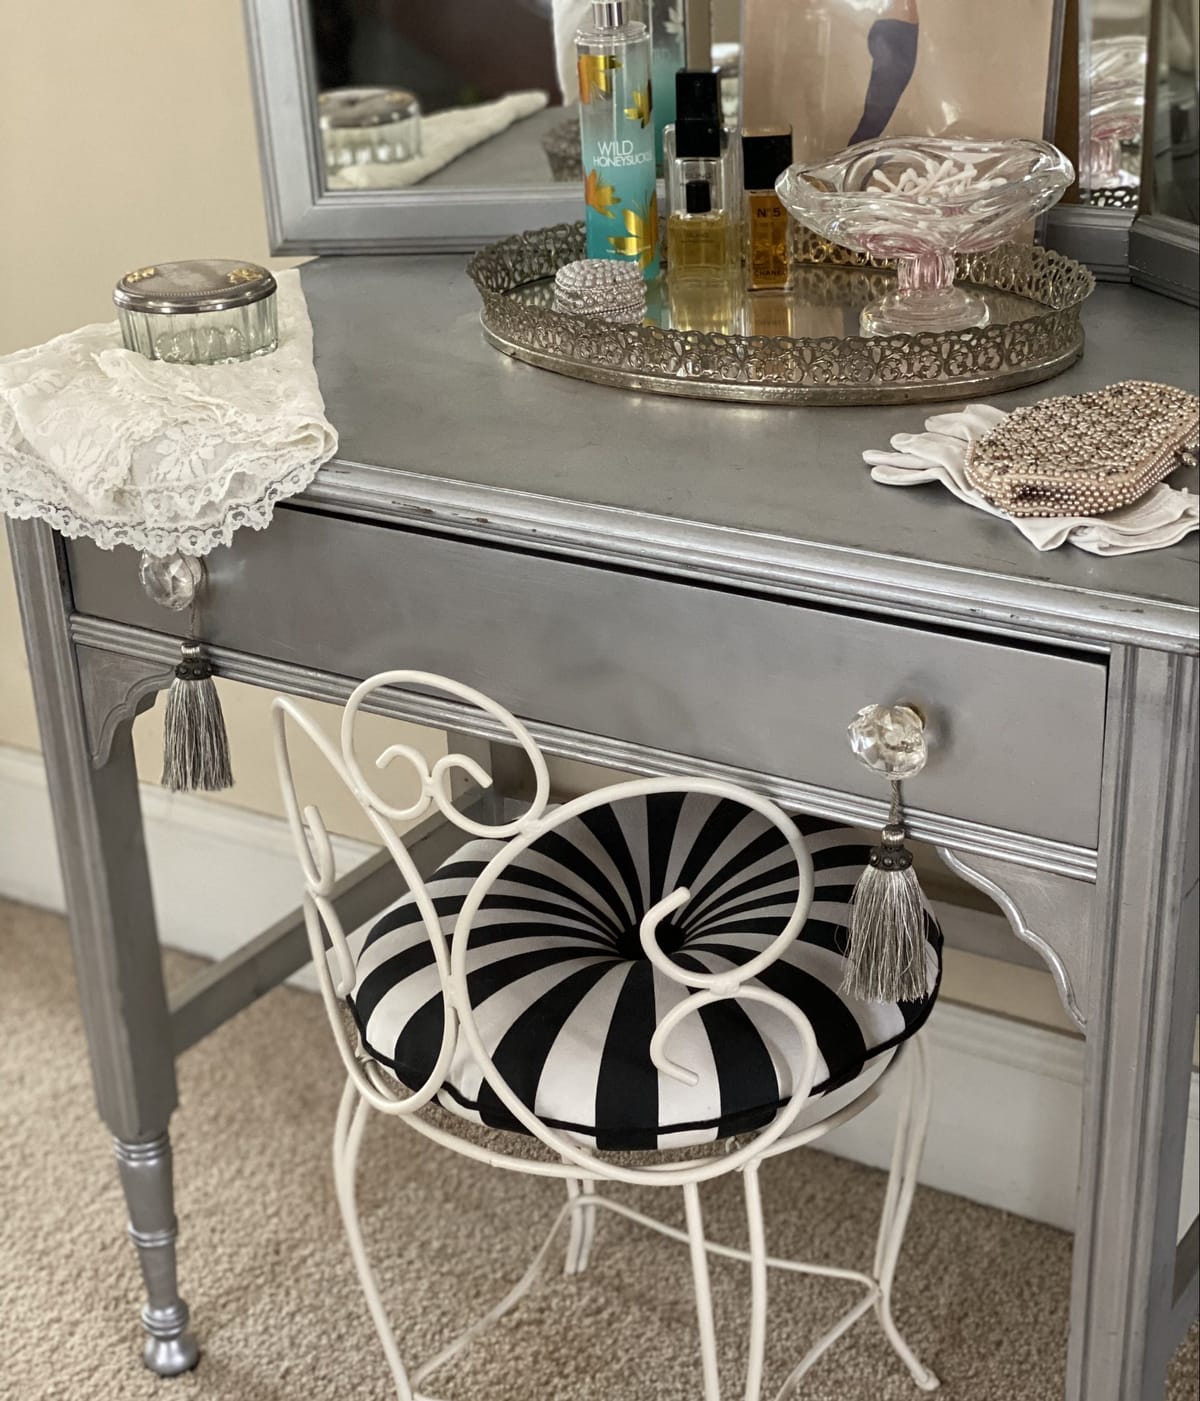
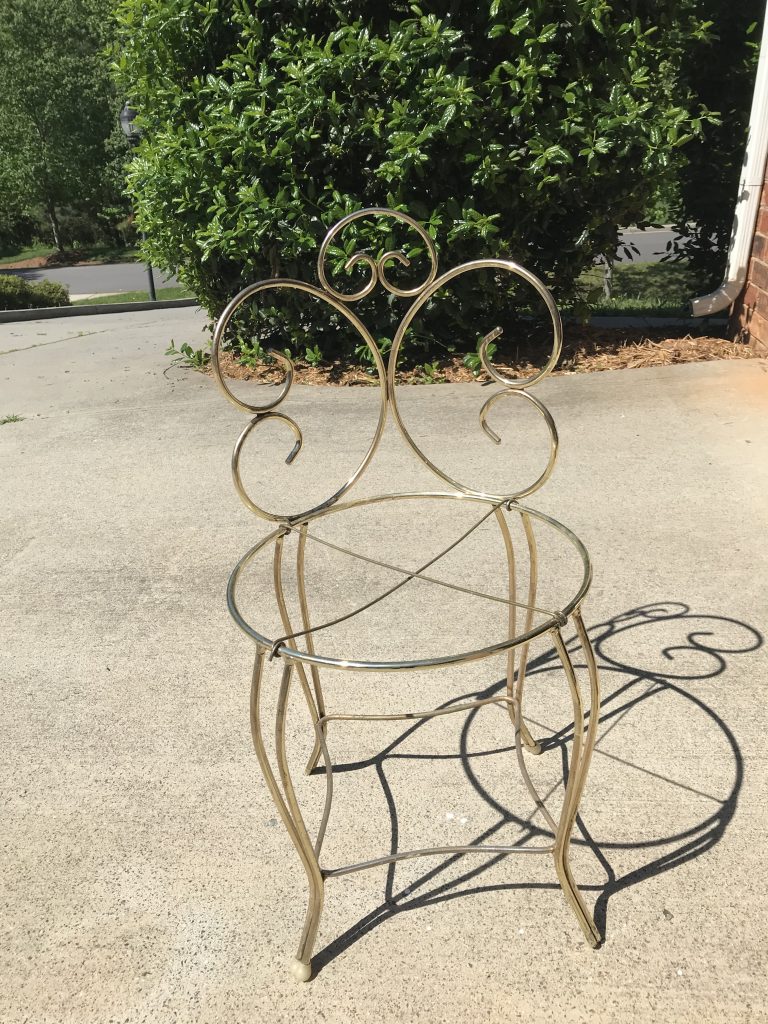
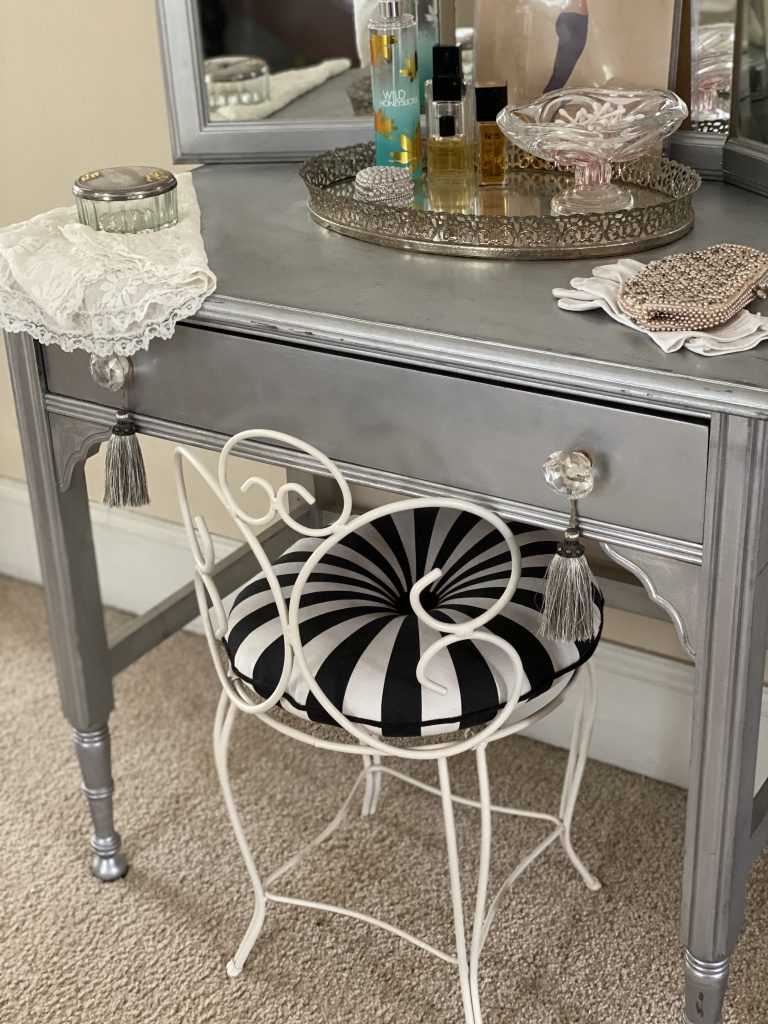
Two last little transformations are a side table and a vanity chair. The chair was simple. I just spray painted it with my favorite “not bright white” white paint, Rustoleum Heirloom White, and added a black and white cushion to tie in the sign.
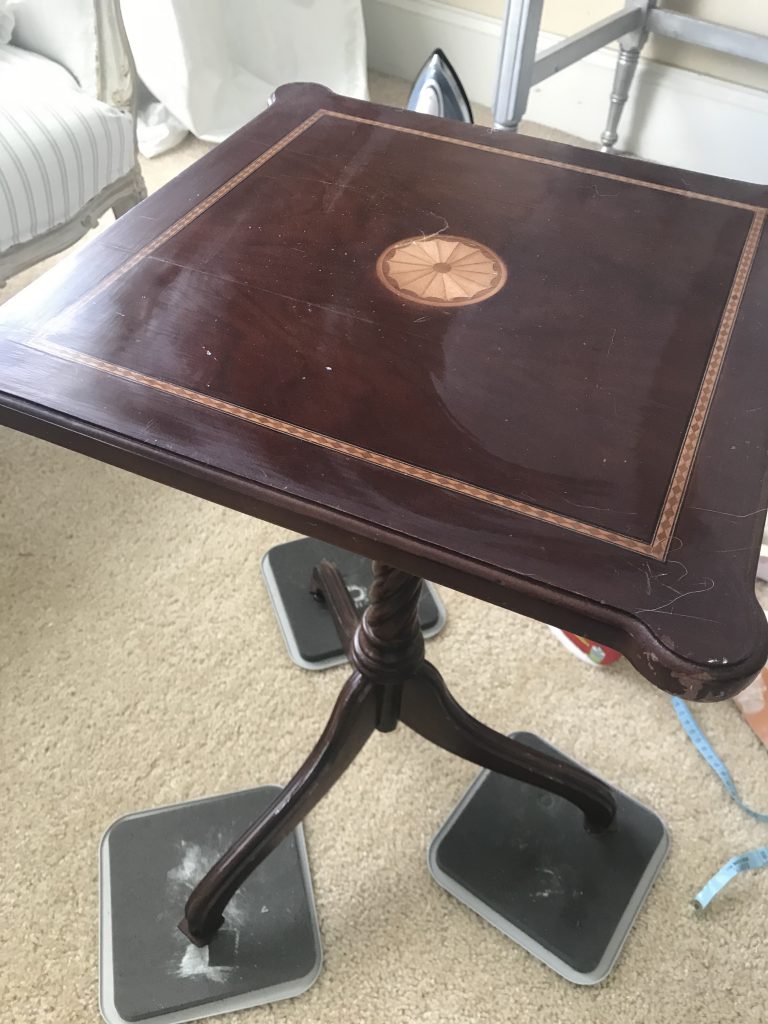
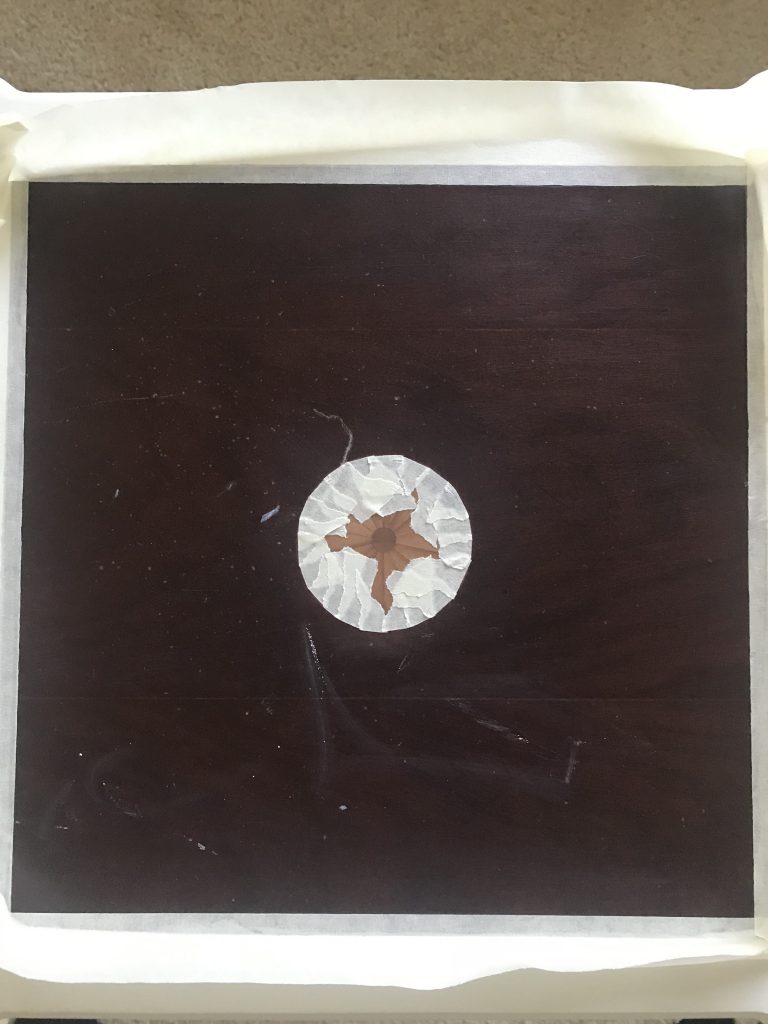
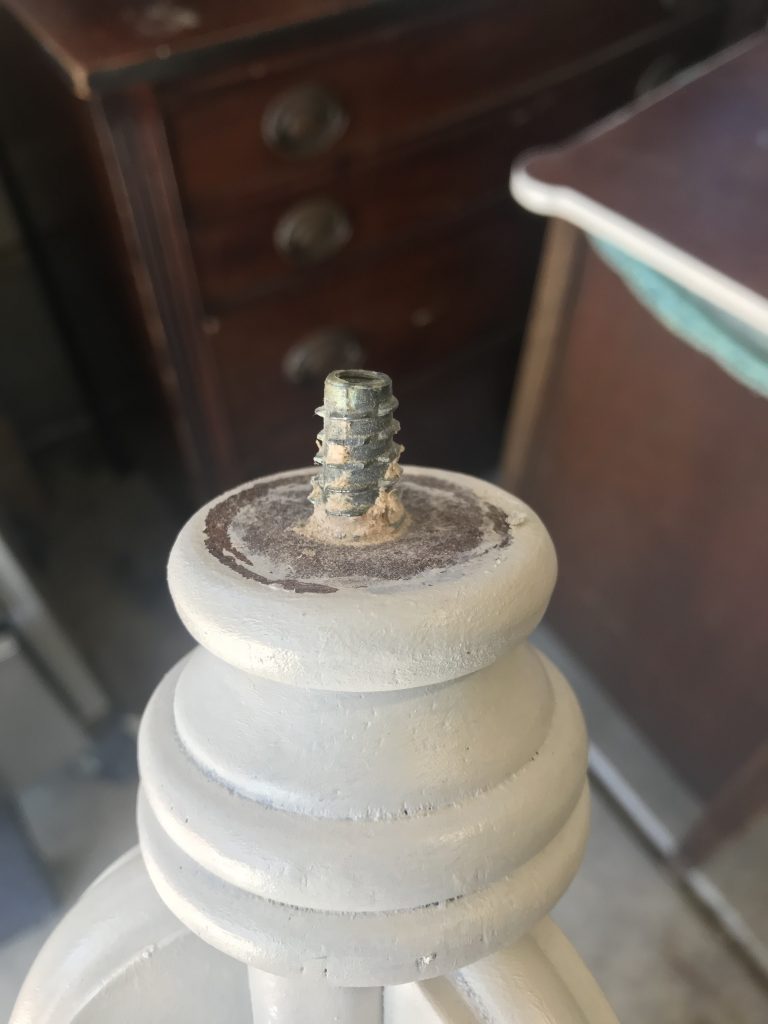
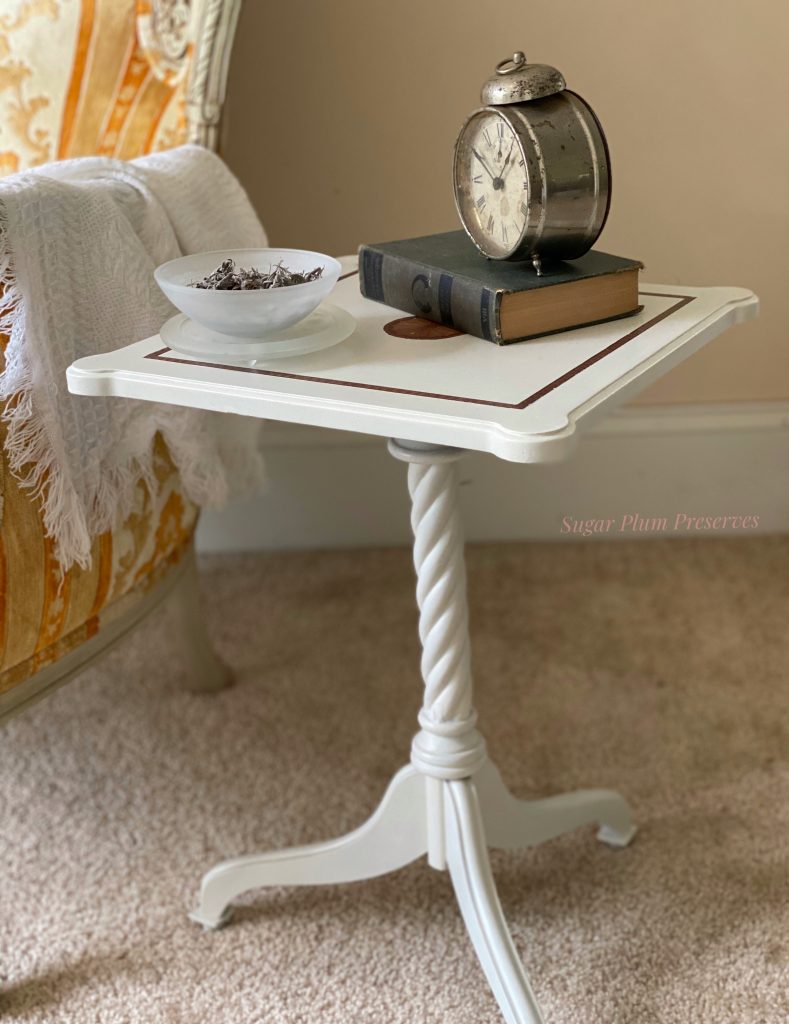
The side table was a curbside pick up that was quite wobbly and scratched. The pin that attached the base to the legs was loose and causing the table to be crooked and wobbly. I separated the legs from the base and reattached it with liquid nails, making sure that the table was level. I taped off the nice inlay work and painted a few coats of Raw Silk by Fusion. It now sits proudly next to our guest of honor.
These transformations are the last pieces added to our bedroom in the hopes of creating a cohesive, beautiful, restful retreat in a time of uncertainty and stress. Check back next week for the full reveal of the bedroom in it’s entirety and see how all of the pieces work together in our bedroom transformation.
Thank you so much for joining me for Sugar Plum Sundae! Please check back every Sunday for more yummy recipes to transform reclaimed “junk” into sweet little treats for the home! 🤗
For more delicious treats, follow Sugar Plum Preserves:
Facebook: https://www.facebook.com/SugarPlumPreserves/
Pinterest: https://www.pinterest.com/pinterest/sugarplumpreserves
Instagram: https://www.instagram.com/sugarplumpreserves/
YouTube: https://youtu.be/tQplTZMCjq0
XOXO
Michele
Materials List (may not be all inclusive):
Paint Brush, Purdy 1 inch https://amzn.to/2LK33eb
Angled 2 inch Stubby https://bit.ly/3oI0V9z
Dixie Belle Chalk Paint, Manatee Gray https://amzn.to/2TokqoN
Rustoleum Heirloom White, 6 pack https://amzn.to/3egF7LJ
Dixie Belle Chalk Paint, Coffee Bean https://amzn.to/2WLGtbb
Deco Art Chalk Paint, Lace https://amzn.to/3dhwNLz
Deco Art Metallics, Sterling Silver https://amzn.to/3ewBz83
Deco Art Metallics, Gold https://amzn.to/3cjnObp
Fusion Mineral Paint, Inglenook https://amzn.to/2LHyGoD
Fusion Mineral Paint, Raw Silk https://amzn.to/2YKSyxK
*Affiliate disclosure: As an Amazon Associate I may earn a small commission from qualifying purchases from Amazon.com.
