Chou A La Creme
This week's feature is a little different than usual in that I not only painted it, but I also reupholstered it (no sewing required!).
~ A Sweet Little Treat for the Home ~
Chou A La Creme
Hello my Sweets!
This is the fourth post, in a series of blog posts, about transforming our bedroom. I will post a new piece each week that I have transformed. Once all of the pieces have been completed, I will post an entire before and after of our bedroom with all of the pieces included. If you missed any of the previous blog posts:
You can check out the first transformation here: https://sugarplumpreserves.com/snowball-cookie/
You can check out the second transformation here: https://sugarplumpreserves.com/madeleine/
You can check out the third transformation here: https://sugarplumpreserves.com/snowball-cupcake/
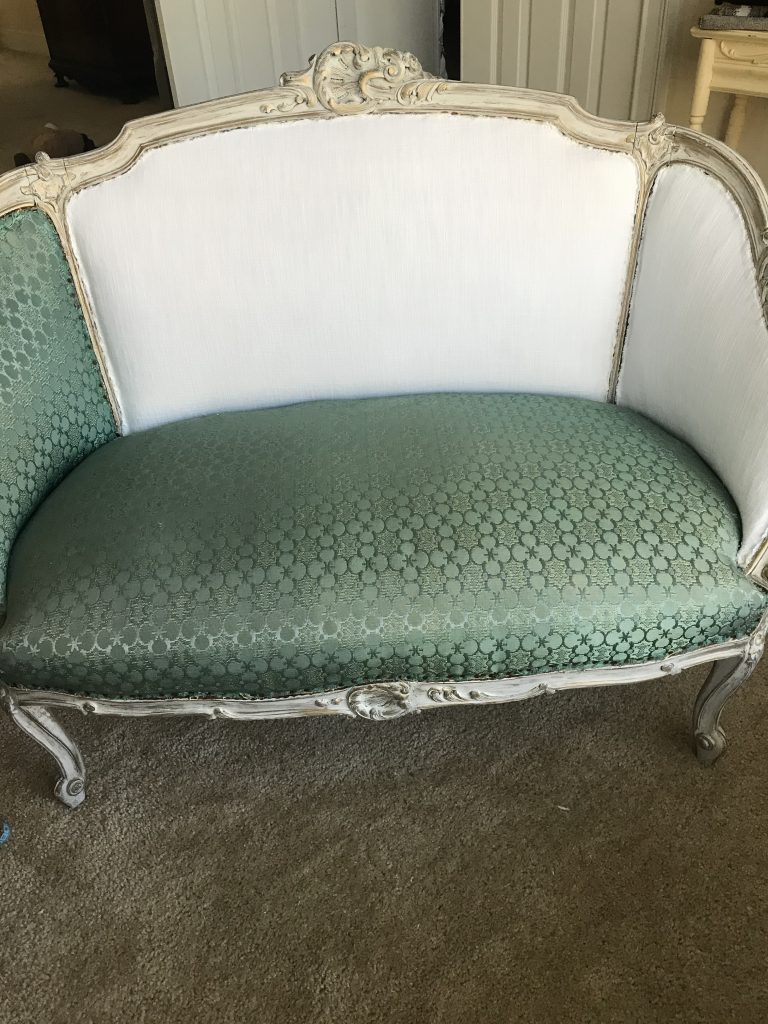
There is a separate little area in our bedroom that I want to turn into a proper sitting area, as part of creating a cohesive, pretty, comfortable bedroom retreat. To this end, I have long been on the lookout for a pretty settee. After weeks of searching, I found one on Marketplace for $125 that looked perfect. Honestly, that was a little pricey for me, since I usually find pieces that need a lot of work and get them for next to nothing. But since it was for us, not resale, and I wanted to be sure that I got a piece that was structurally sound, I jumped on it. I had seen other similar settees for quite a bit more money and knew it wouldn’t last long. I liked the color and thought I could work with it and would not have to reupholster it…….The key word here ended up being “thought”. **hmmph** Read on to see how I transformed this “ok” settee into a French inspired beauty.
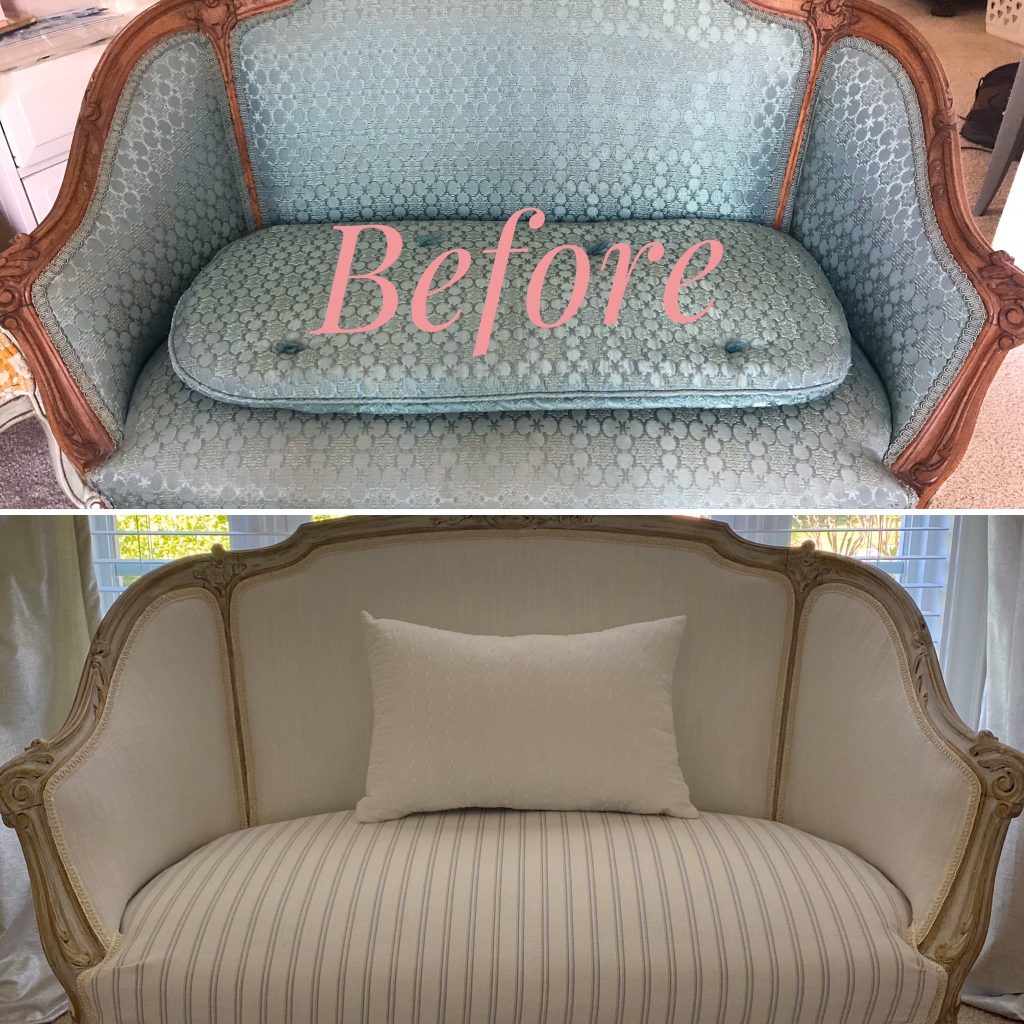
When I decided to buy it, I knew that I would paint the frame. I’m not really into the reddish oak look. It came with this strange homemade cushion that was too small and had an attempt at tufting.(?) That had to go too. Like I said, I thought that I would keep the fabric as is. However, when I got rid of the cushion, there was some staining and the color wasn’t really going to work with my vision for our bedroom. Phooooey!!! Looked like I was going to have to reupholster after all.
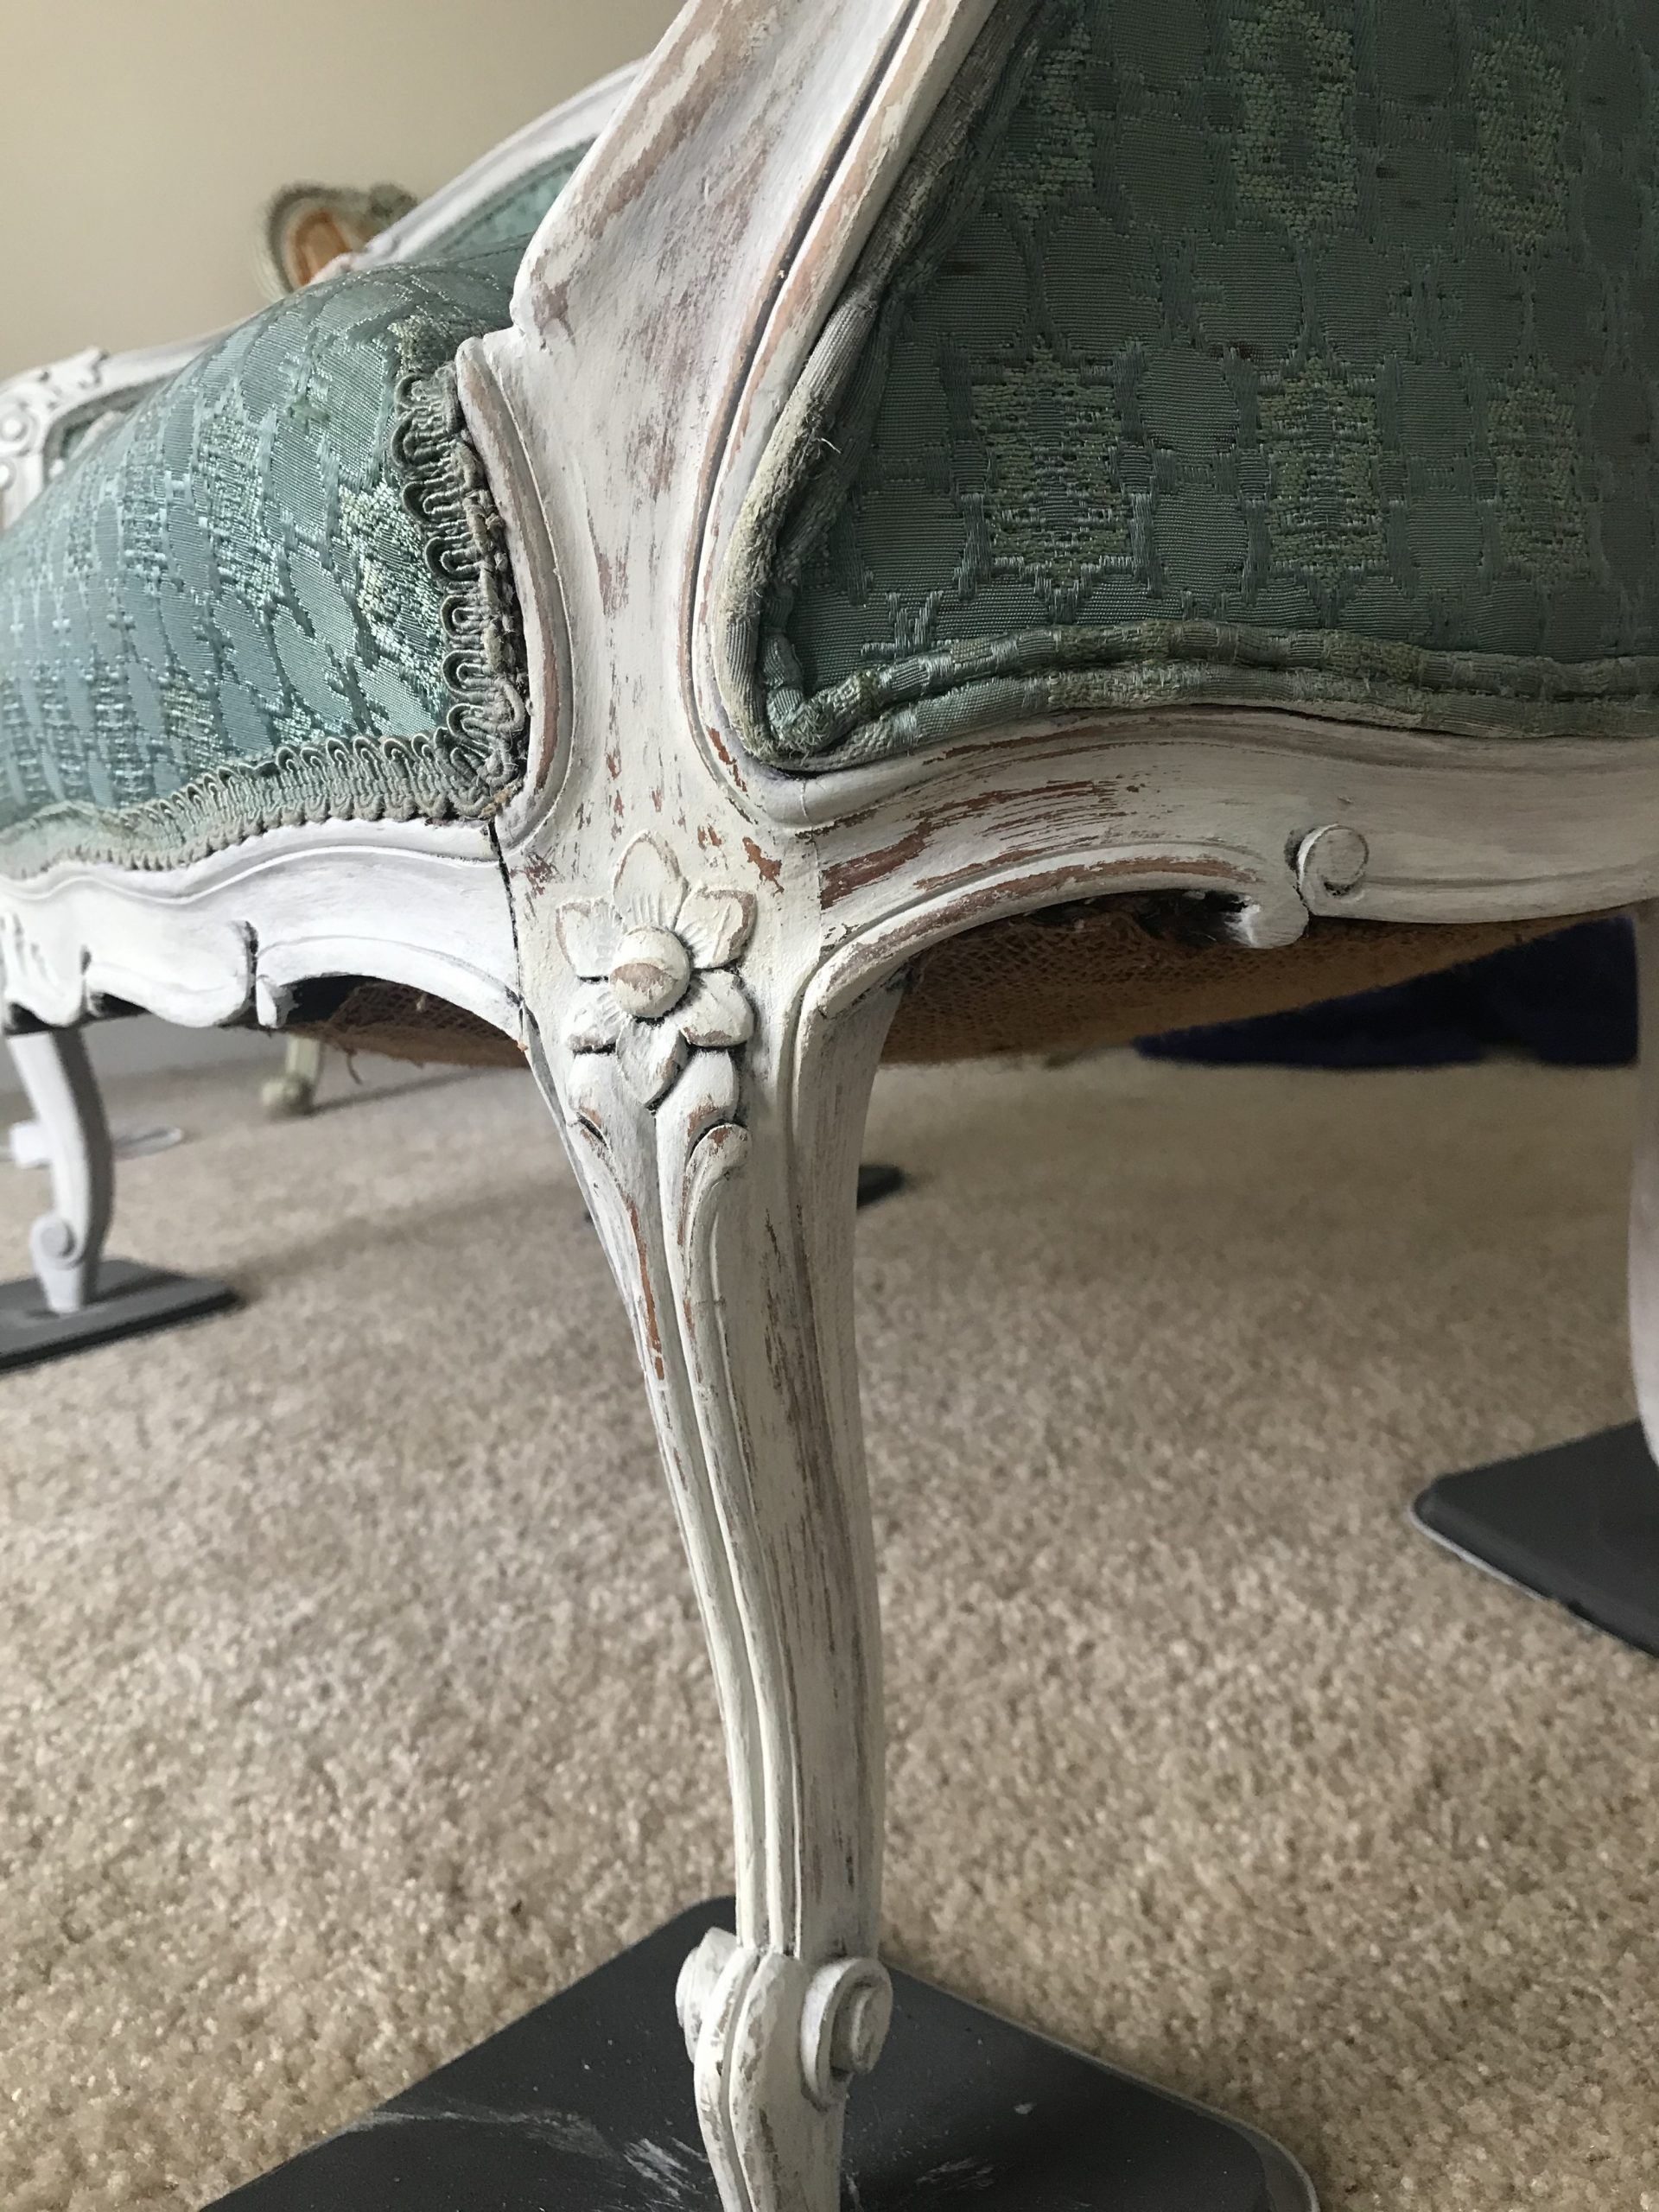
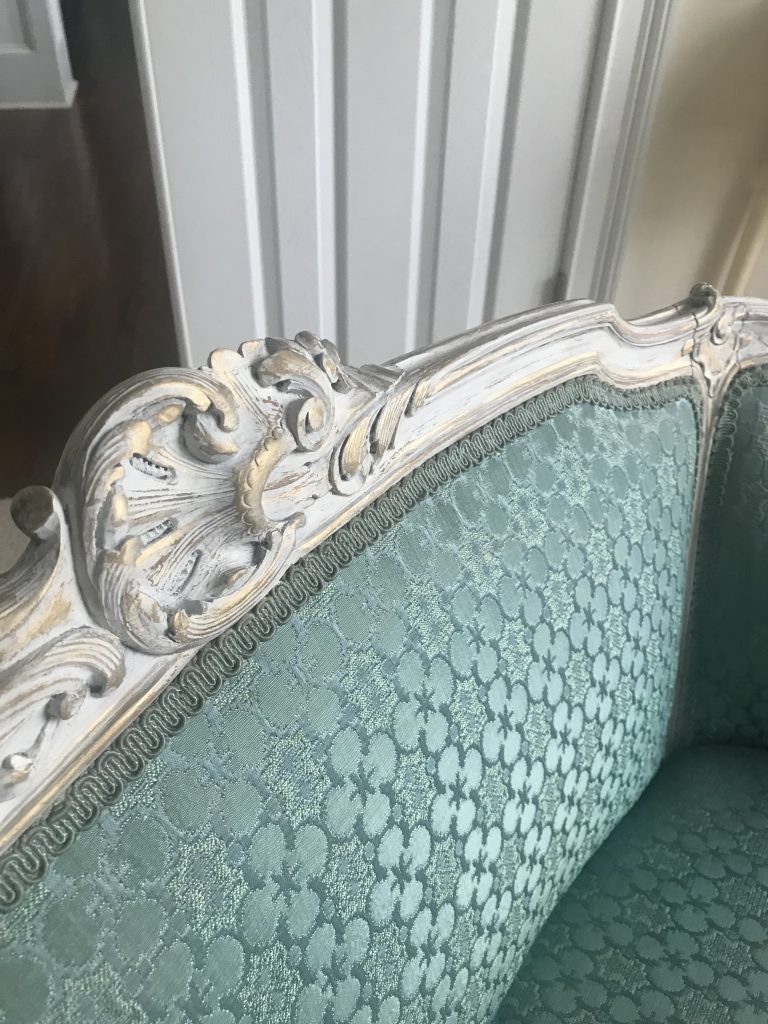
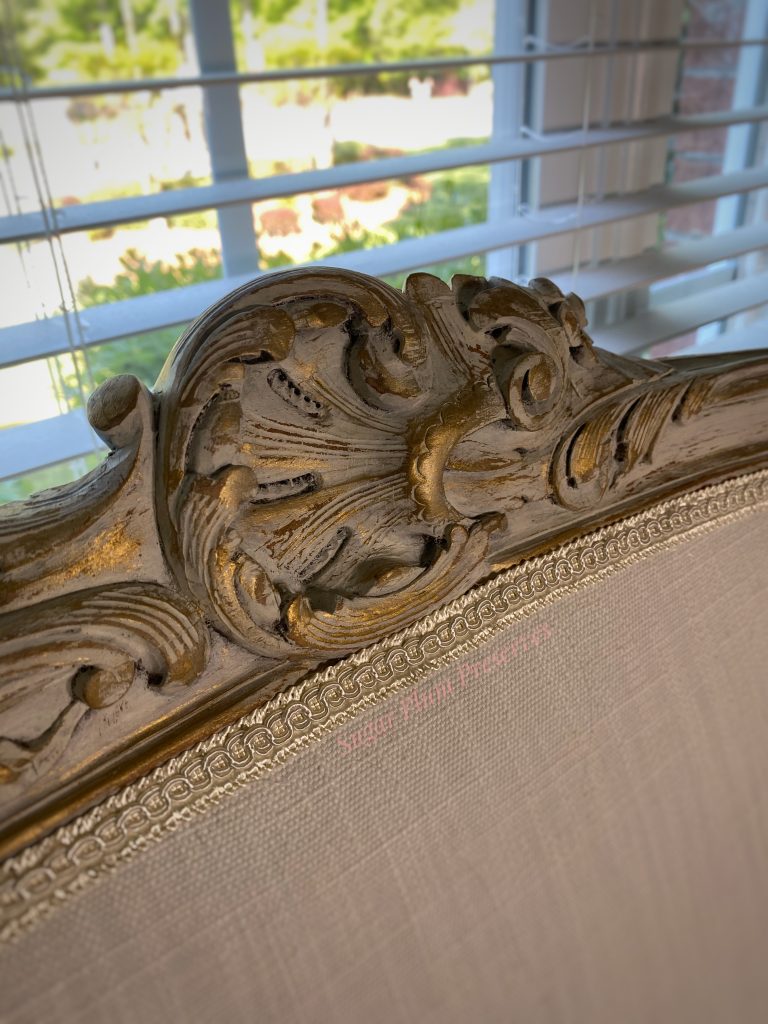
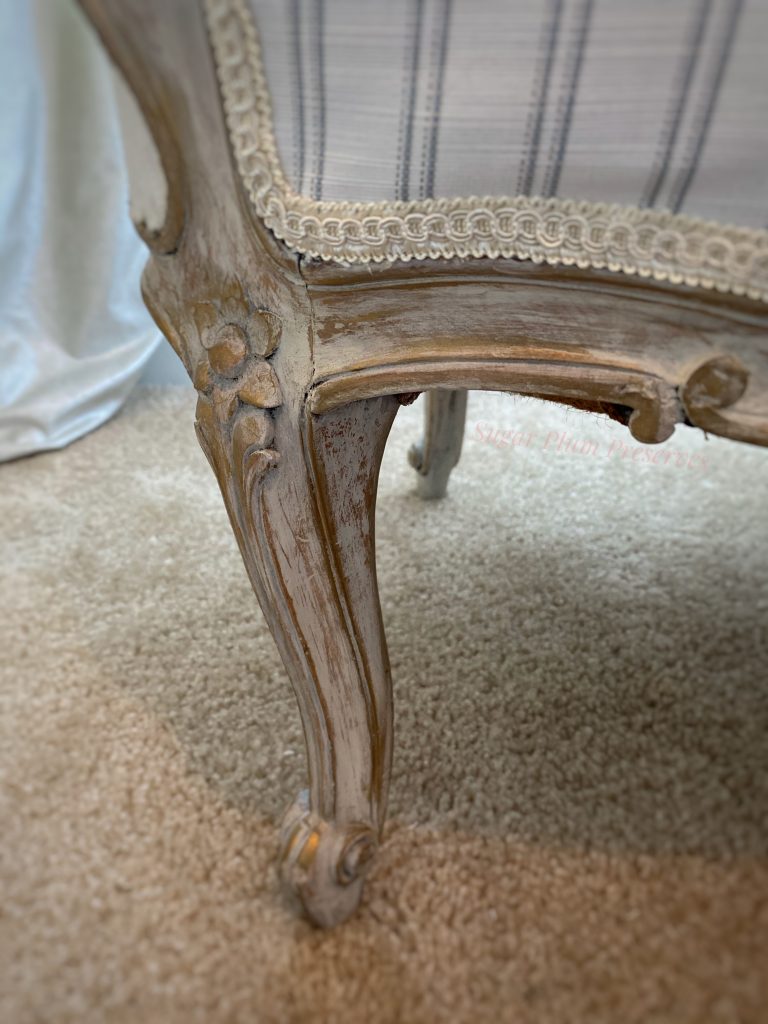
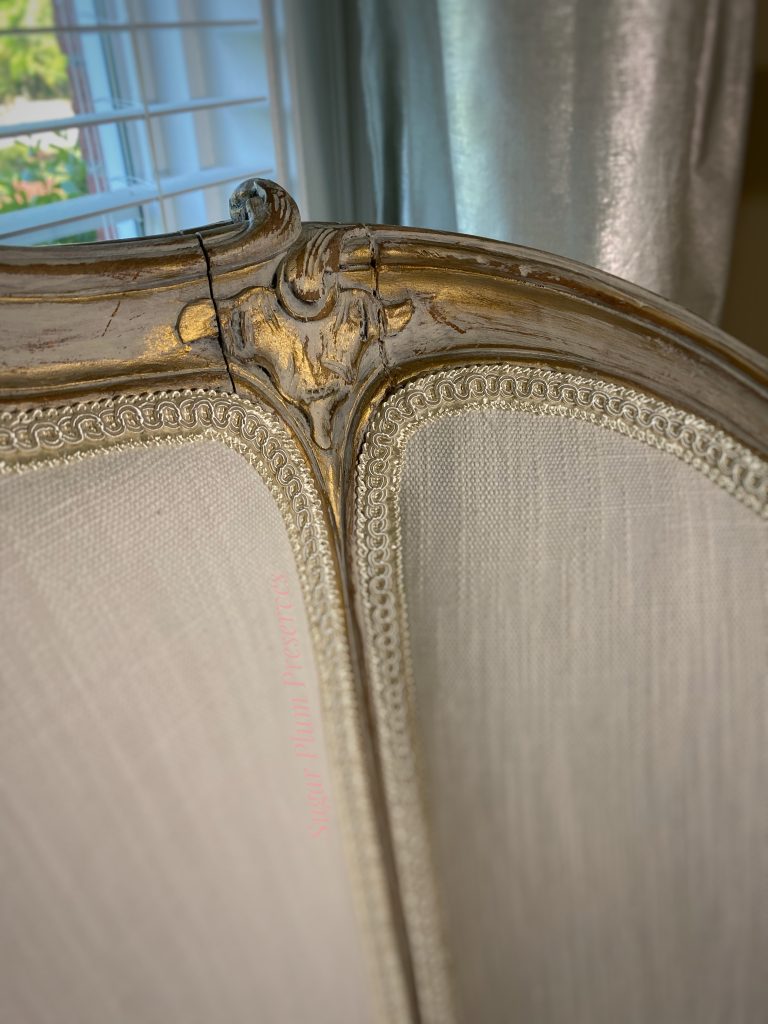
But first, I addressed the frame. I thoroughly cleaned the frame with a rag and Krud Kutter. I usually use a vinegar and water mixture, but I wanted to make sure that I was removing any residue from furniture polish or years of grime. I was very impressed with how well it cleaned! It even pulled out a lot of the red stain from the oak. This was awesome because I started wondering if maybe I didn’t need to prime before painting. The finish that I ultimately wanted was a worn, whitewashed look. Primer just meant another layer that I would have to sand through to get that look. I always prime the pieces that I sell, but since it was for us, I thought I would take the chance and not prime. The worst thing that would happen is that it would turn pink and I would have to repaint. But, alas, my gamble paid off! No primer, no problem! I painted the whole frame with two coats of Raw Silk by Fusion. I used this mineral paint because it is very easy to remove with wet sanding. Once the two coats were dry, that is what I did. I went back over the whole frame with a piece of 220 grit sandpaper, wetting each area with a mister first. The effect that wet sanding has (instead of simply sanding) is a more naturally worn look, as opposed to the scratched look that sand paper can leave. I made sure to pay extra attention to the high points that would naturally get worn over time.

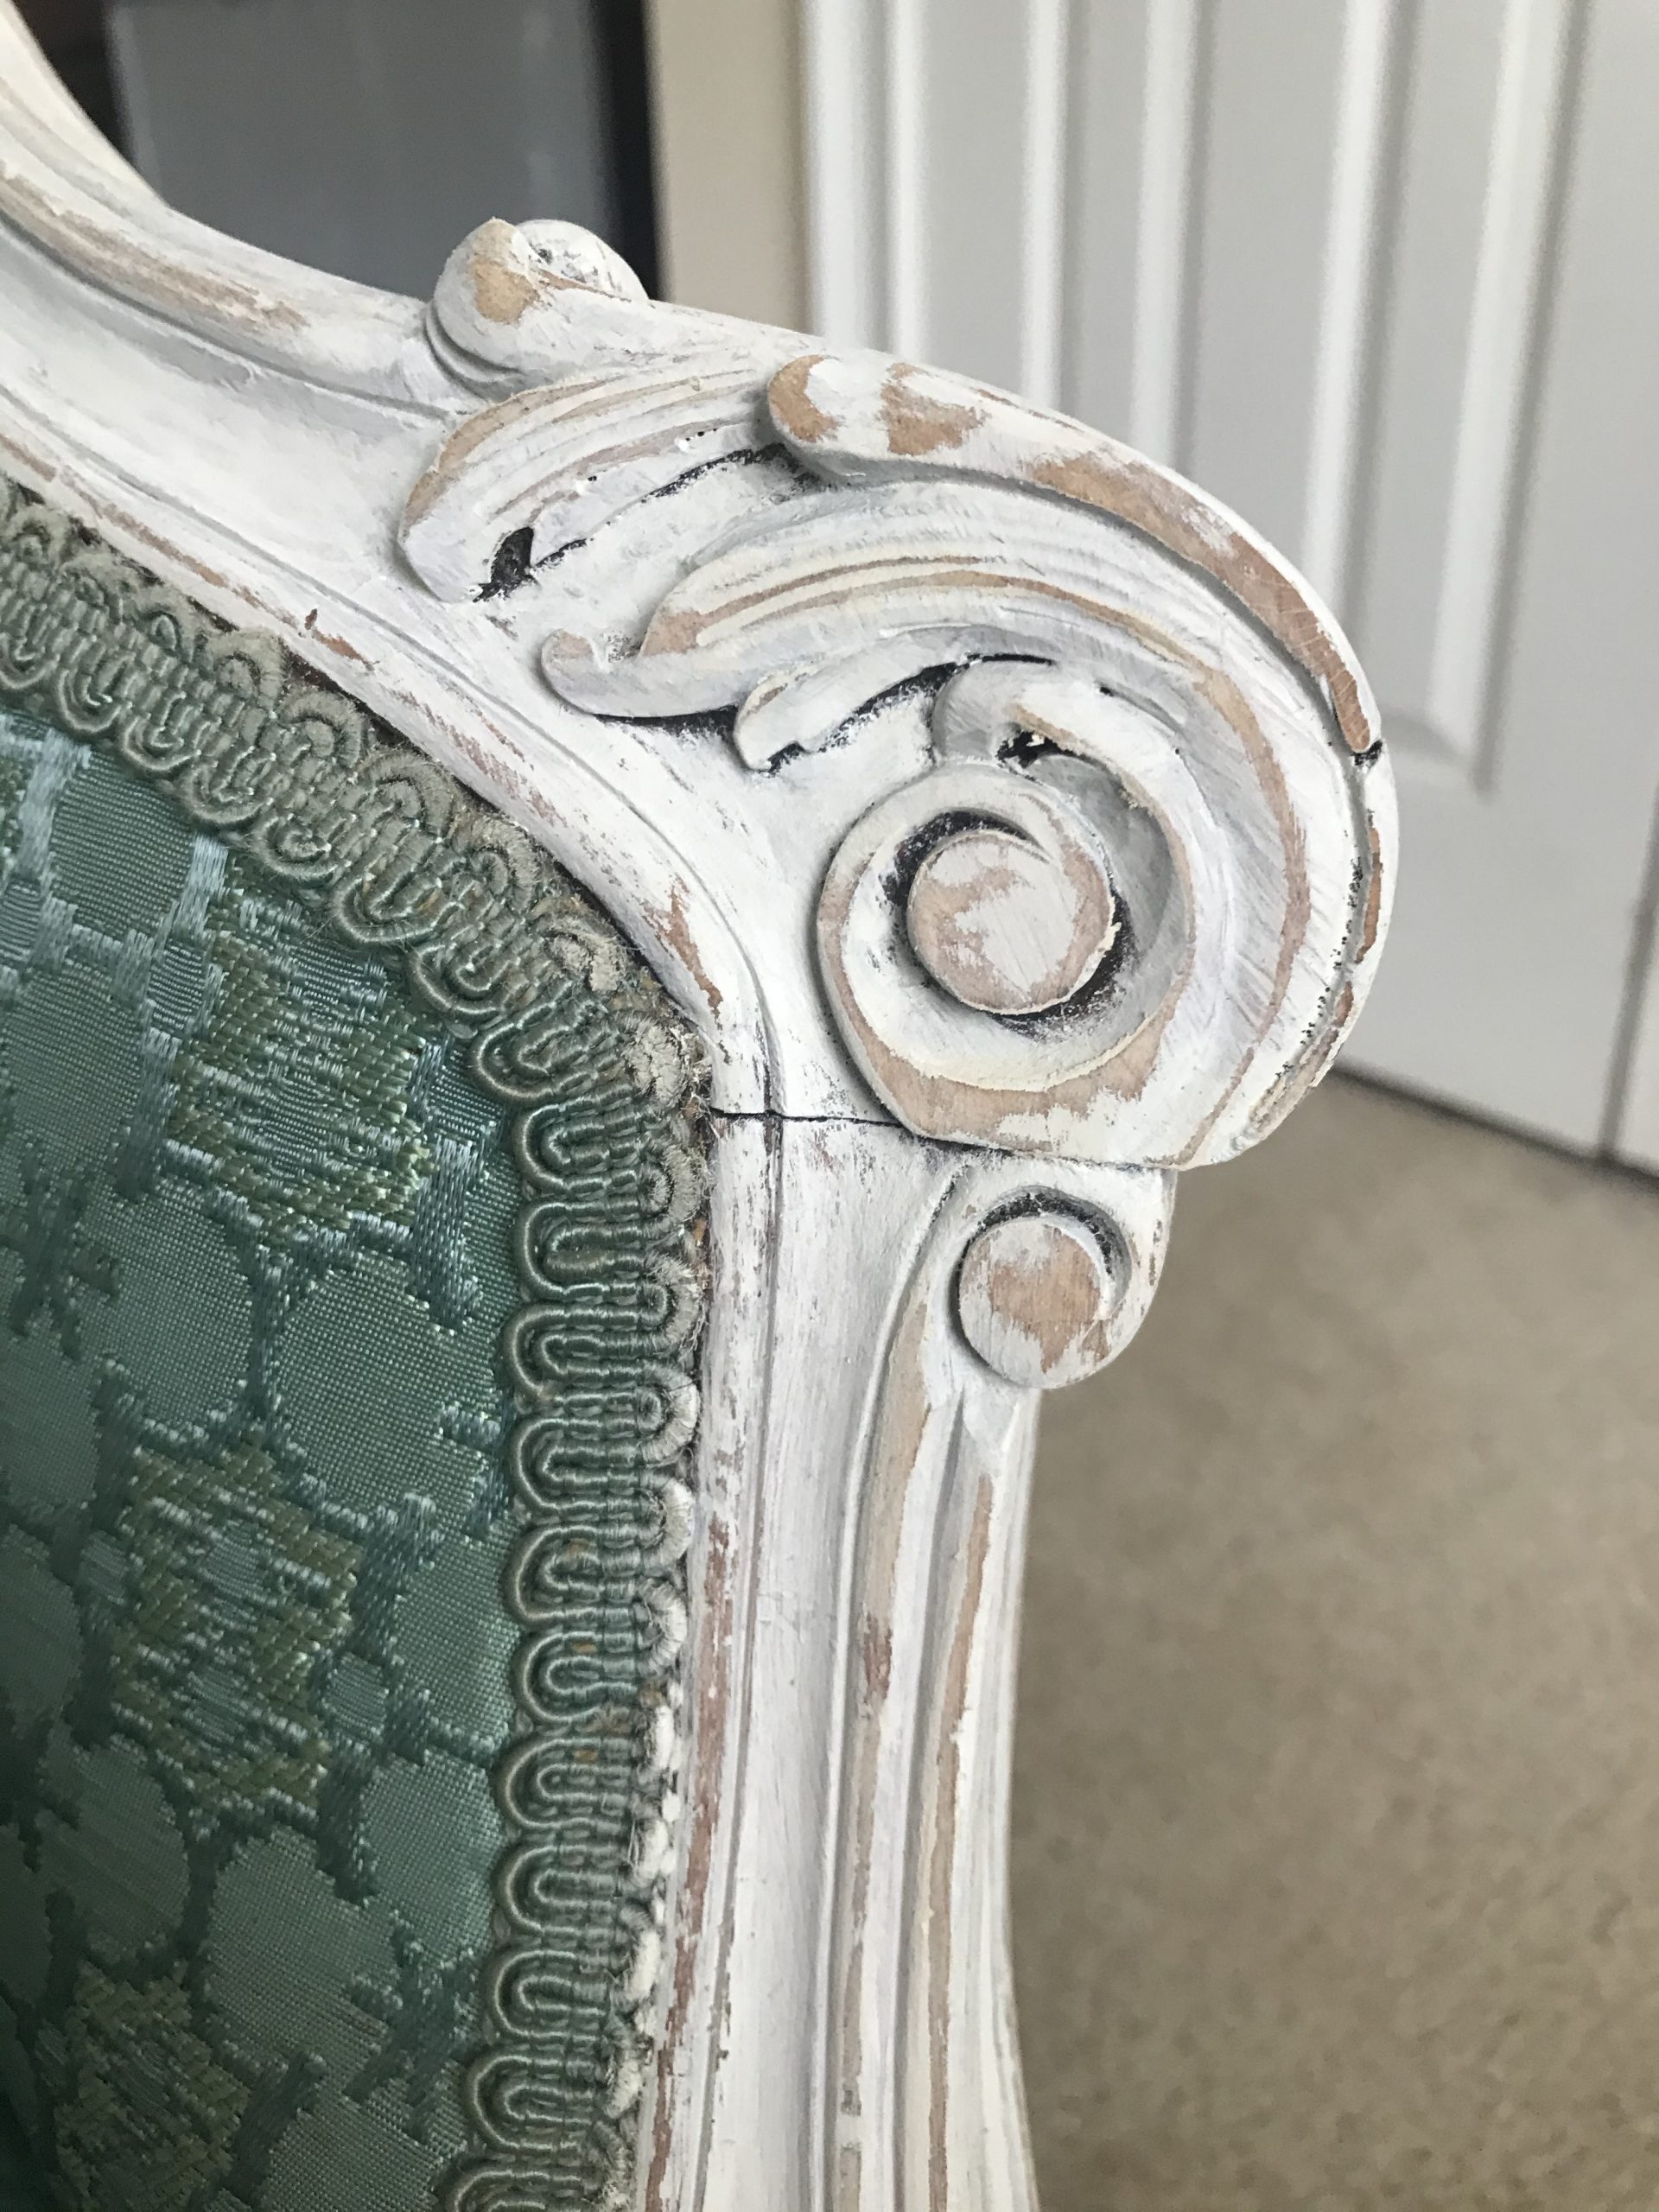
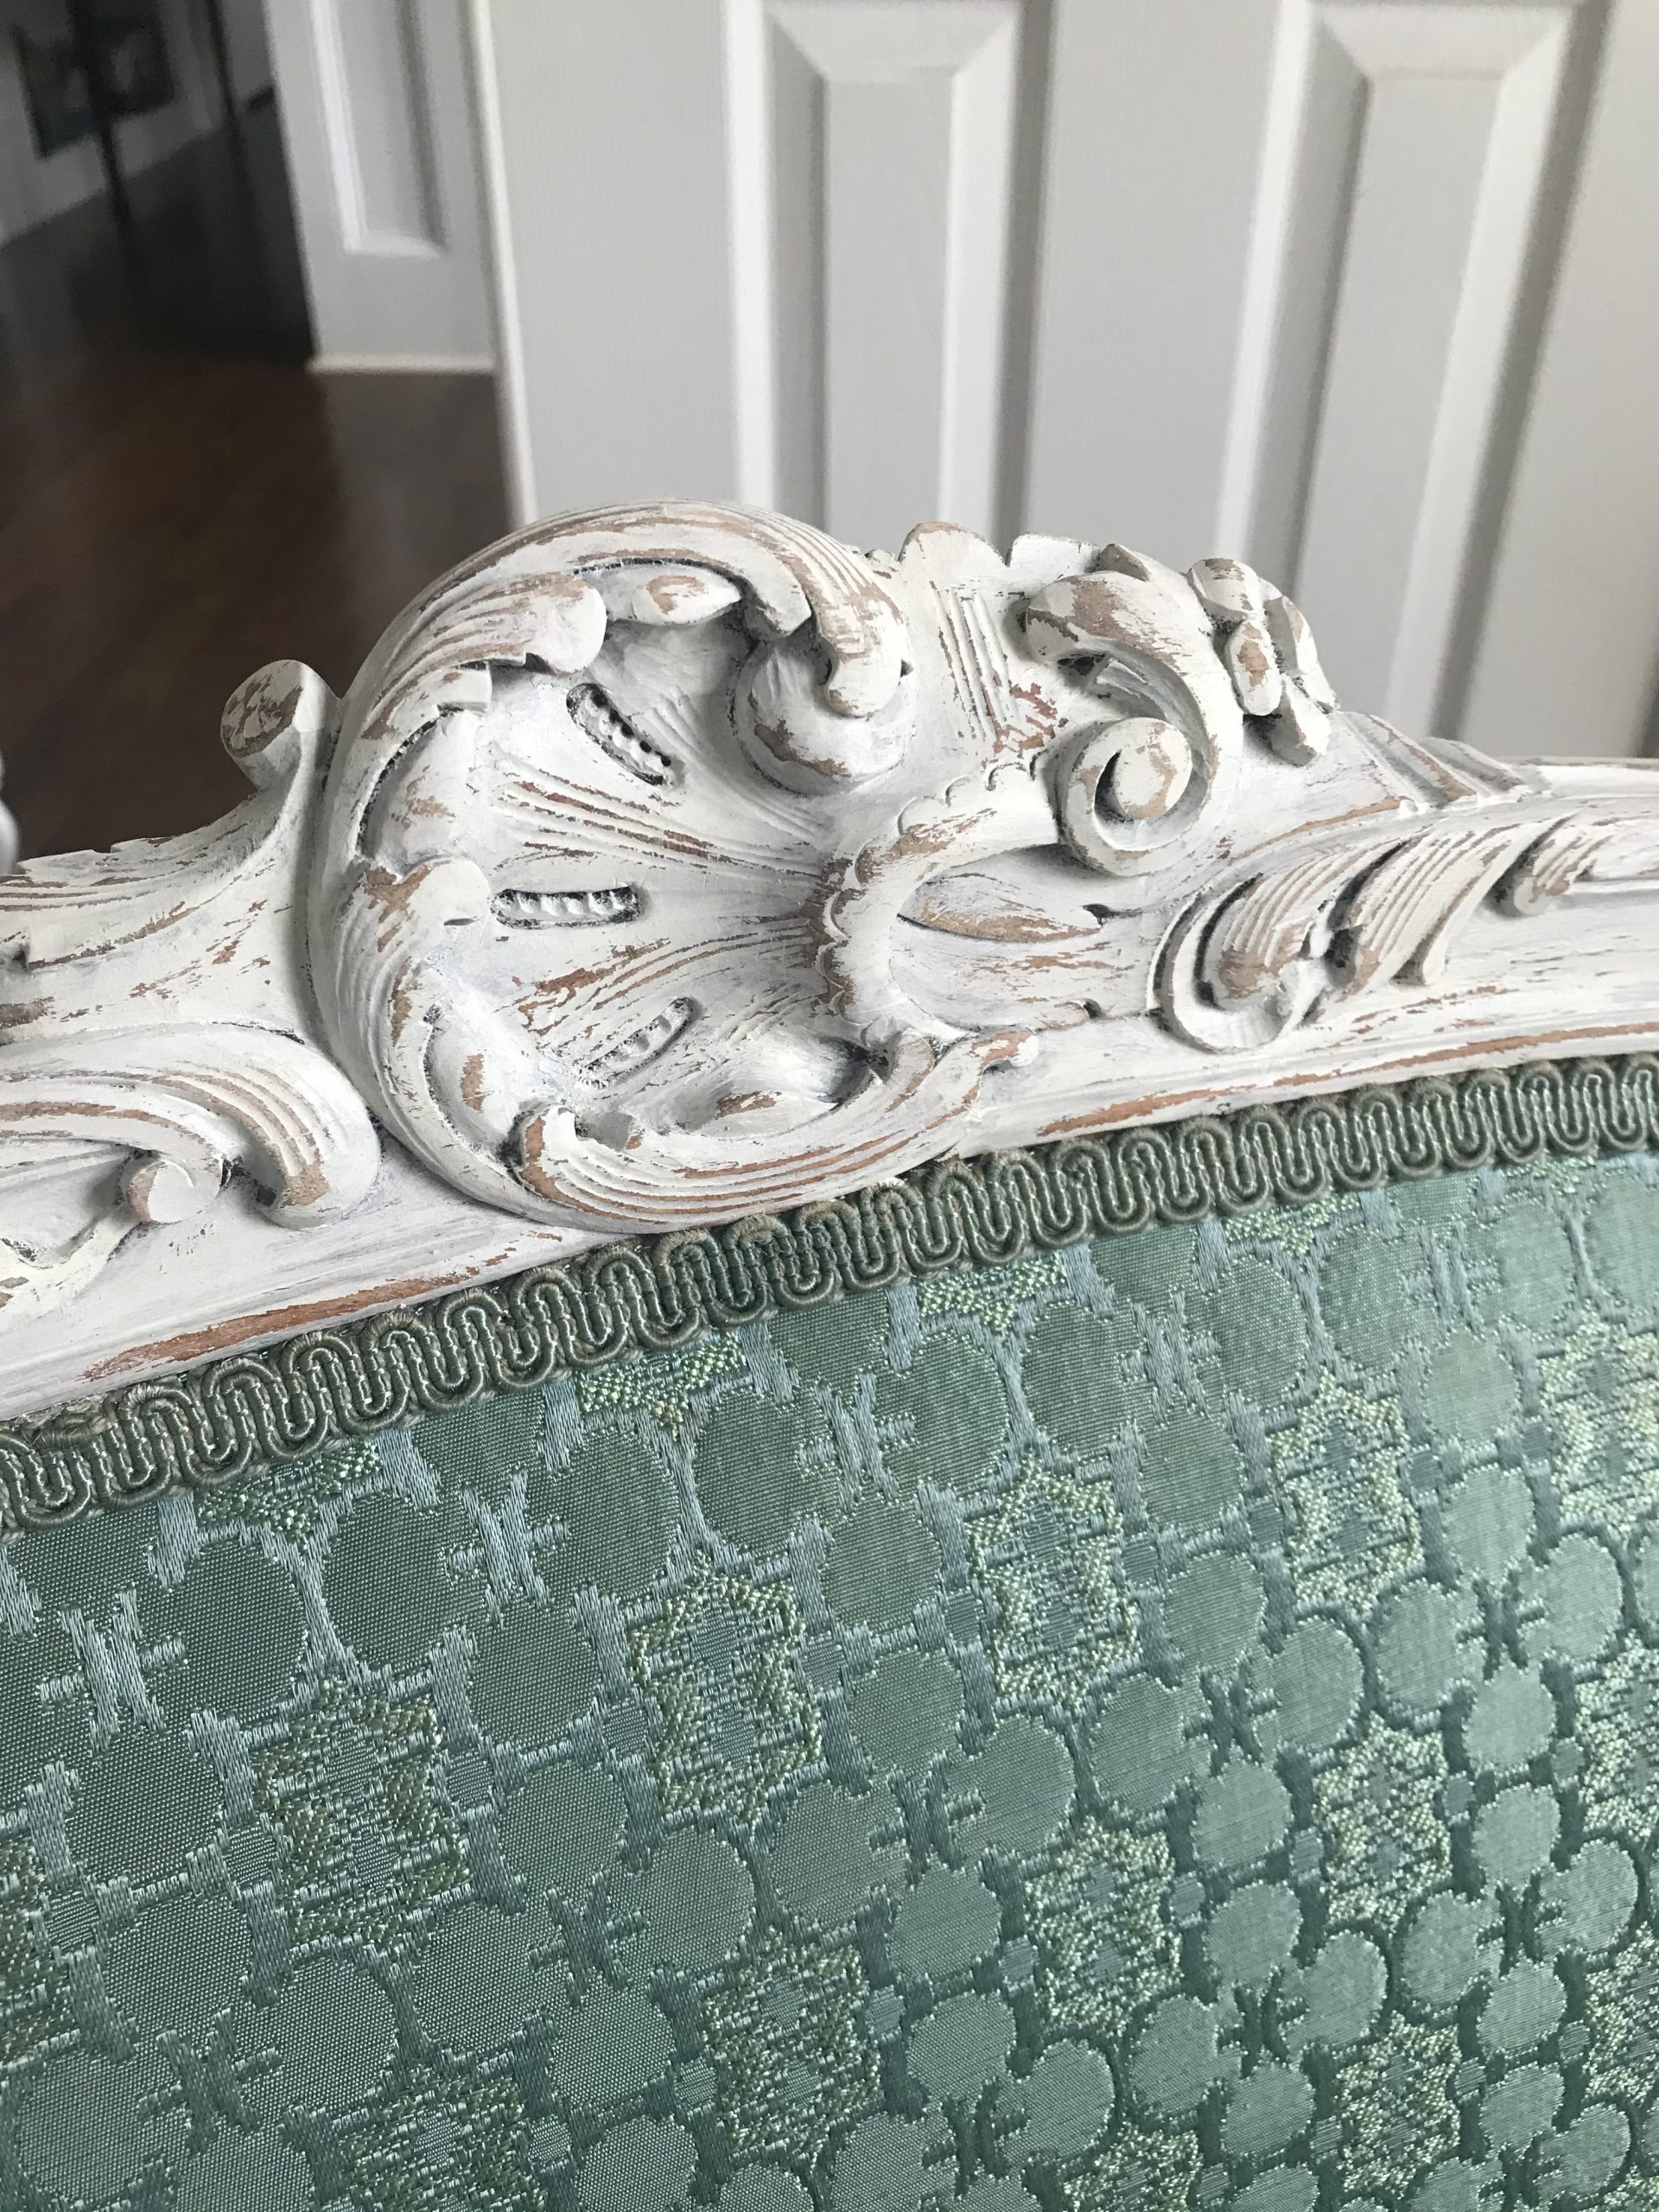
For a little more French glamour, I decided to go over all of the beautiful carved details with gold wax. I like to use Rub n Buff for this type of thing. I just put the tiniest bit on my finger, rub it onto the area that I am wanting to show off and buff it with a cloth. It gives just the right amount of sparkle while keeping that aged look! 💖
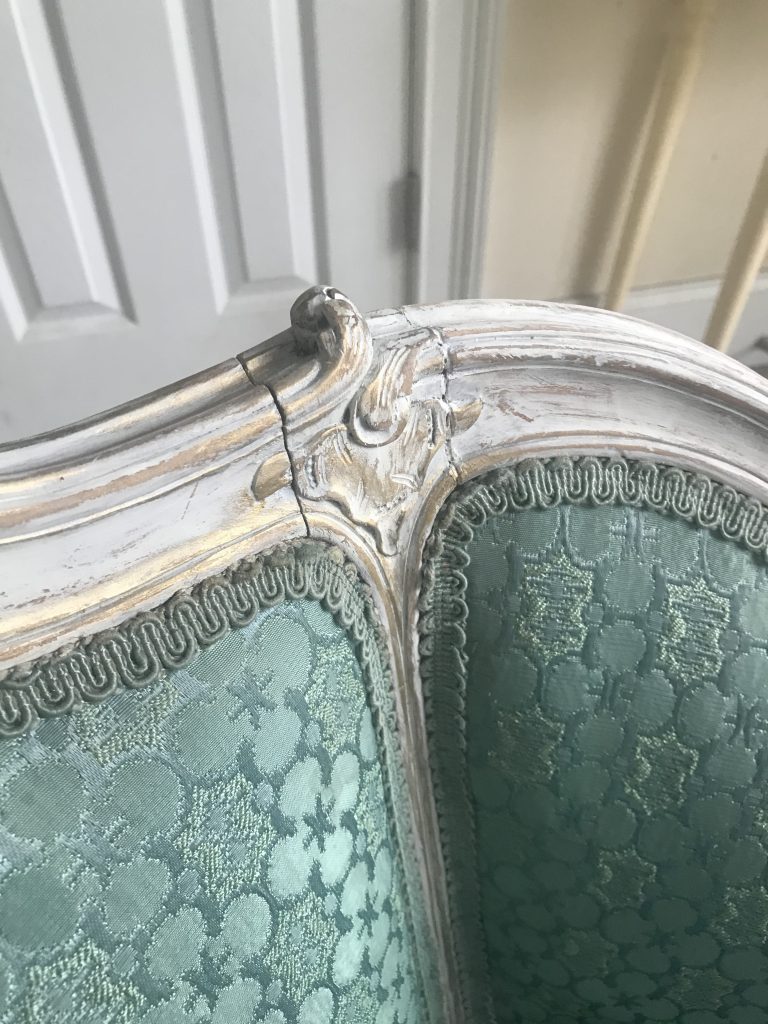
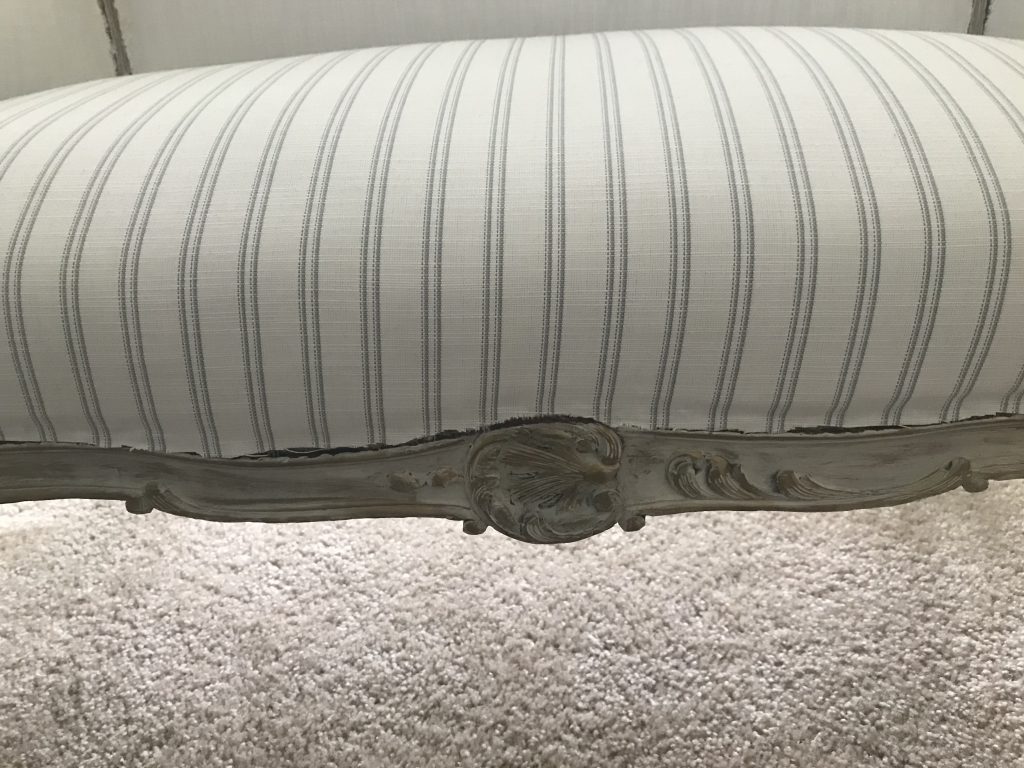
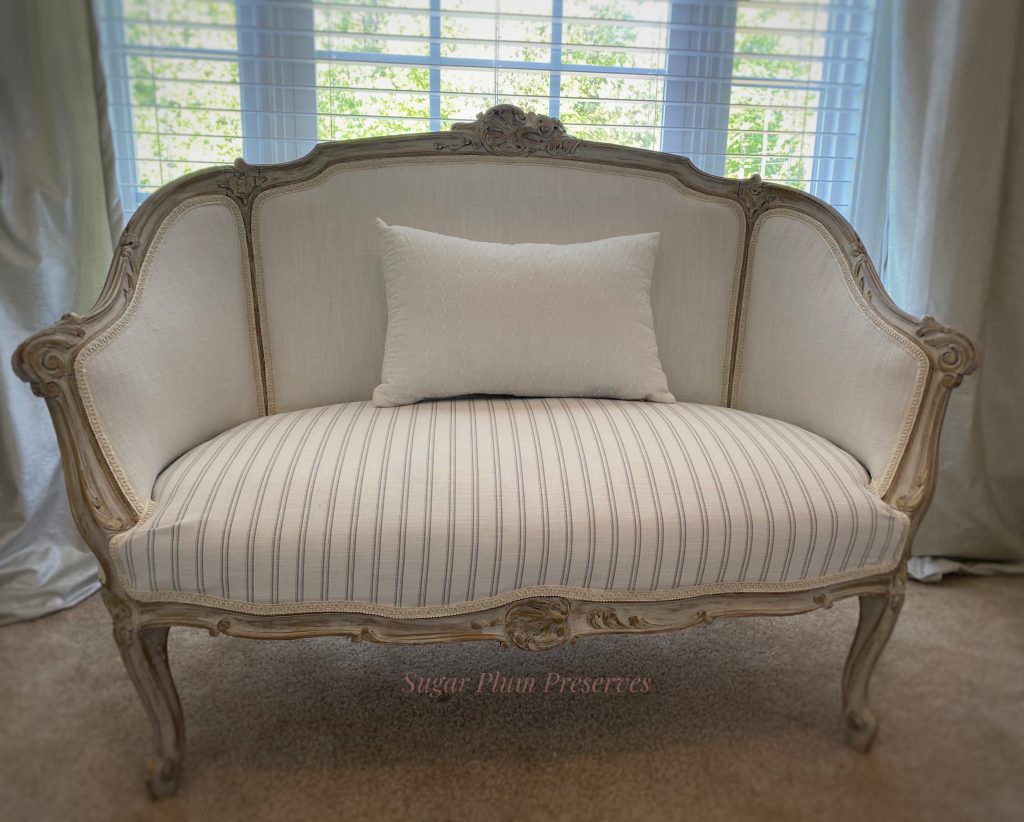
From the pictures so far, you may be thinking, I actually like the fabric, it looks pretty with the white paint. I agree. The color was pretty with the new paint job, distressing, and gold wax. However, there were some stains that I couldn’t live with, the trim was so old it was crumbly, and the color of the fabric still didn’t work in the big picture. That sent me to the antique mall, where I picked up two different fabrics. One was a textured cream chenille fabric, the other one was a striped, thicker, almost grain sack look. I was torn between them, so I went with both. I reupholstered the body with the cream, and the seat with the striped. I have reupholstered several pieces using the traditional staple gun method in the past. This piece is pretty old and I wasn’t thrilled about creating more holes in the wood with the staple gun. I turned to google and found someone that had used a glue gun to reupholster. Hmmmm….🤔 If it was for resale, I wouldn’t have tried it, but it is for us, so what the heck? And that is what I did. I reupholstered the whole settee with hot glue and it worked like a charm (aside from a few hot glue burns)!
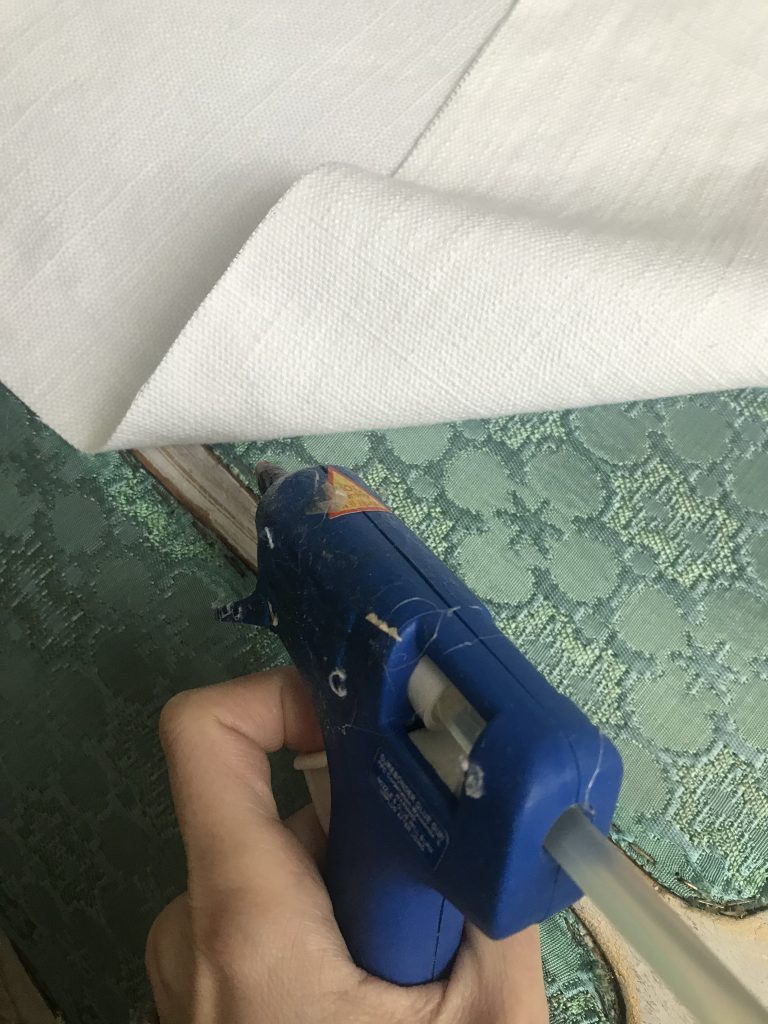
First, I pulled off the existing yucky trim. I cut the fabric slightly larger than the area I was working with, ironed it, and went around the area gluing the fabric, pulling it taut as I went. It was a little tricky getting the fabric to glue taut into the seat portion without getting the glue all over my hands or the seat. But, as a plus, it will come in handy one day to not have finger prints left, if I ever turn to a life of crime.😜 I went back around the area, trimming the excess fabric and applying another bead of glue to prevent the fabric from fraying.
The seat portion was even trickier because in my wisdom, I picked a striped fabric. I didn’t realize that I would have to try and keep the stripes straight and taut on a seat that was slightly rounded. I approached this by starting in the center, making sure the stripes were straight, and worked from the center out, one side at a time. This worked out just fine and it turned out well. Again, I trimmed the excess close to the frame and applied a bead of glue to prevent fraying. Don’t worry if there are visible gaps, they will be hidden by the trim.
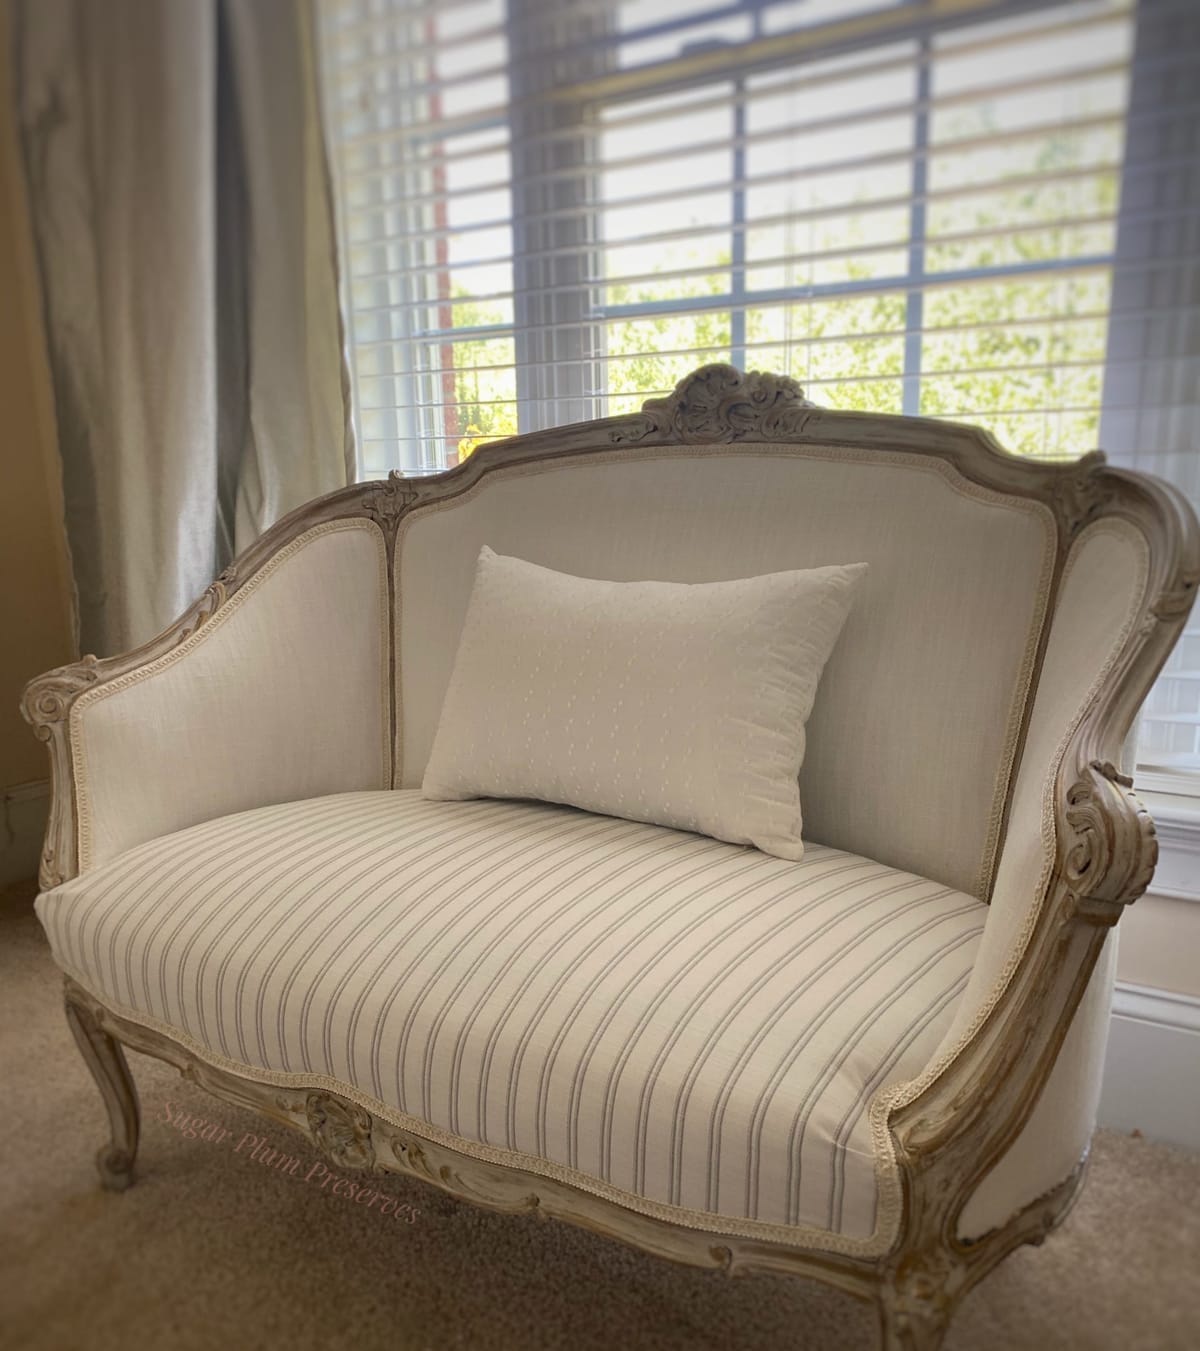
Last step, the trim! Again, I took out my glue gun and went to work. This part was very easy to do and went by quickly. And just like that, this French inspired beauty now has a new life in our sitting room. ☺️

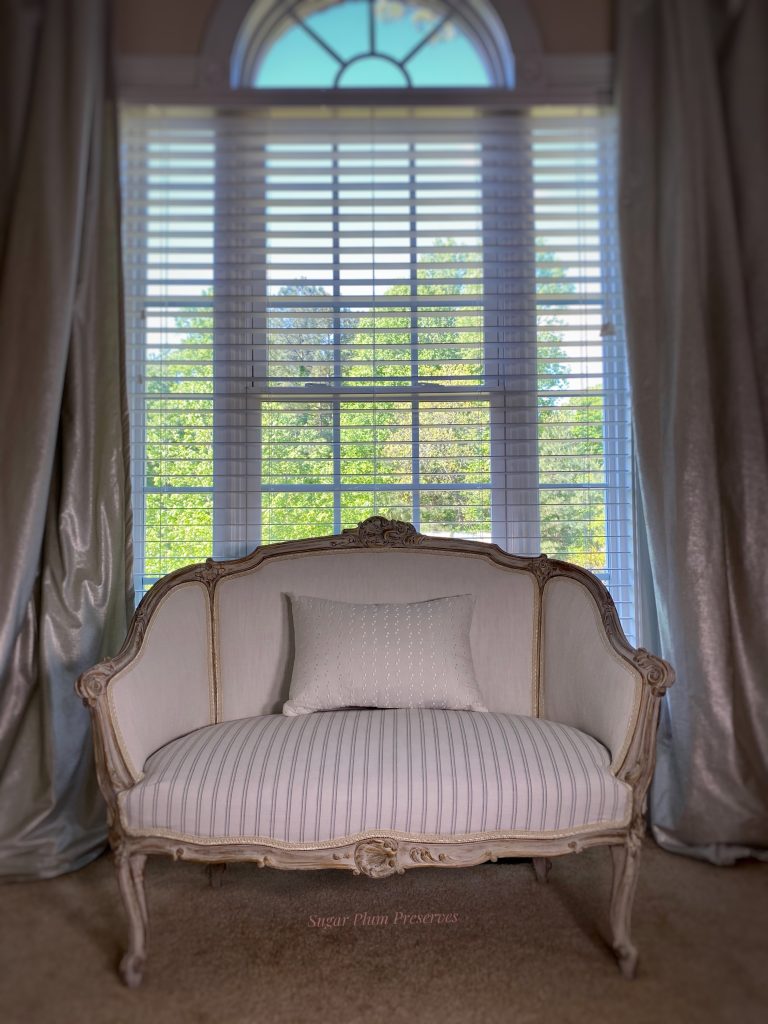
This transformation is the fourth piece added to our bedroom in the hopes of creating a cohesive, beautiful, restful retreat in a time of uncertainty and stress. Check back in next week for the fifth transformation in our journey.
Thank you so much for joining me for Sugar Plum Sundae! Please check back every Sunday for more yummy recipes to transform reclaimed “junk” into sweet little treats for the home! 🤗
For more delicious treats, follow Sugar Plum Preserves:
Facebook: https://www.facebook.com/SugarPlumPreserves/
Pinterest: https://www.pinterest.com/pinterest/sugarplumpreserves
Instagram: https://www.instagram.com/sugarplumpreserves/
YouTube: https://youtu.be/tQplTZMCjq0
XOXO
Michele
Materials List (may not be all inclusive):
Rub n Buff Wax, Antique Gold https://amzn.to/3AjJcLt
Paint Brush, Square 1 inch https://bit.ly/3oI0V9z
Fabric Rotary Cutting Mat and Tool https://amzn.to/2XfFmj2
Raw Silk, Fusion Mineral Paint https://amzn.to/2YKSyxK
Glue Gun https://amzn.to/3Kl7J7r
*Affiliate disclosure: As an Amazon Associate I may earn a small commission from qualifying purchases from Amazon.com.