Cinnamon Sugar Cookie
This week's feature is a transformation that was a thrift store find just waiting to shine again!
~ A Sweet Little Treat for the Home ~
Cinnamon Sugar Cookie
Hello my Sweets!
Boy, this old piece was in need of some love, and I gave it tons! How exactly did I get from “before” to “after”??? With a little imagination about how it could look and a whole lot of elbow grease. Read on my friends!
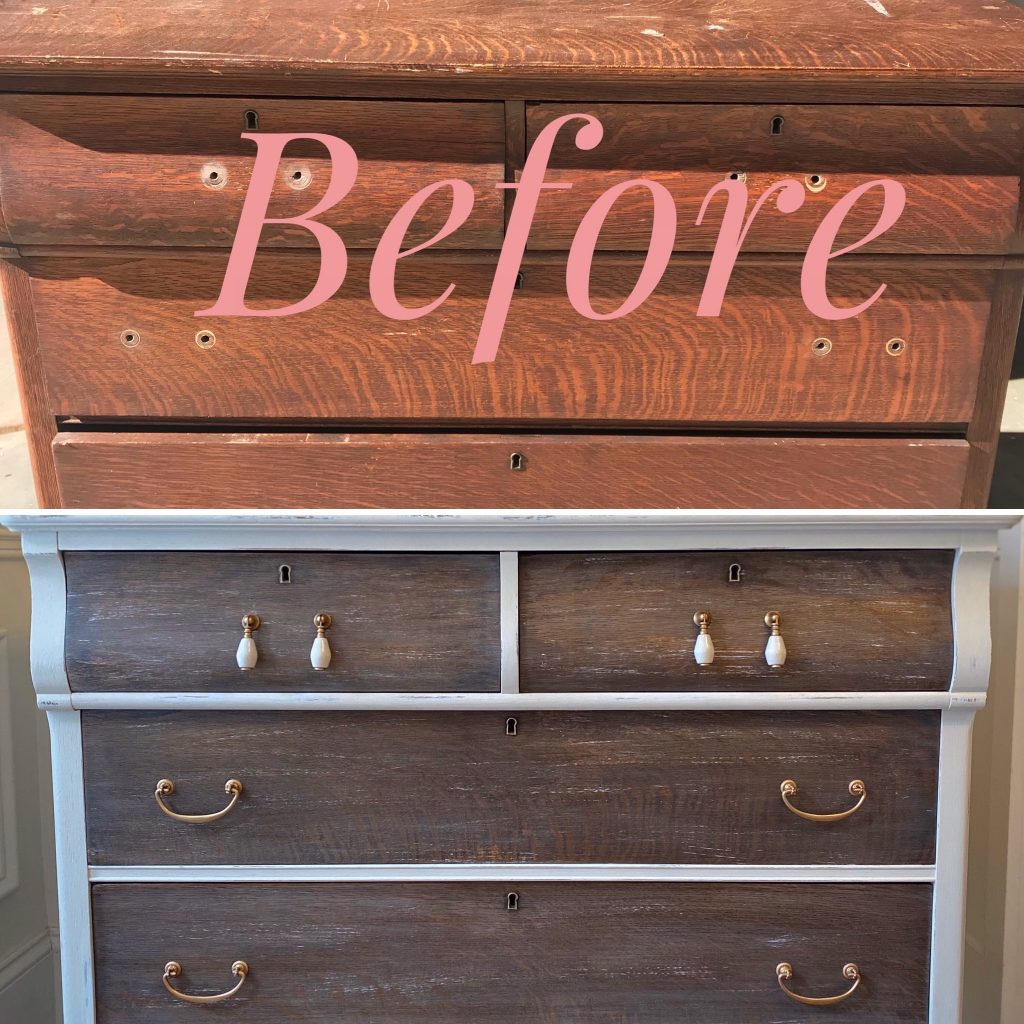
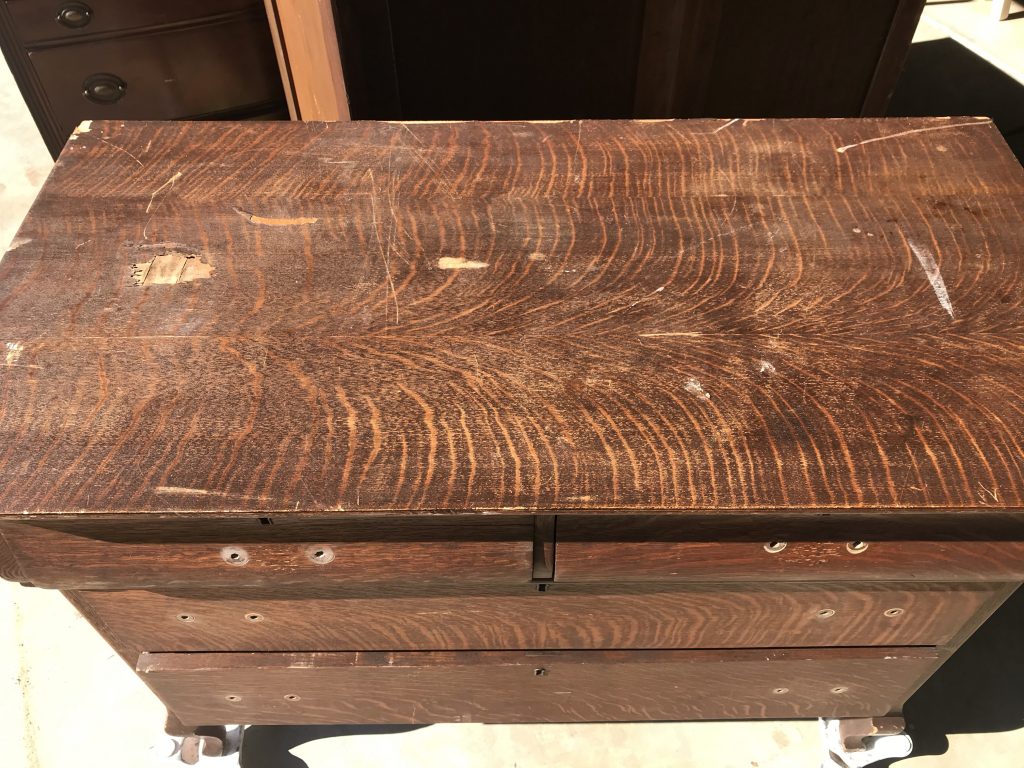
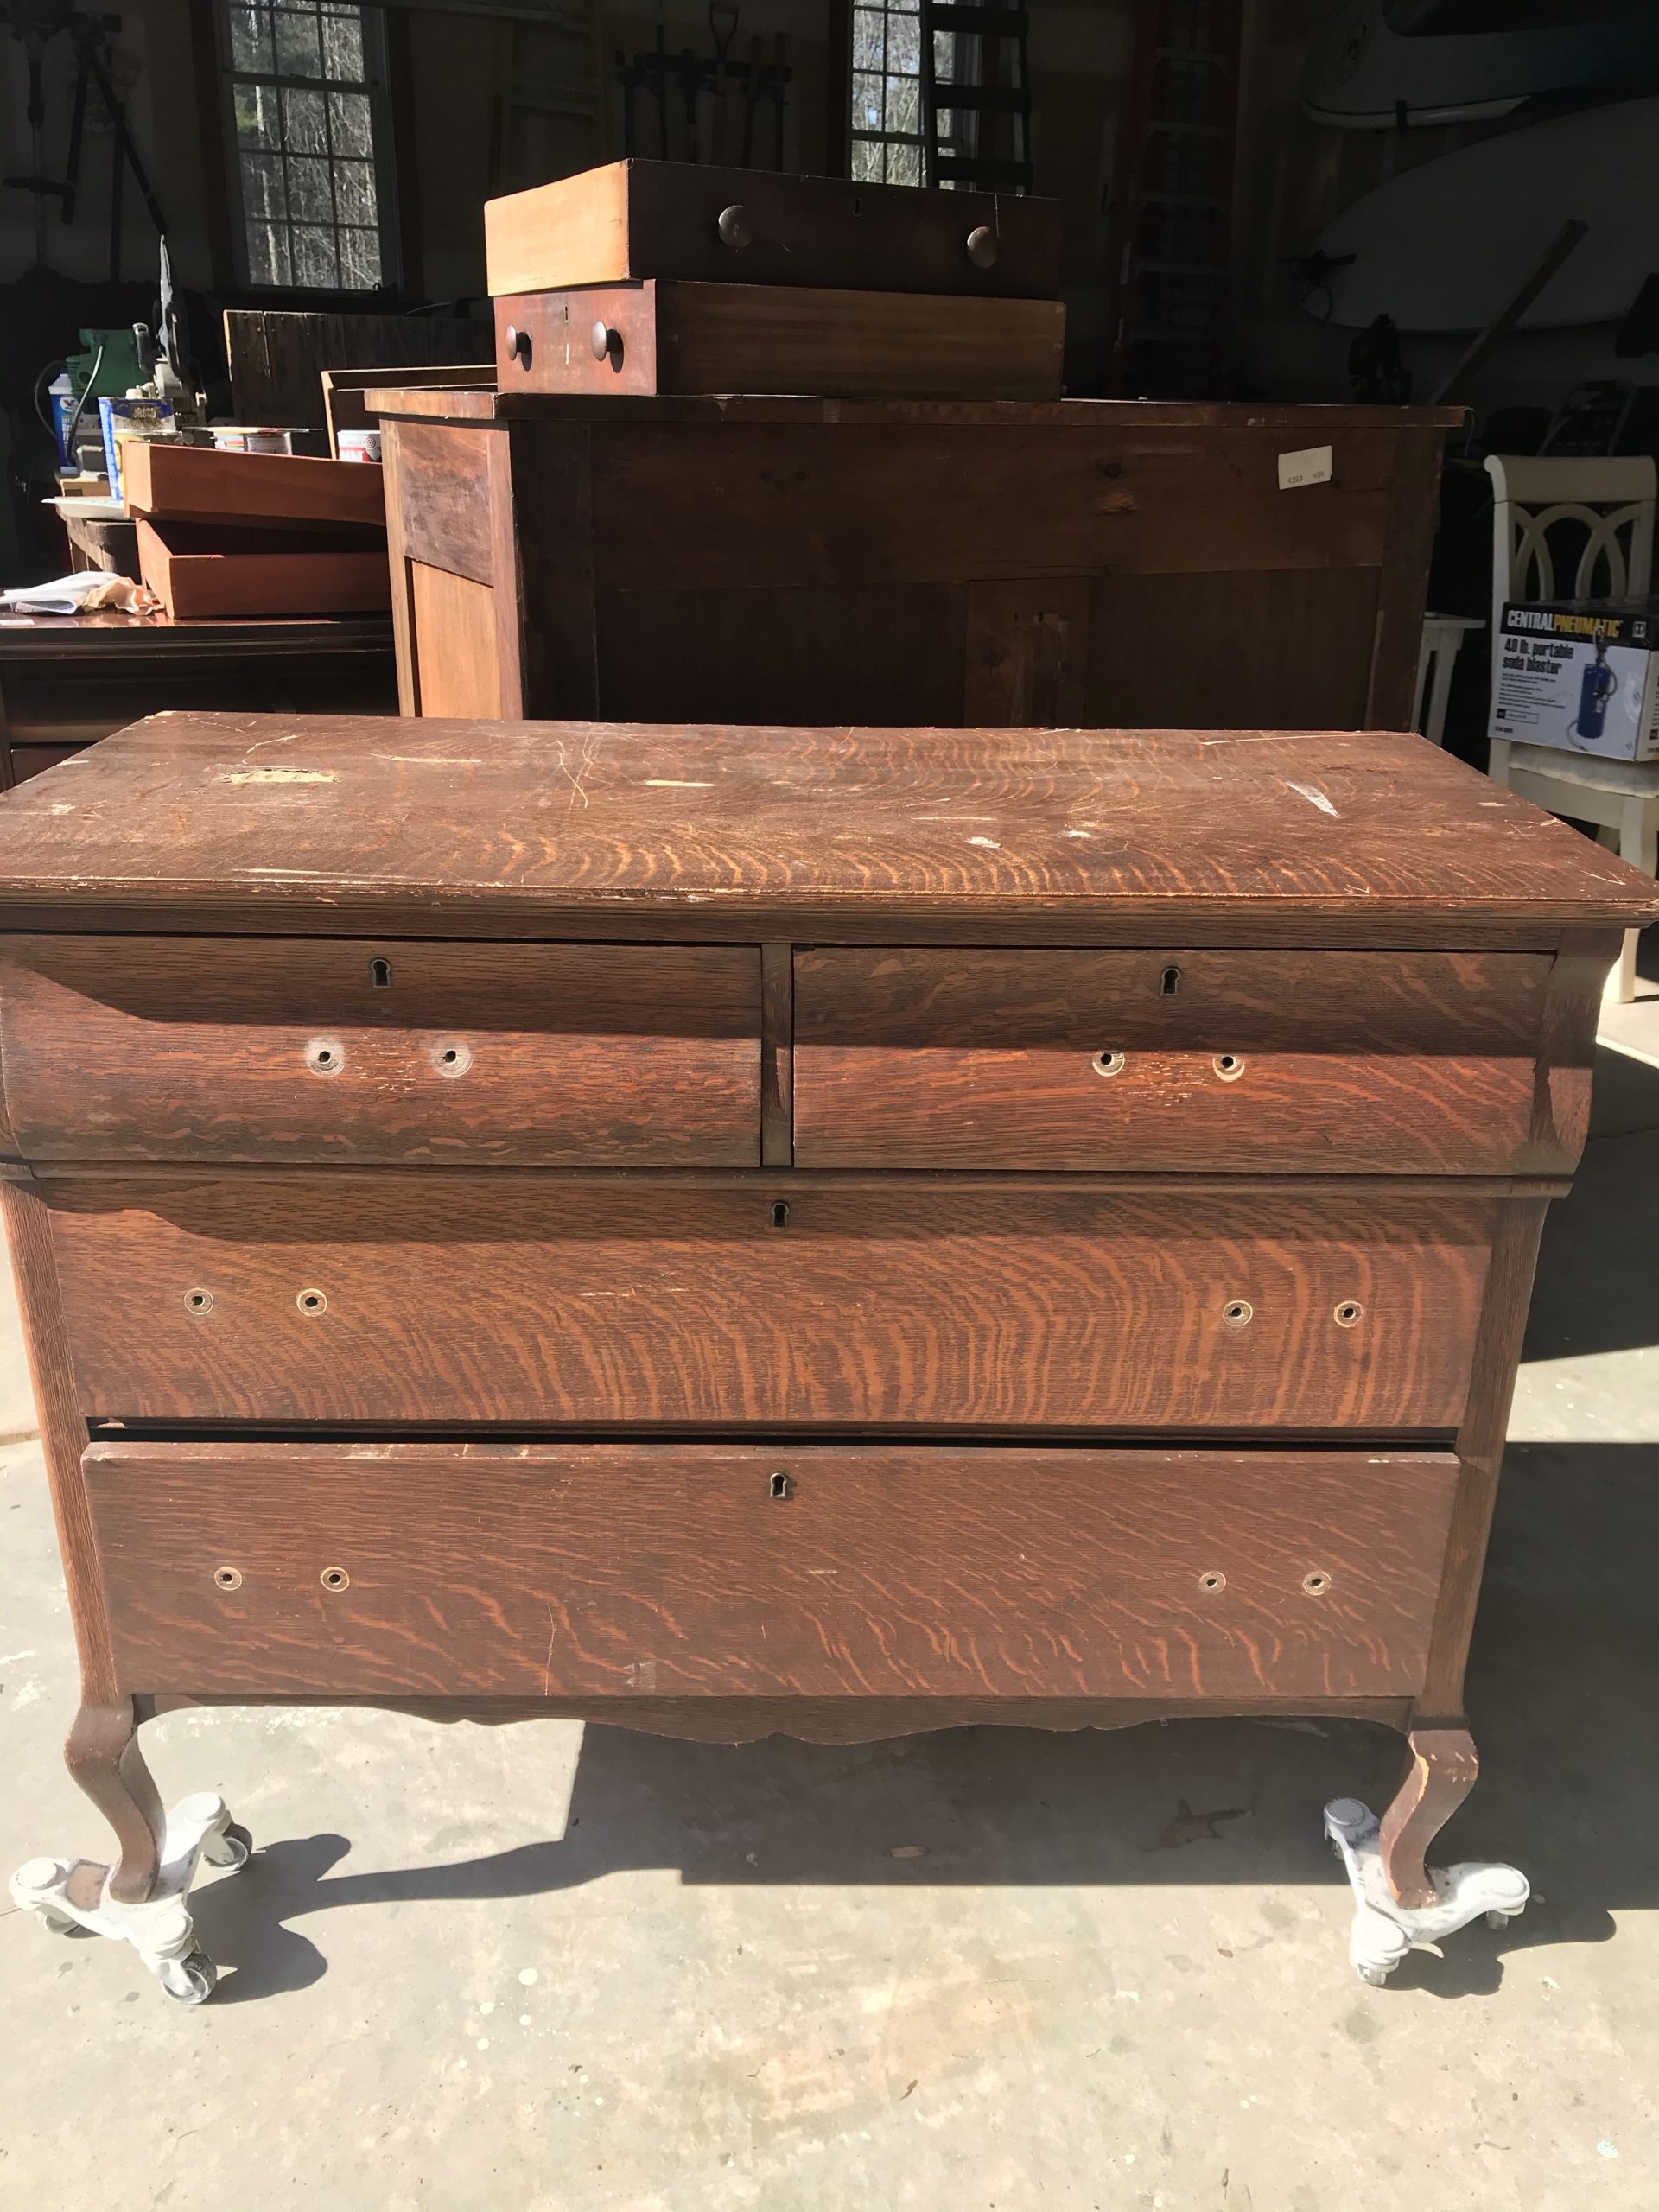
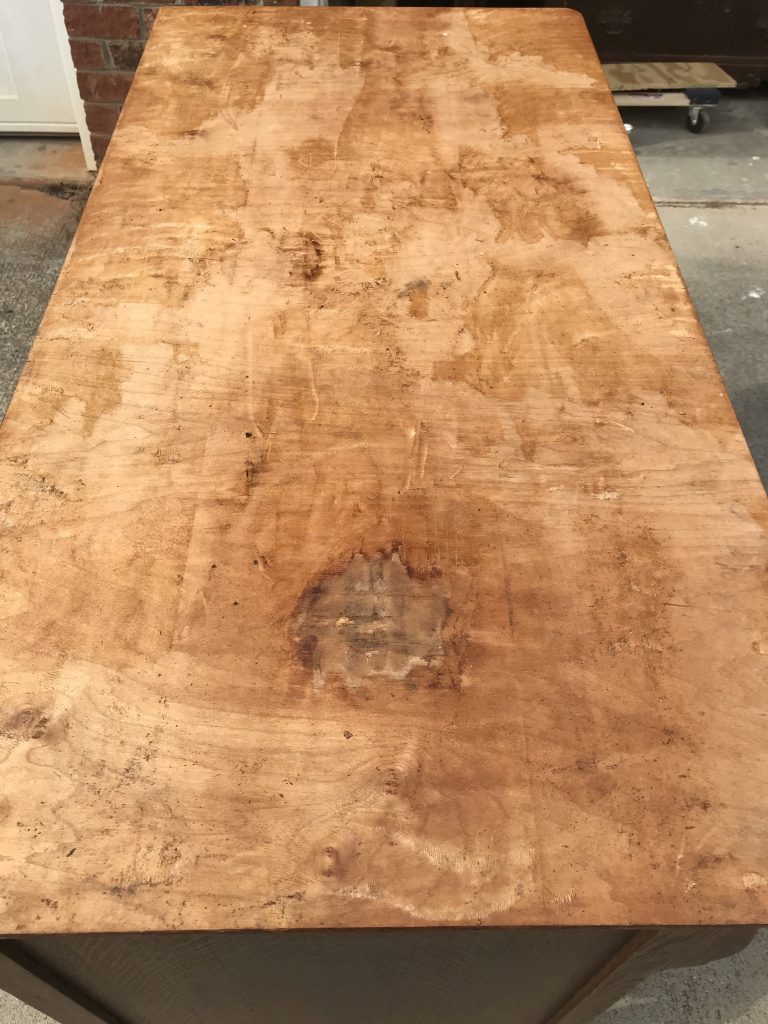
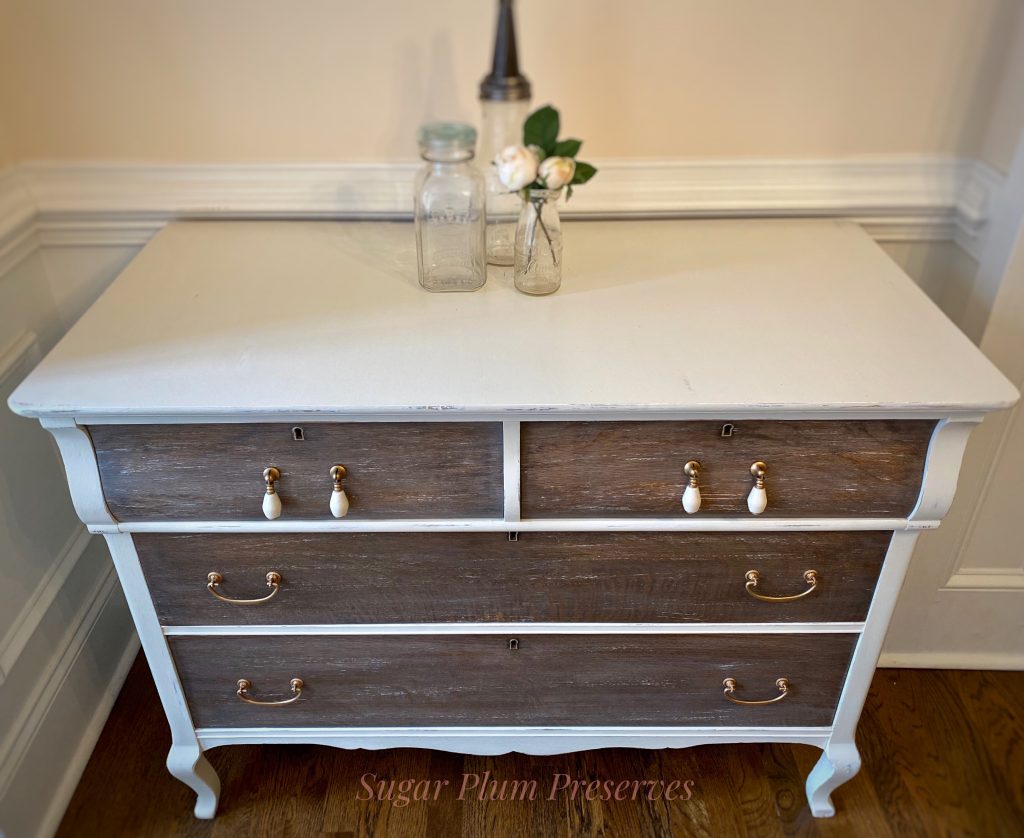
I found this chest of drawers looking very sad, in a thrift store in Boston. The curve of the upper drawers, legs, and apron caught my eye. When i got closer, I saw that it was beautiful tiger oak veneer, but that the top was quite damaged.
However, if you can look past that, you’ll notice that that the drawer fronts are in good condition. Score! ☺️ One thing that I did notice about the drawers was that they were a little wonky and weren’t sliding very well. I really did not want to have to replace the glides (been there, done that, and learned that my patience isn’t what it should be for this type of repair). This piece is quite old and luckily for me, didn’t have glides, it had wood stoppers (surely this is the technical term for those, no?). This meant that I could repair the sag in the drawers and square them up with clamps and wood glue, hopefully solving the slide issue. Spoiler alert ~ it did! Overall, it was a sturdy piece and the price was great, so into the truck it went and came back home with me to North Carolina.
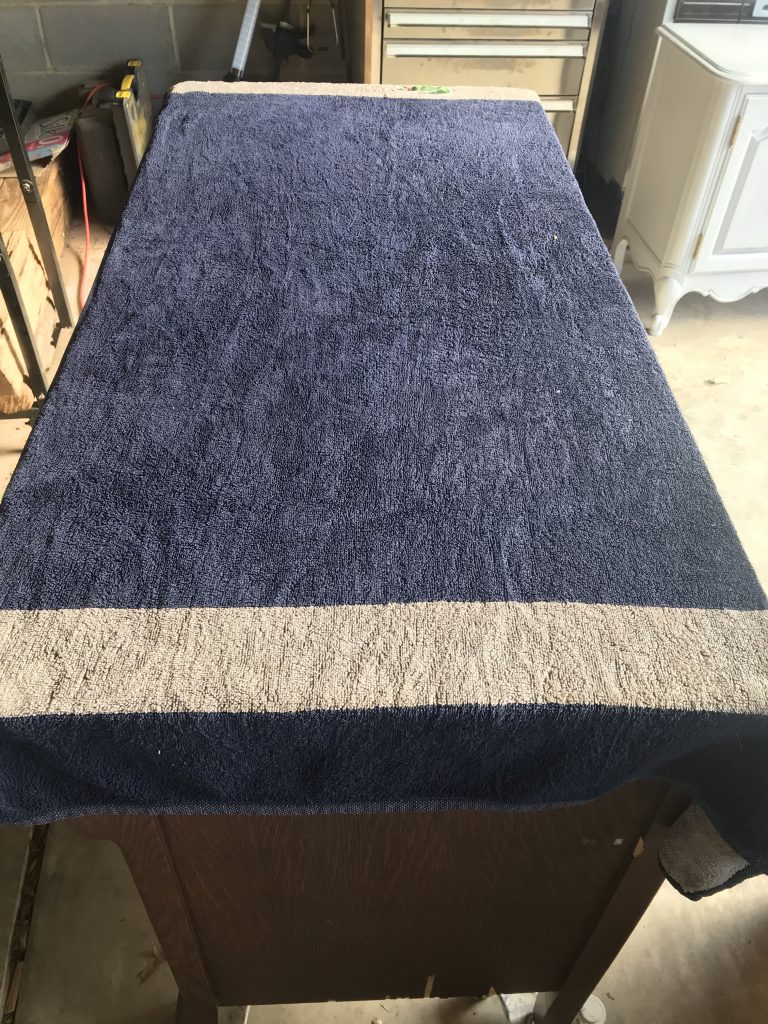
It is a well made, solid wood piece, but it was showing it’s age (and not in the cool, distressed looking way!). I had to remove the old veneer from the top because it was damaged beyond repair. It was so well made that it took quite a bit of effort to remove it. I tried leaving a damp towel on the top overnight, but this barely loosened the glue. The method that ended up working was a damp towel, with an iron and scraping away little bits at a time before it cooled. I can’t lie, it was time consuming and left spots of very sticky glue which I scrubbed with dawn, water, and a scouring pad.
Once the veneer and glue were gone, I gave the whole thing a thorough cleaning with a mixture of white vinegar, warm water, dawn dish soap, and a scouring sponge. This step is my very least favorite, but it is absolutely necessary to prevent paint adhesion problems later. After a good scrub down, I went back over the whole piece with warm water and a rag.
We’re getting closer to the fun part ~ Paint!! But first, sanding and repairing the hole that remained on the top. I used my orbital sander with a 150 grit on the top, evening out the wood and smoothing out the jagged areas around the hole. There were some areas on the sides where the veneer had peeled, so I decided to leave those as is and to go with it, rather than repair it. I wanted to respect the age of the piece and give it a distressed look, instead of trying to make it look shiny and new anyway. The top however, needed attention. To repair the hole, I used Dixie Belle Mud for the first time and I loved it! It had the consistency of pudding and spread easily and was also easy to create a smooth layer. I have tried several different brands of wood filler, bondo, epoxy, wood putty etc., and nothing else was as easy to work with. Just apply, wait for it to dry, and lightly sand it smooth. Voila! Cue the singing angels! ***laaaaaaaaaaaahhh**
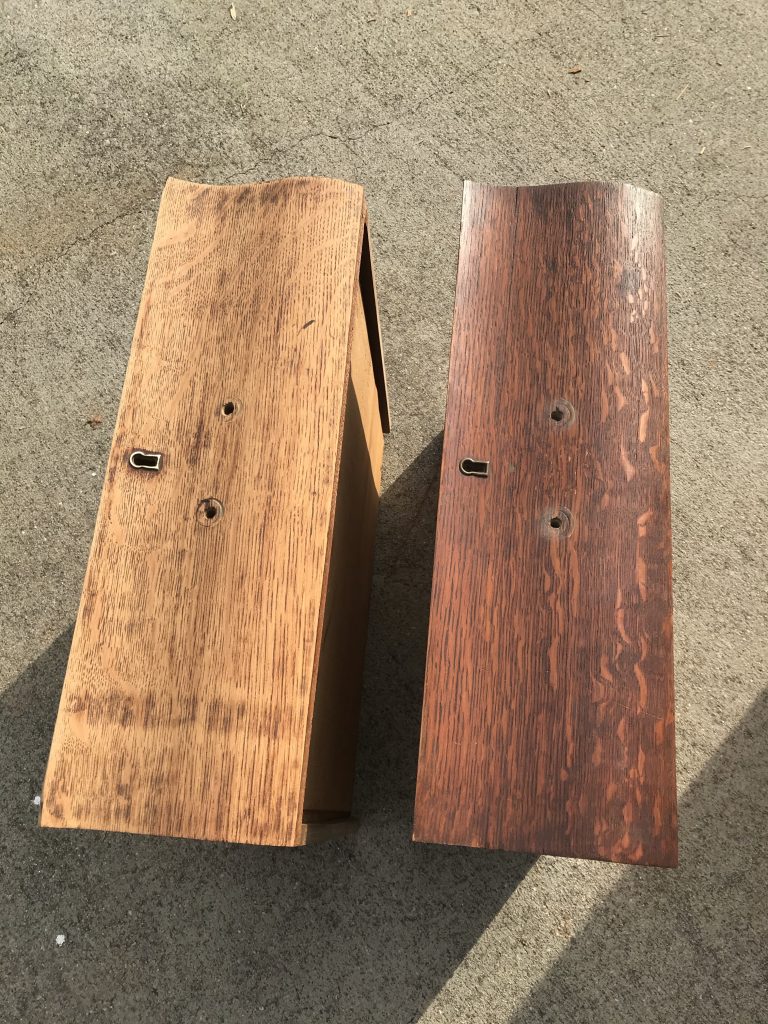
I hand sanded the drawer fronts to smooth out some spots of wear and to knock back the red tone. For this I used 220 grit sand paper wrapped around a sanding block. I also went over the top by hand with the 220 grit to smooth out the grain. I liked the tone of the drawer fronts better, but still I was not in love. Hmmph! I put those aside and started painting while I marinated on what I wanted to to with the drawers.
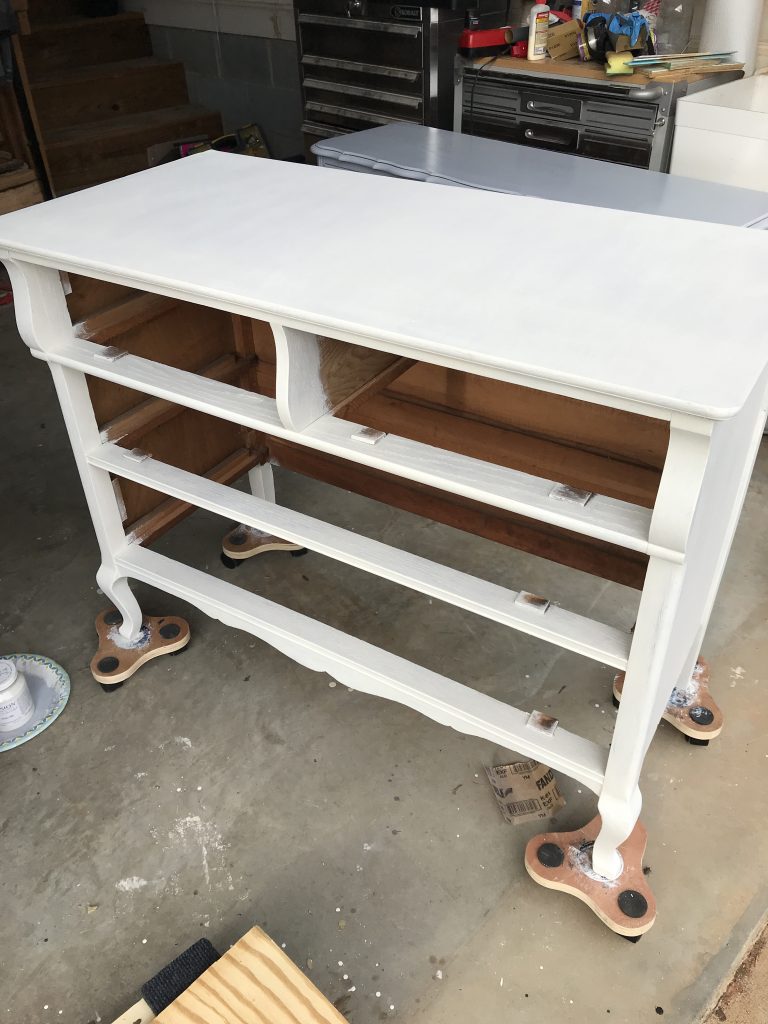
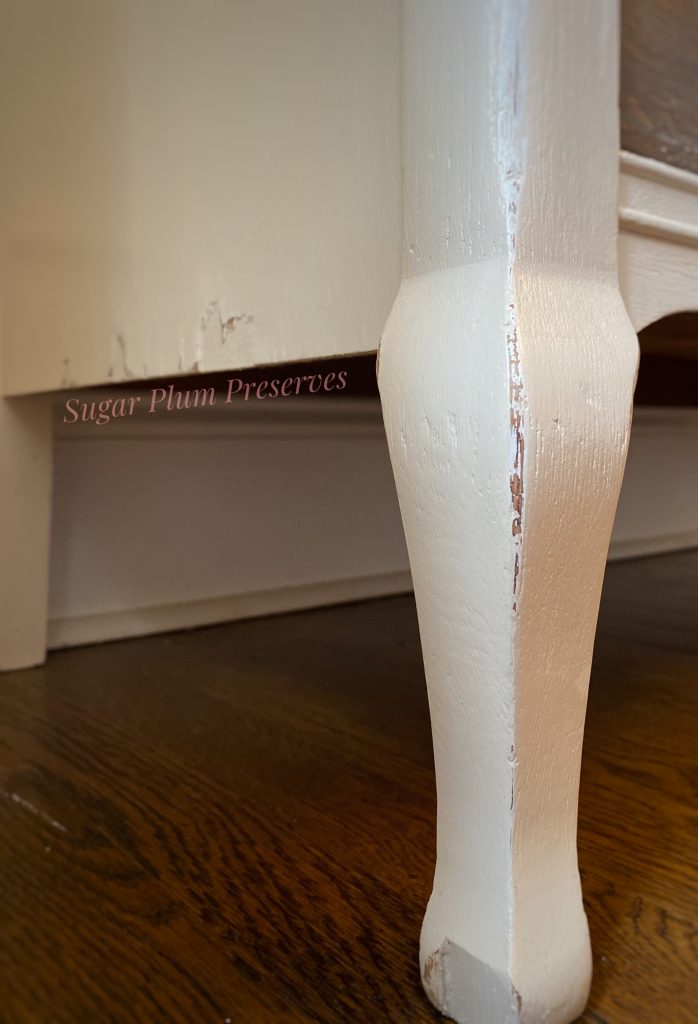
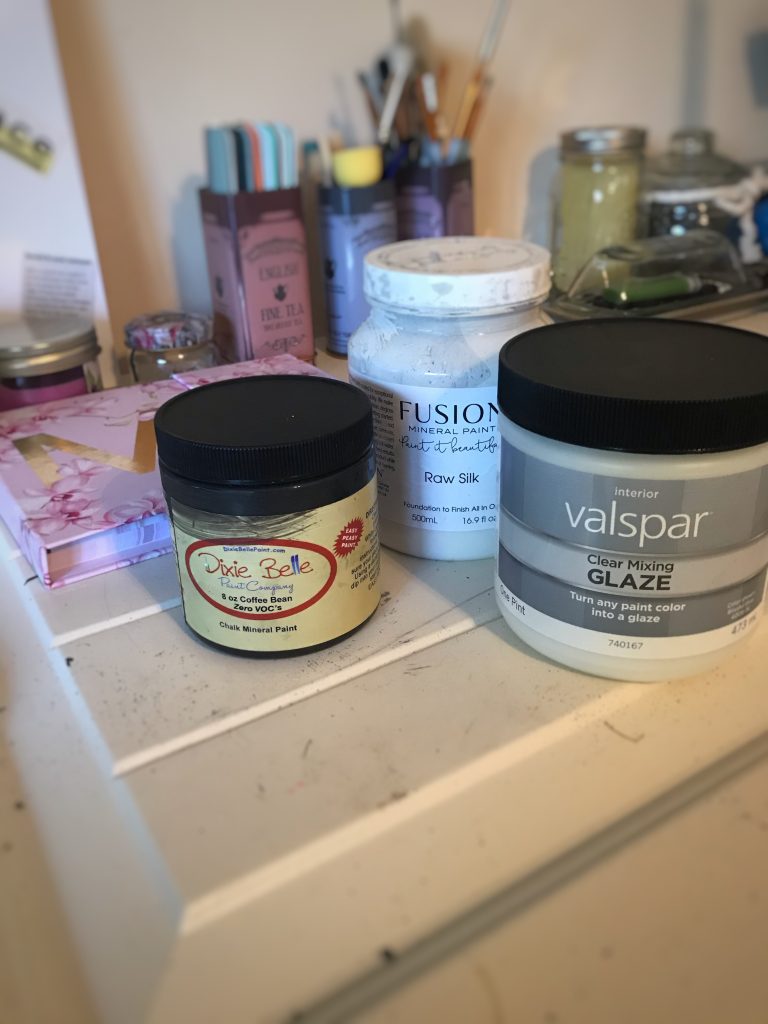
I chose to use Fusion Mineral Paint in Raw Silk for the top and body. Prior to painting, the body was sanded with 220 grit sandpaper, wrapped on a sanding block. Being a light color, I was worried about bleed though, so I applied two coats of BIN shellac based primer, sanding lightly between coats to level the raised texture of the primer. In my experience, it is very important to use the shellac based primer, not the water based one, to prevent the red tone from turning your piece pink! Trust me on this, you do not want to have to prime and paint all over again. I had used the Fusion brand before with mixed results, so I was crossing my fingers while I painted this delicious creamy white. It took 3 coats for complete coverage, but I had worried for naught! YAY! The paint went on smoothly, without a lot of brush strokes and with it’s self leveling quality, dried even smoother! I did use a little trick by keeping my brush damp while I applied it and that seemed to really help. I also think that the choice of brush is hugely important! I ALWAYS use a z!bra brush. They have many different shapes and sizes for detail work (I used the small spindle brush for this project), they are super easy to clean, leave a smooth finish, and I have never (not even once!) had a bristle shed onto my wet paint while I’m using it. I really love their brushes and think they will make your paint experience easier. Once the paint was dry, I wet sanded over the areas that would have naturally worn over time to lightly distress the piece. Here is where I turned the peeling veneer and wear spots into a positive by highlight them instead of repairing them. After all, what’s cooler than natural, age related distressing?!? Amiright??
Now back to the drawer fronts. I wanted the wood to look worn but not too gray, not too dark, and still sheer enough to see the lovely tiger oak grain. I used a lot of trial and error here until I created the look that I wanted. The winning combo was glaze (brown), a wash (cream), and dry brushing (cream), in that order. I used Fusion Miner paint, and Dixie Belle chalk paint for all of these steps because it is much easier to manipulate, move, or remove with water if you don’t like the results. And in achieving this look, trust me, there was a lot of wiping off! Latex paint is not as forgiving and would not recommend for this. I mixed clear glaze with Dixie Belle Coffee Bean (about 3 parts glaze to 1 part paint) and used a rag to wipe it on and back off again in order to keep the coat sheer. There was a lot of spraying with water, wiping off, and reapplying before I got a look that I liked. I then mixed Raw Silk with water to make a wash and did the same technique. Lastly, I went over the length of the drawers lightly with a chip brush and the tiniest bit of Raw Silk for the dry brush layered effect.
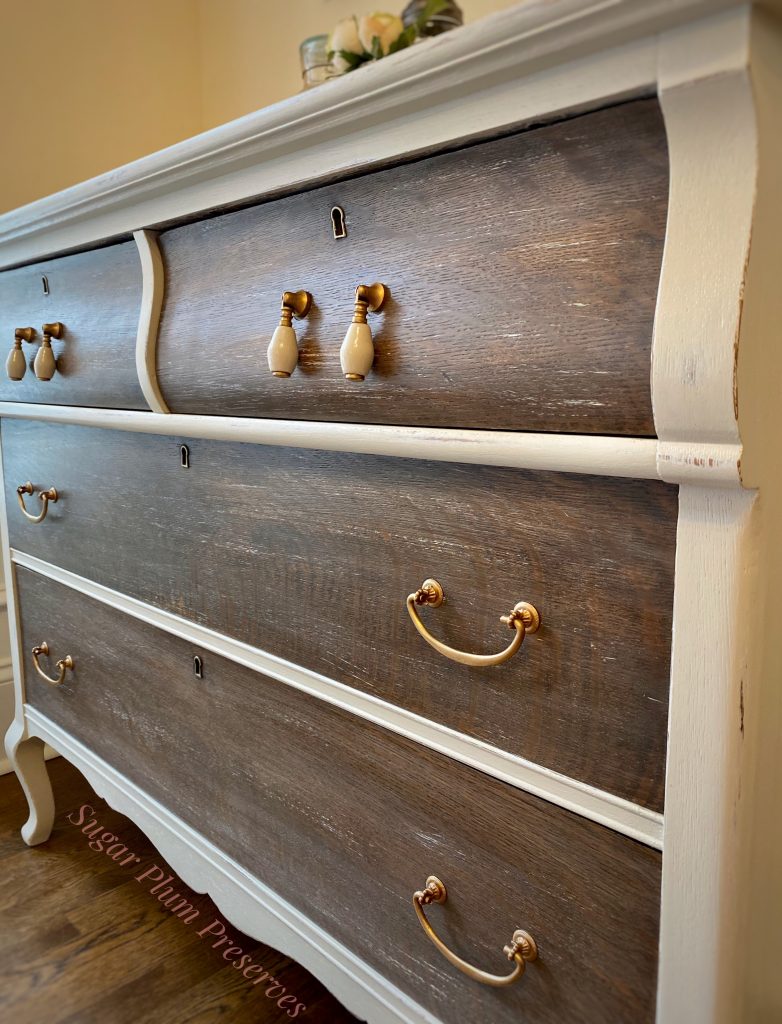
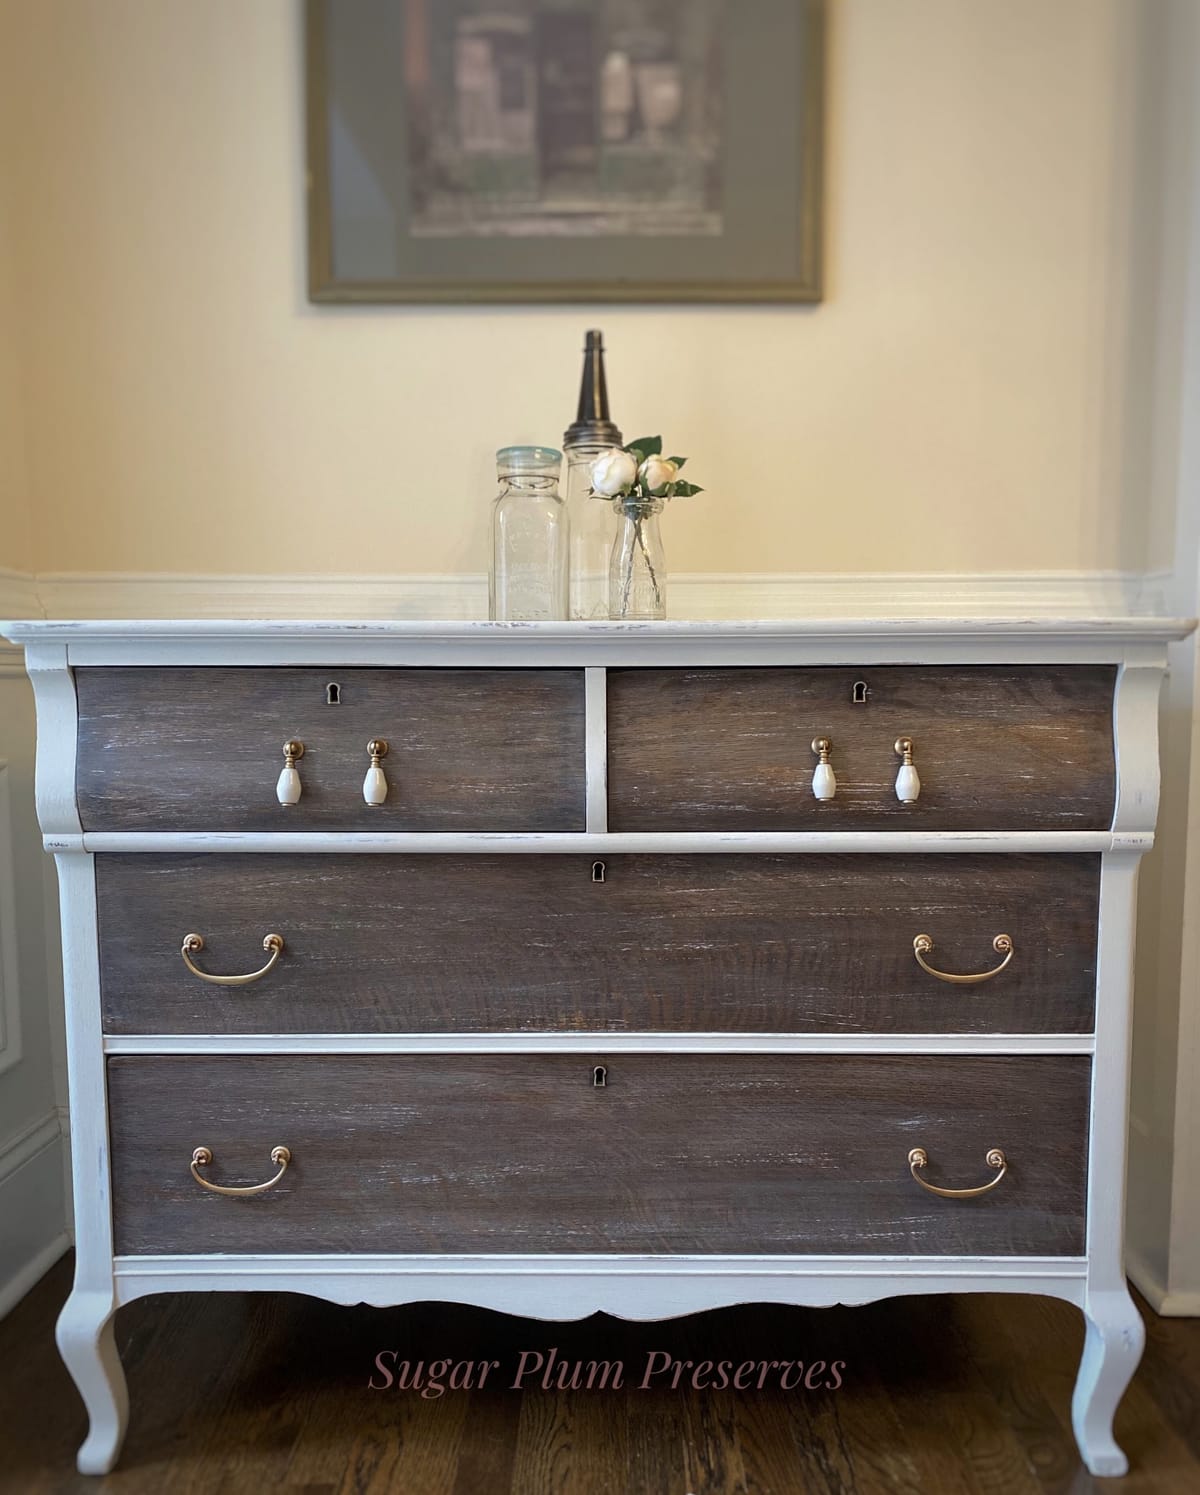
I lined the top two drawers with a grain sack material to give it more of a farmhouse, rustic feel. I used a little trick here by adhering the fabric to a foam core board instead of directly to the drawers. This way, it can be removed or changed easily. I refreshed the wood in the other two drawers with a few coats of hemp oil. It rehydrates the wood and will harden to a protective coat after a 30 day cure time. The pulls on the bottom two drawers are original, just refreshed. I replaced the top two drawer pulls because one side was missing. I used a gold gilding wax to unify the metallic color of all of them. I thought the porcelain tear drop pulls were just the pretty that it needed! **sigh**
I adore the beautiful curves of this piece – on the top drawers, on the cabriole legs, and on the apron. They give this antique farmhouse look a bit of glamour, which I am ALWAYS down for! This piece is a great reflection of my personal design style, which I like to call “lived in glamour”.
Thank you so much for joining me in the very first edition of Sugar Plum Sundae! Please check back every Sunday for more yummy recipes to transform reclaimed “junk” into sweet little treats for the home!
For more delicious treats, follow Sugar Plum Preserves:
Facebook: https://www.facebook.com/SugarPlumPreserves/
Pinterest: https://www.pinterest.com/pinterest/sugarplumpreserves
Instagram: https://www.instagram.com/sugarplumpreserves/
YouTube: https://youtu.be/tQplTZMCjq0
XOXO
Michele
Materials List (may not be all inclusive):
Dixie Belle Mud https://amzn.to/2zfMdRB
Orbital Sander https://amzn.to/3e7nwWl
Dixie Belle Chalk Paint, Coffee Bean https://amzn.to/2WLGtbb
Topcoat, Minwax Water Based Polycrylic, Satin https://amzn.to/3g7e7Qw
Paint Brush, Round 1 inch https://bit.ly/3oI0V9z
BIN Shellac Primer, Gallon https://amzn.to/3g8f0I
Chip Brush, 3 inch, 24 pack https://amzn.to/2WNntJf
Spray Adhesive, Elmer’s Craft Bond https://amzn.to/2TrcDa1
Topcoat Applicator, Car Detail Sponge https://amzn.to/2ANgY0K
TiteBond Wood Glue https://amzn.to/2LLxIHP
Rub n Buff Antique Gold https://amzn.to/2LNYTla
Fabric Rotary Cutting Mat and Tool https://amzn.to/2XfFmj2
3 Wheel Dolly, 4 pack https://amzn.to/3bKfilf
Fusion Hemp Oil https://amzn.to/3bLQxoR
Raw Silk, Fusion Mineral Paint https://amzn.to/2YKSyxK
*Affiliate disclosure: As an Amazon Associate I may earn a small commission from qualifying purchases from Amazon.com.