Grain Sack Cubbies
This week's feature is a little cubby/shelf that just needed a bit of character.
~ A Sweet Little Treat for the Home ~
Hello my Sweets!
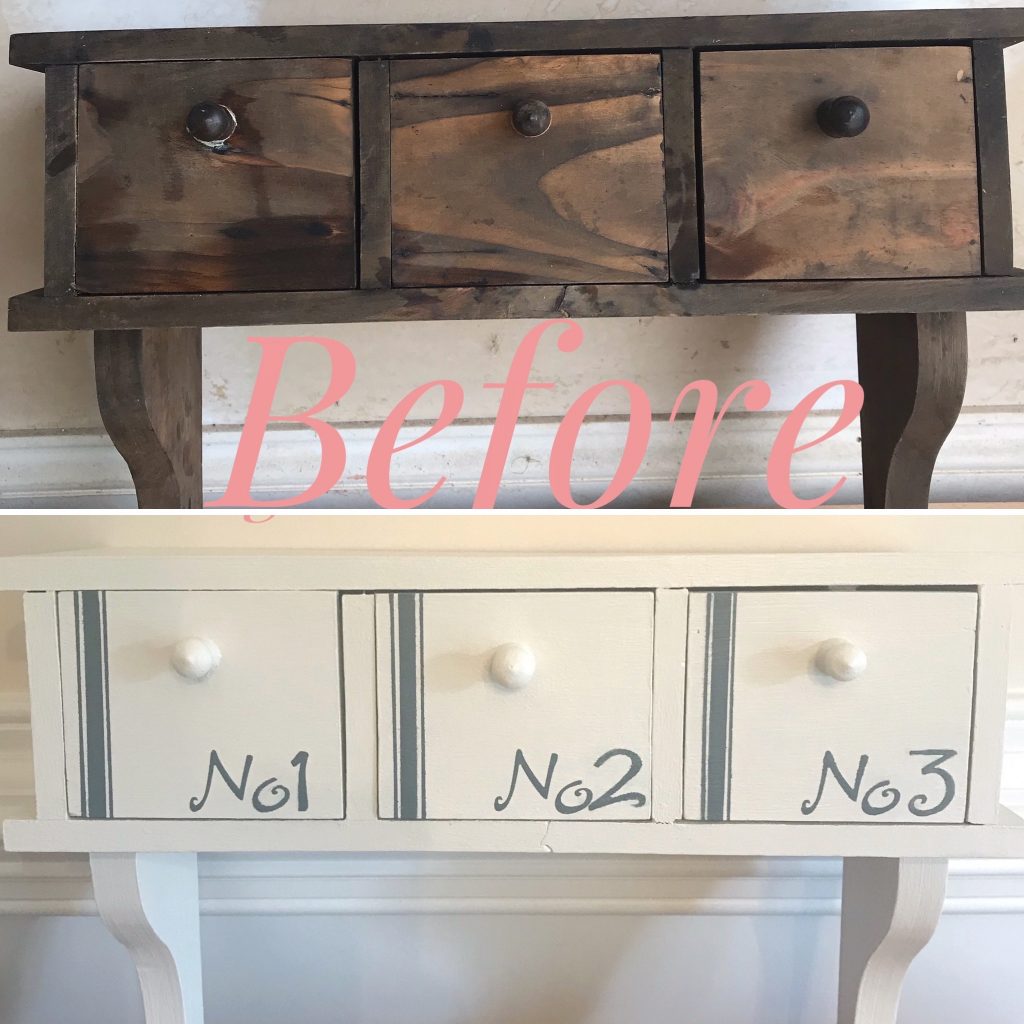
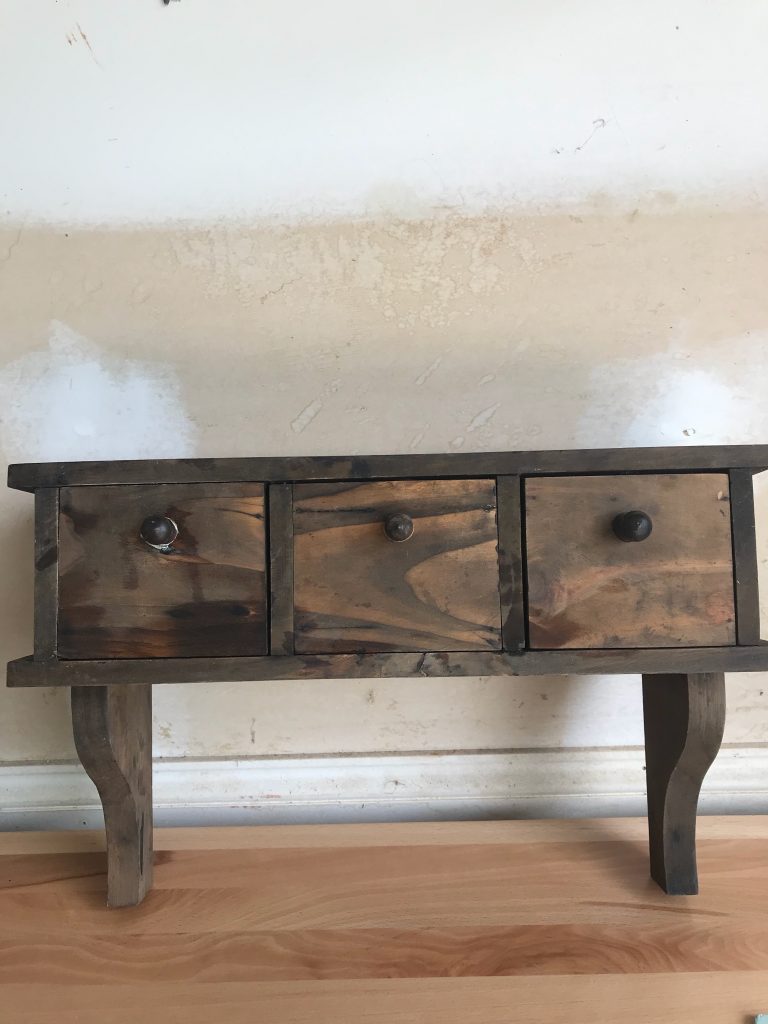
This shelf was purchased at a retail chain for very little money, but was bore-ring! Those cute little cubbies spoke to me and I knew just the punch that they needed to make them special. Read on, friends, to see how easy it was to give them a little French farmhouse vibe with a little bit of paint!
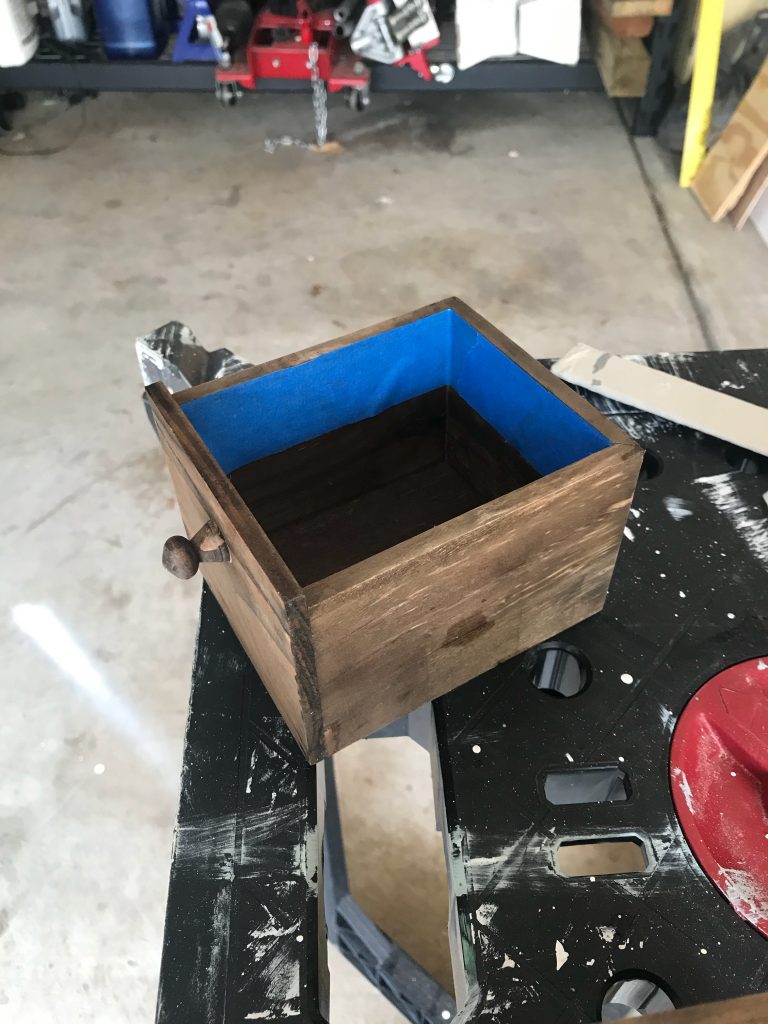
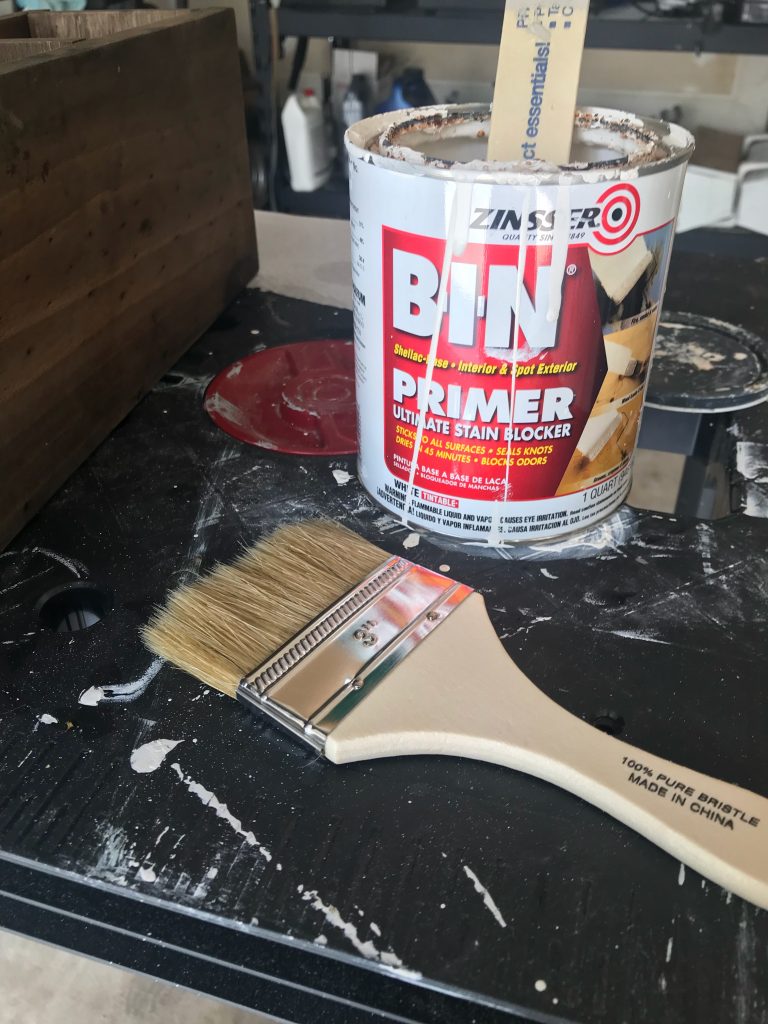
One look at that dark wood and I knew it would be a bleeder. While I love the color pink, I didn’t want my cream project turning pink after I was done. The best way to prevent that is to use a shellac based primer. I always use BIN because it has never let me down. There are a few BIN primer products, so be sure to use the shellac based one. I used tape around the inside of the cubby to create a nice sharp paint line. The primer goes on very chalky and leaves a texture, so you will want to do two things for this step: use a cheap throw-away chip brush to apply because cleaning the brush after is a challenge and you don’t want to ruin your good brushes, and lightly sand between coats to knock down the gritty texture. A few coats of primer and we were good to go with the paint.

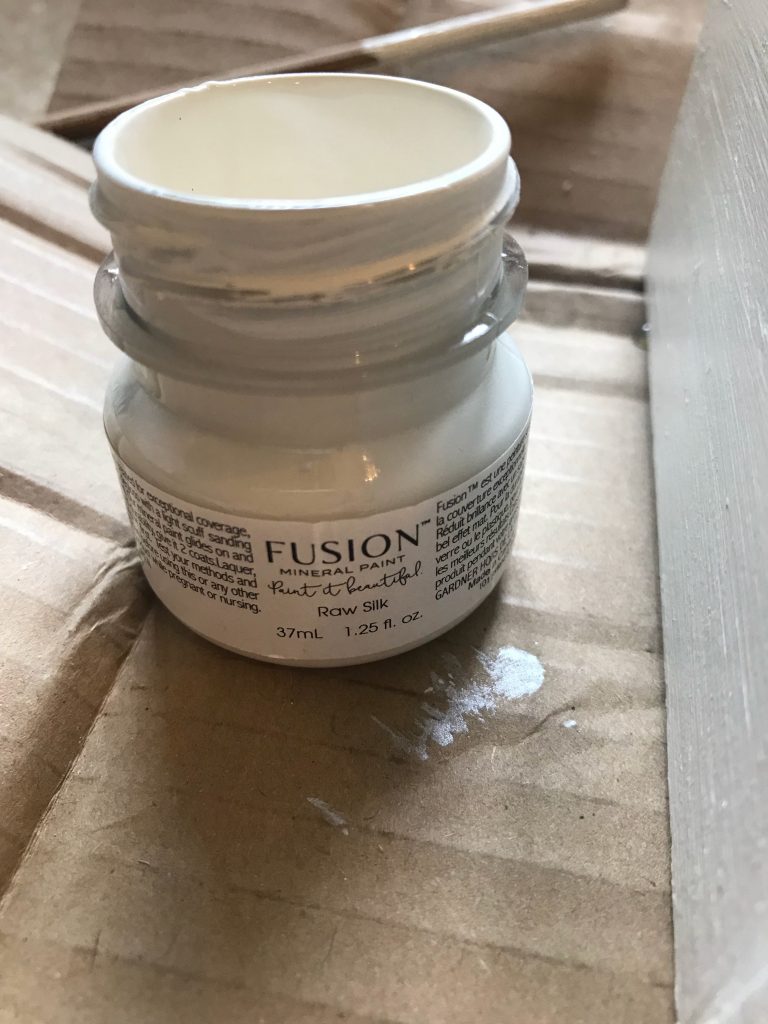
The paint that I chose for this project is one that is quickly becoming a go-to for my “not quite white” projects. It is Fusion Mineral Paint in Raw Silk. This project was the first time that I had used Raw Silk. I bought a sample jar, which is a tiny 1.25 oz jar, but it was enough to complete the project with 3 coats. I was happy with the coverage as well.
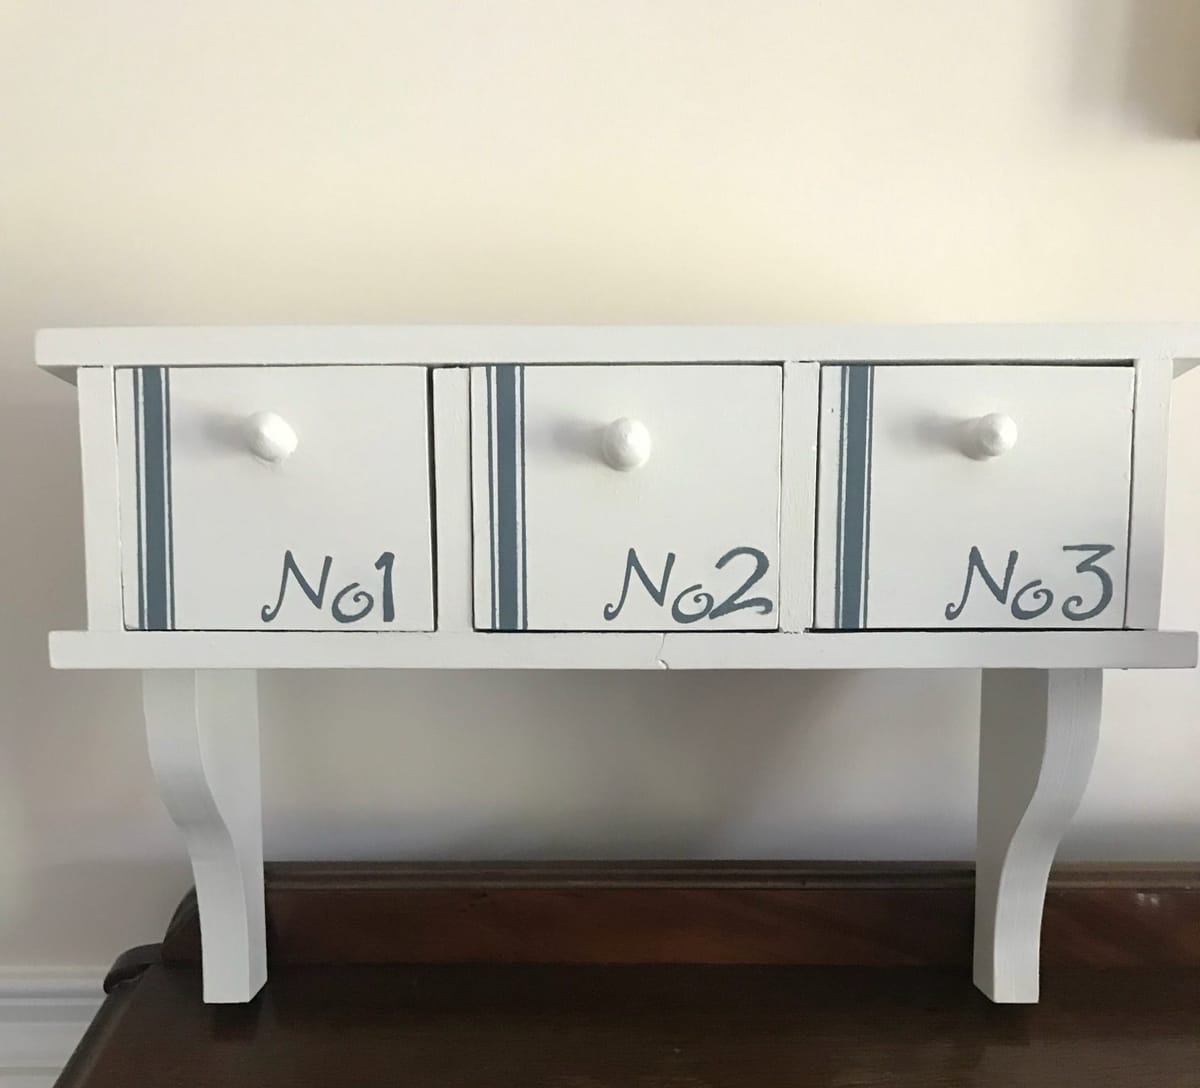
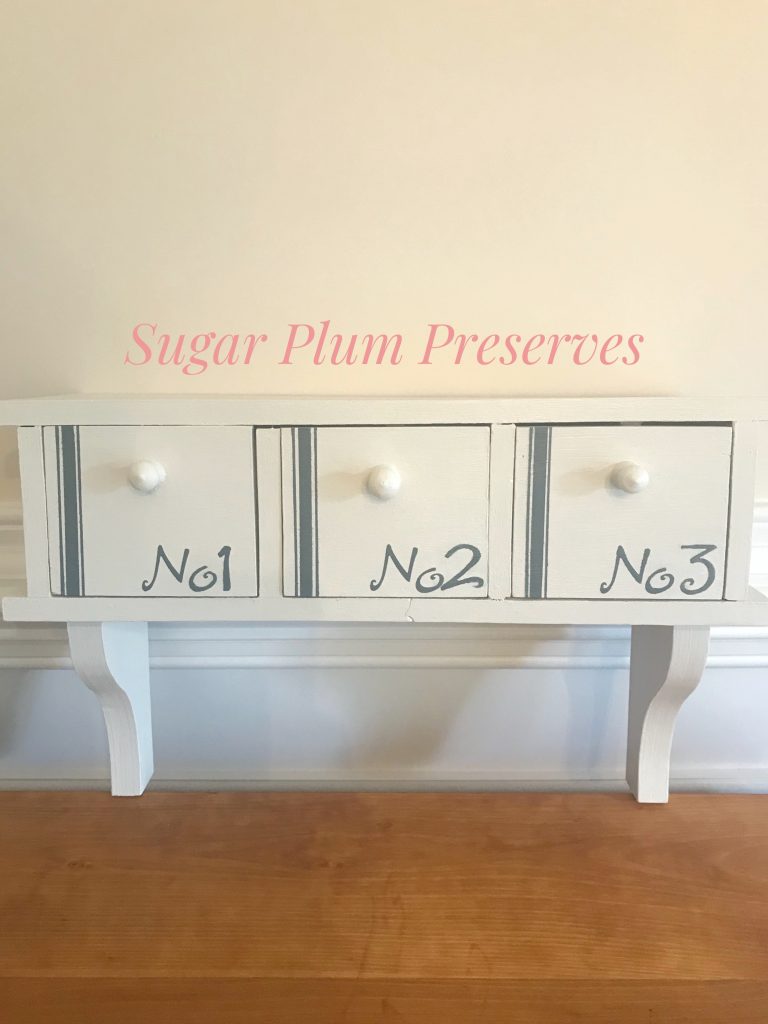
Once the paint was dry, I used tape to create the grain sack stripes. To create the look, you want thin and a thick stripes. I have seen the look created in two different ways – 3 stripes (2 thin stripes and 1 thick stripe) or 2 stripes (1 thin stripe and 1 thick stripe). It is up to you which you prefer, but I chose 3 stripes. I can’t lie, this step did take a steady hand to create even spaces between the stripes, so be patient with yourself if this part takes a few tries. I used some number stencils that I thought had a farmhouse feel to them and numbered each of the cubbies. The color that I chose for both the stripes and the number stencils is Stormy Seas by Dixie Belle. I had the paint on hand from another project and thought that the muted grayish blue color was perfect to create the look of a grain sack. I think I nailed it! How about you? 🙂 You can create this grain sack look on drawer fronts, decorative boxes, pots, or even fabric to give your home a little French farmhouse vibe. Give it a try! 👩🏻🎨
Thank you so much for joining me for Sugar Plum Sundae! Please check back every Sunday for more yummy recipes to transform reclaimed “junk” into sweet little treats for the home!
For more delicious treats, follow Sugar Plum Preserves:
Facebook: https://www.facebook.com/SugarPlumPreserves/
Pinterest: https://www.pinterest.com/pinterest/sugarplumpreserves
Instagram: https://www.instagram.com/sugarplumpreserves/
YouTube: https://youtu.be/tQplTZMCjq0
XOXO
Michele
Materials List (may not be all inclusive):
BIN Shellac Primer, Quart https://amzn.to/3g8fuyb
Chip Brush, 3 inch, 24 pack https://amzn.to/2WNntJf
Dixie Belle Chalk Paint, Stormy Seas https://amzn.to/2LJzaul
Dixie Belle Clear Coat Satin https://amzn.to/3bNuzlp
Dixie Belle Blue Sponge https://amzn.to/2X9Hp8k
Paint Brush, Angled 2 inch https://bit.ly/3oI0V9z
Raw Silk, Fusion Mineral Paint https://amzn.to/2YKSyxK
Painters Tape https://amzn.to/363jJrh
Stencils https://amzn.to/3BZbr4j
*Affiliate disclosure: As an Amazon Associate I may earn a small commission from qualifying purchases from Amazon.com.