Key Lime Pie
This week's treat is about a piece that I created a few years ago, turning an old dresser into an entryway bench.

~ A Sweet Little Treat for the Home ~
Key Lime Pie
Hello My Sweets!
This transformation was such a long process and was so much work that I had to recover before I was able to write about it! 😜 In fact, I will share a little video clip at the end where I can clearly be heard saying “never again”. 😂
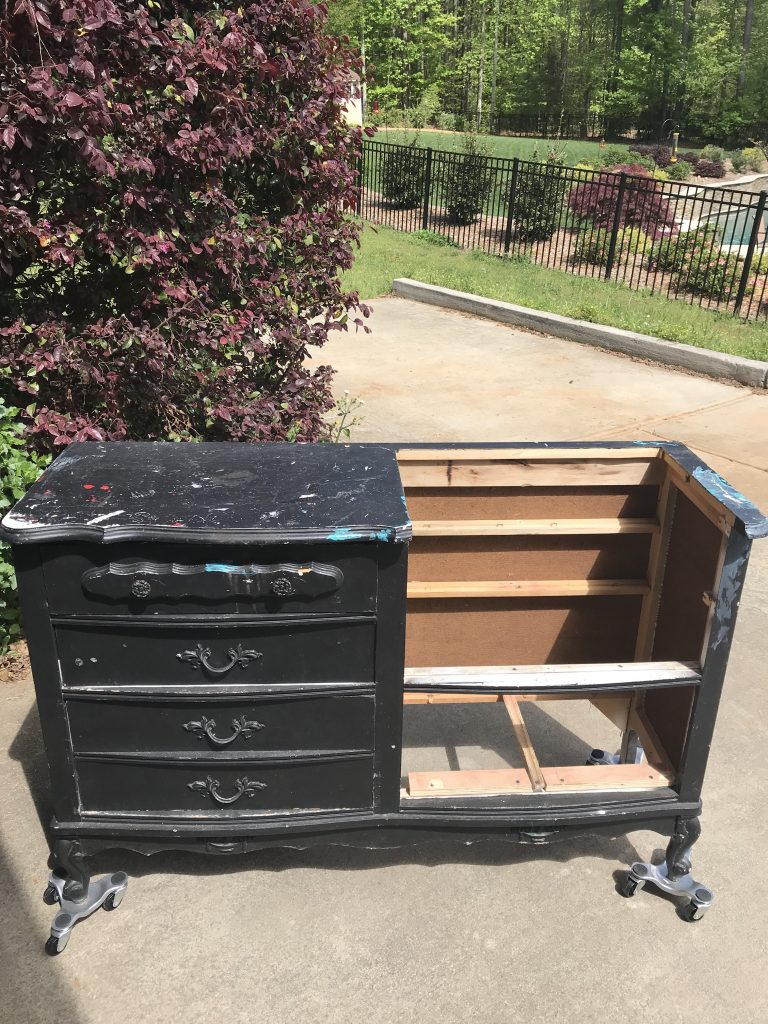
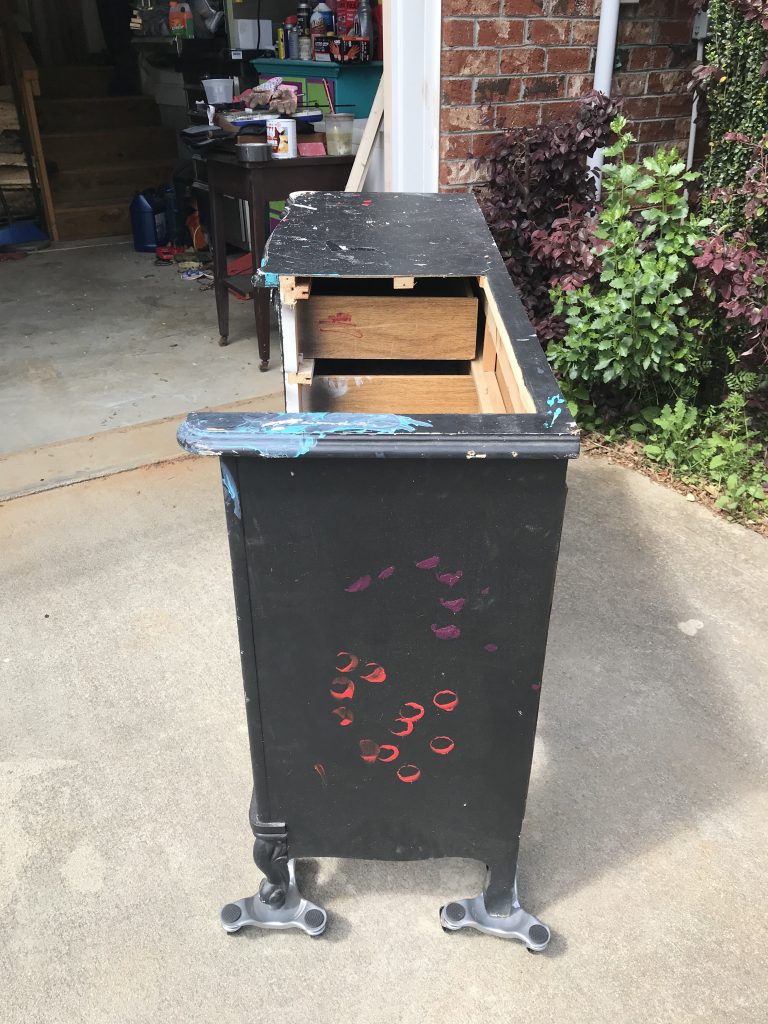
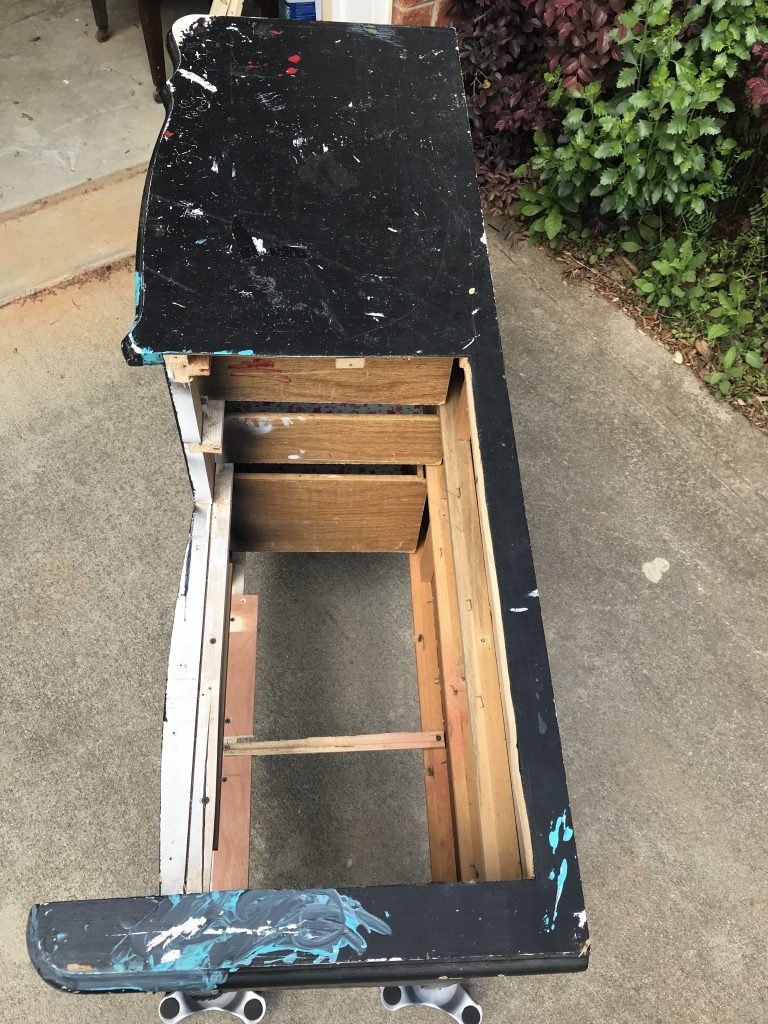
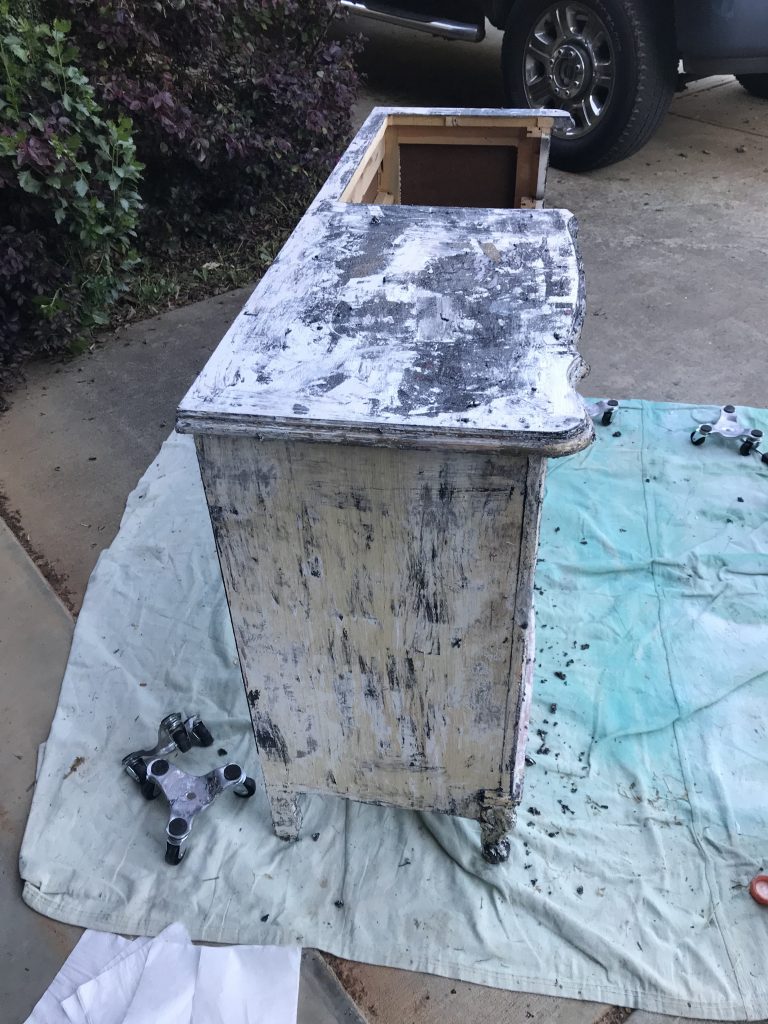
I honestly don’t even know where to begin, so I will start with the before. It was cheap and I wanted to try turning a dresser into a bench, so I snapped it up, but boy was it a mess!!
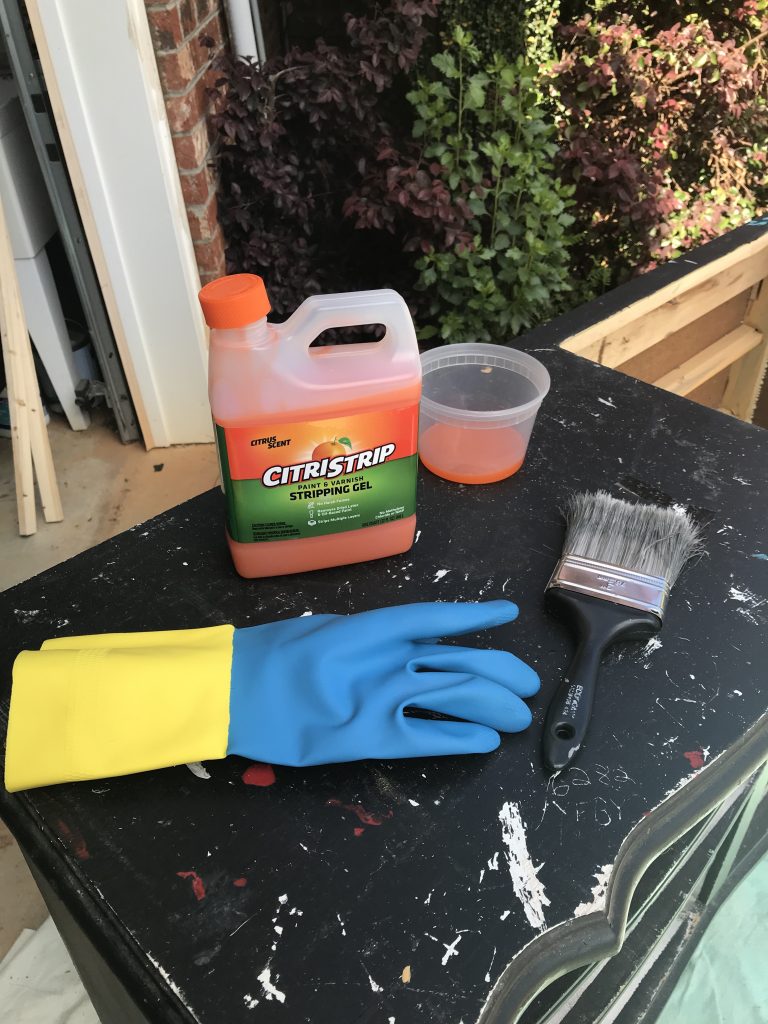
First up, removing all of that nasty paint! I started with applying Citristrip https://amzn.to/308Ydid with a brush (don’t forget your gloves!). I left it on for several hours and scraped off the paint with a plastic scraper. I repeated this step several times to get most of the paint off. Trust me when I say that it was a messy, gunky, time consuming job.
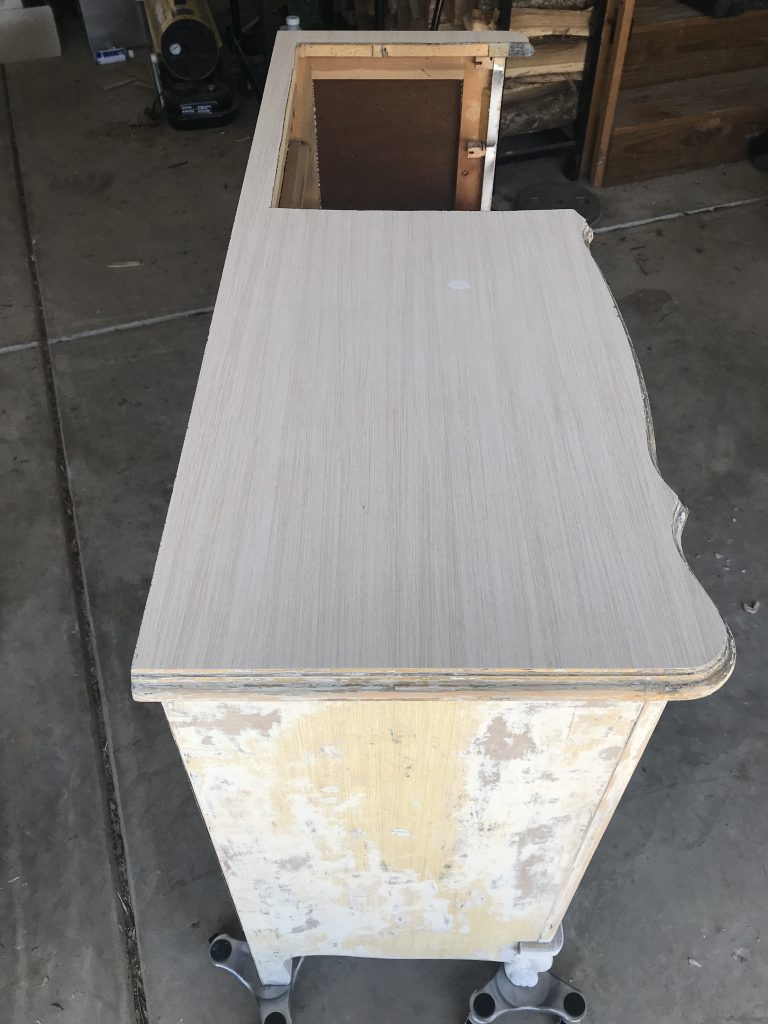
The remaining paint was removed with 50/50 mixture of acetone and lacquer thinner and then sanding. I found that the top was formica and the sides were not solid wood. 😤 This meant that I was going to have to find a special primer for the top to ensure adhesion. The good part was, it was FINALLY clean and free of that glossy, messy, paint!
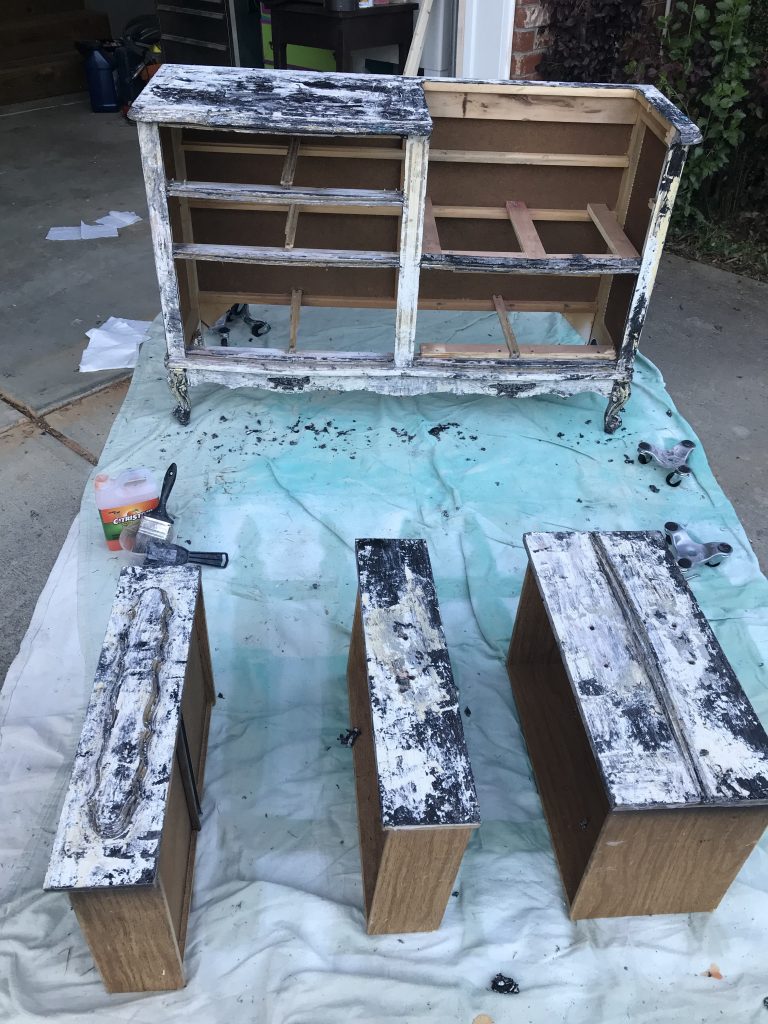
Before I could even think about painting, I had a lot of issues to address. First, since I wanted to make a bench out of it, I needed to make sure that the structure was reinforced so that the newly made seat could actually hold someone’s weight. I have seen some of these bench conversions where people have simply put a piece of wood down for a seat and called it a day. This dresser was not made for the weight of sitting, so it was important to create supports for the structure of the seat. I measured and cut 1×2’s to support the seat, under the seat frame in front, the bottom piece to frame out the cubby, and cut little block pieces for the bottom of the cubby to rest and be level.
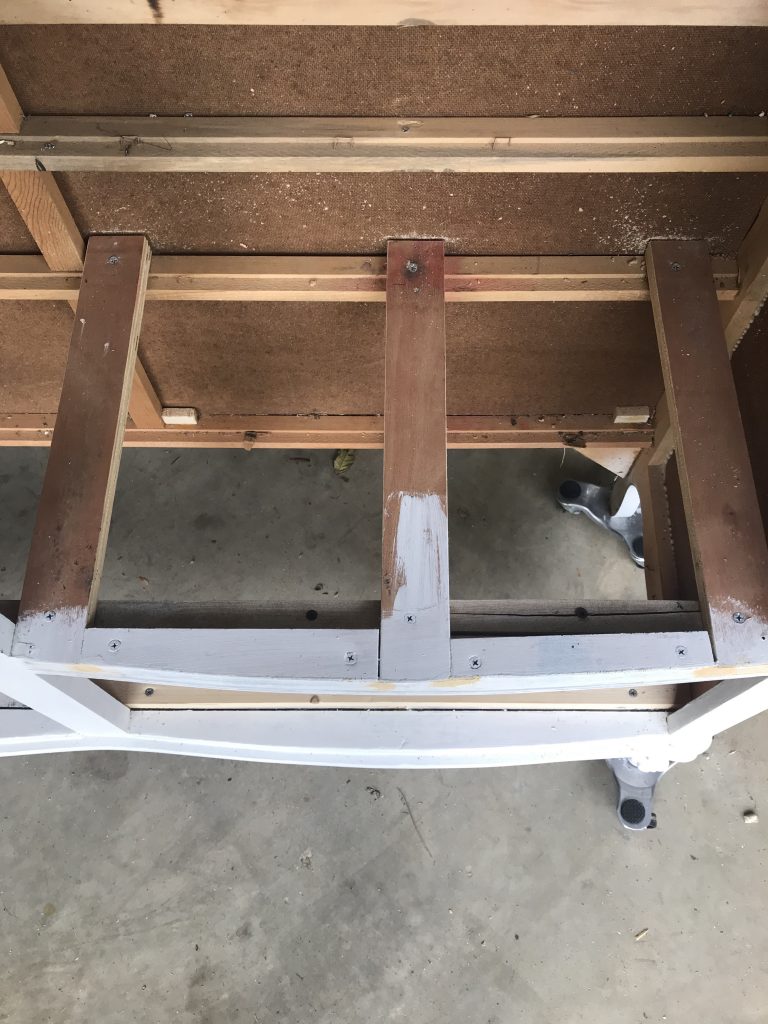
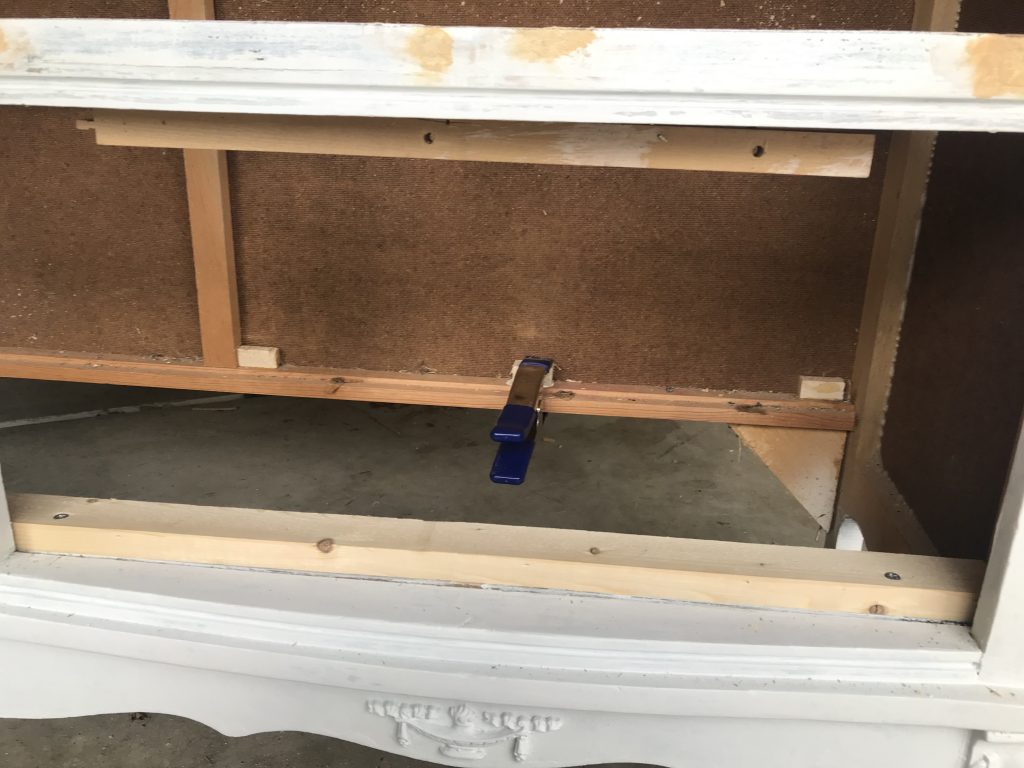
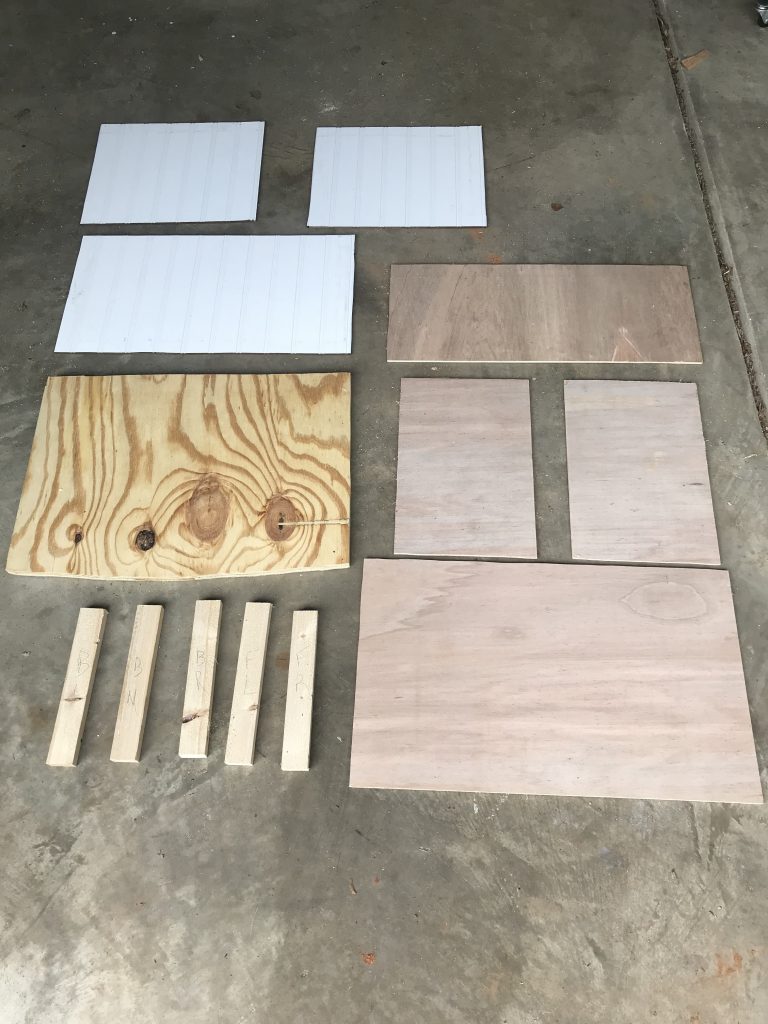
I also planned on using luan to make a cubby under the new seat and trimming around the bench in wainscoting. Here are the pieces that were measured and cut to size to fit the seat, the cubby, around the seat, and some of the supports. I did not take a picture but 3 of the 1×2’s in the picture below were placed vertically next to the blocks in the back (in the picture above) to add further support for the weight of someone sitting on the seat.
Since the body of the piece was not wood, I sanded through the board in some spots while removing stubborn paint. I had to go back and repair these areas with wood filler https://amzn.to/3qZ4h7r………Lots and lots of wood filler. Areas, such as the corners of drawers and the bottom of the bib especially needed attention. I applied the filler, shaped it best I could, waited for it to dry, and shaped and smoothed it out with sandpaper.
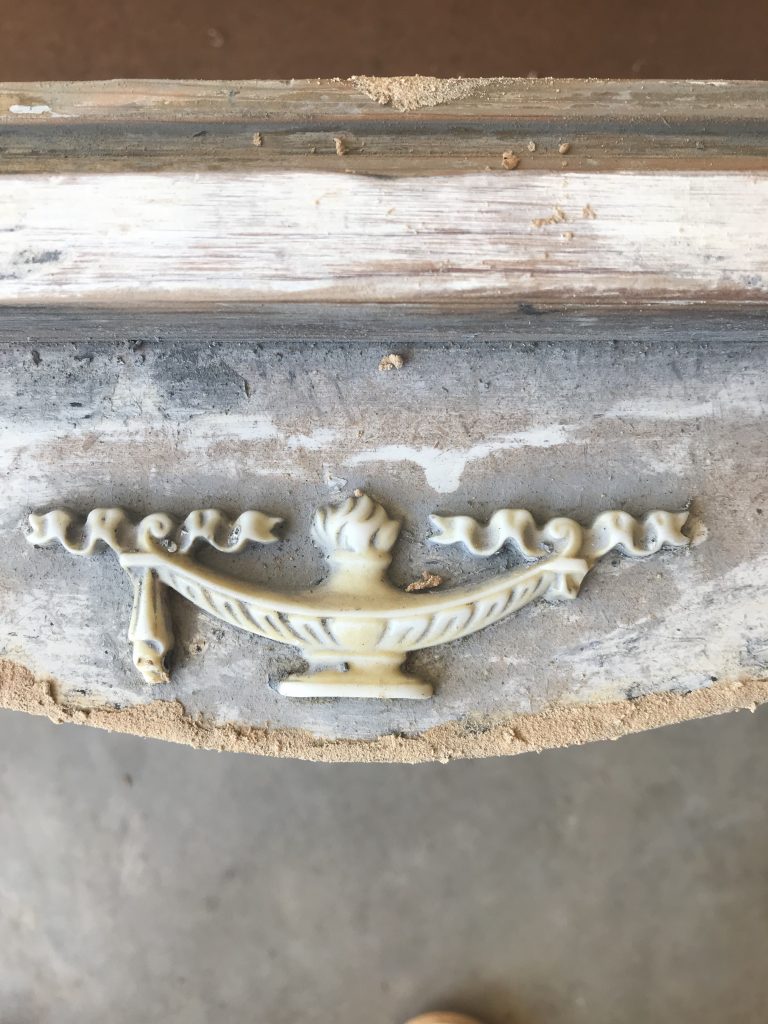
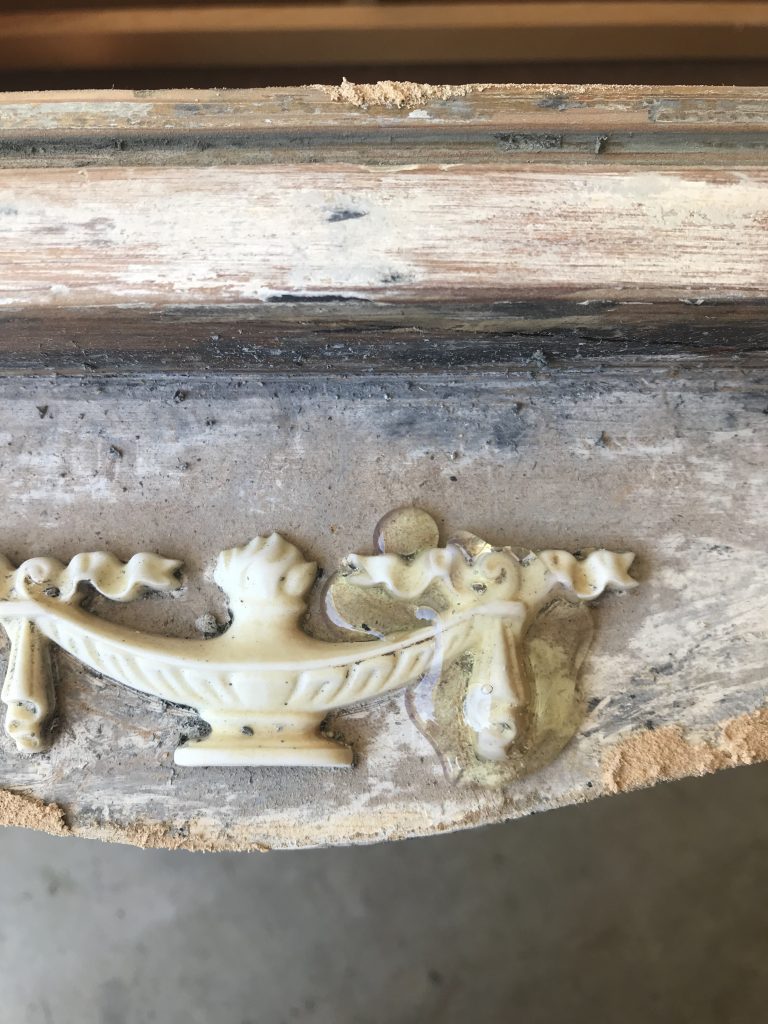
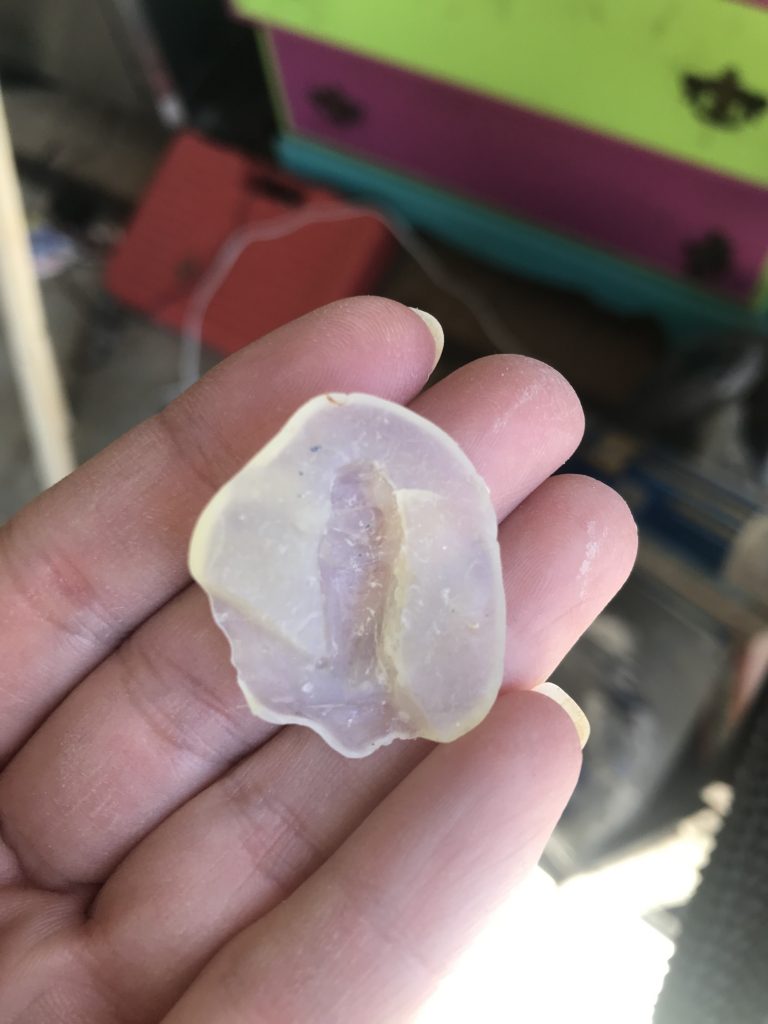
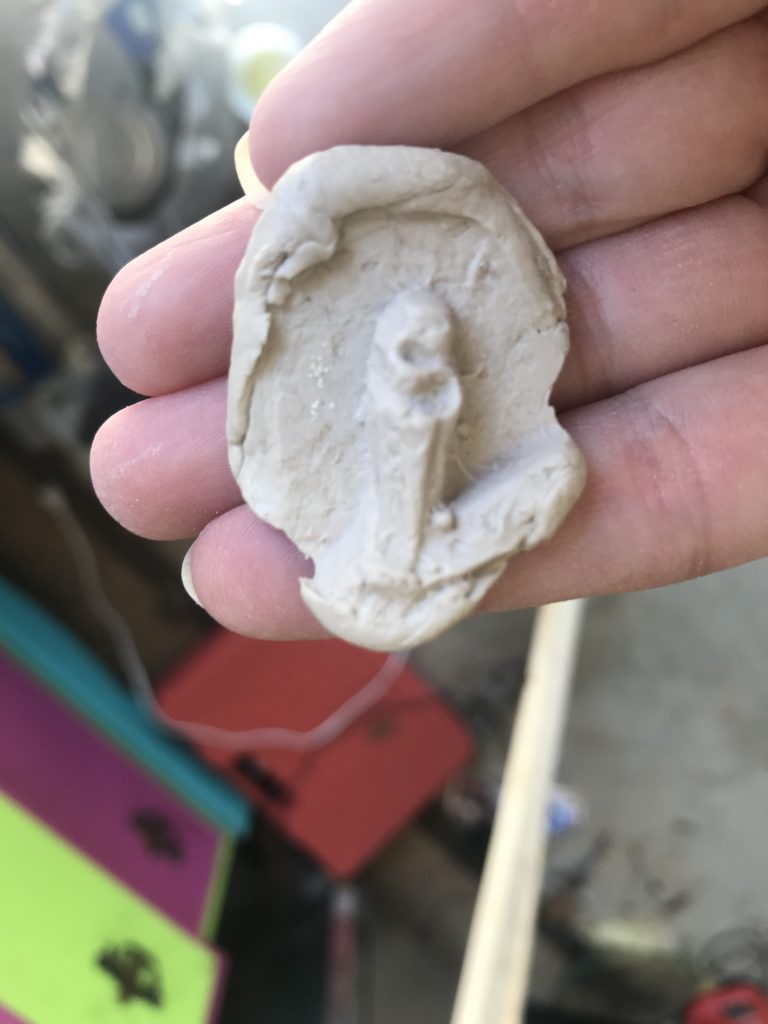
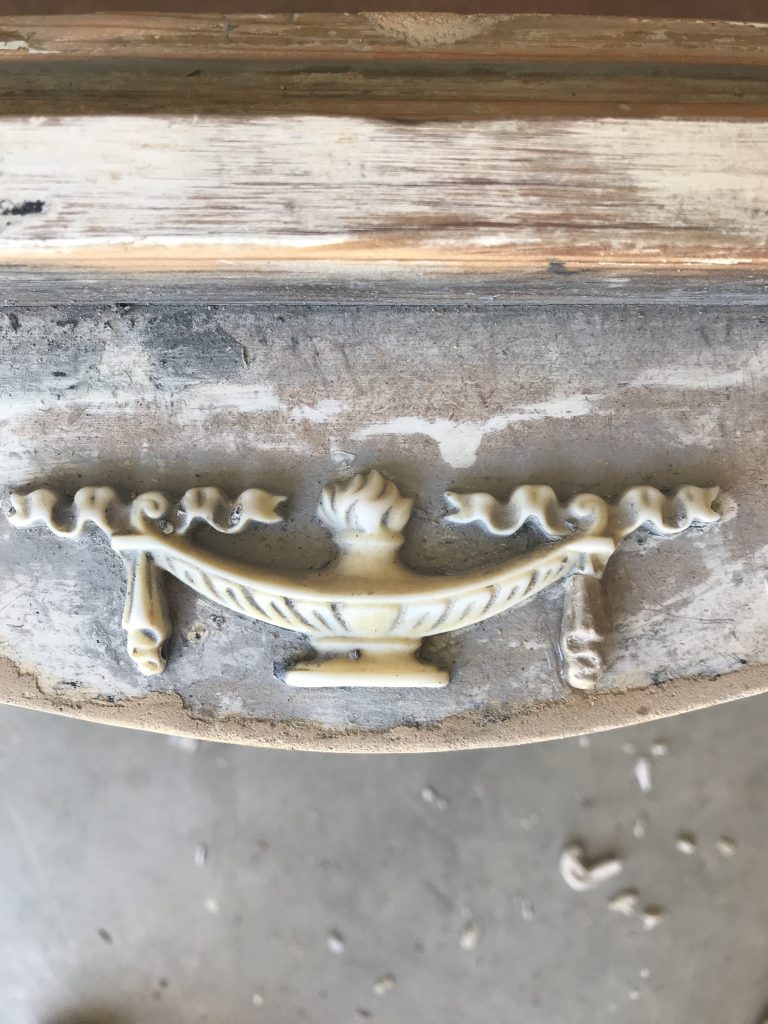
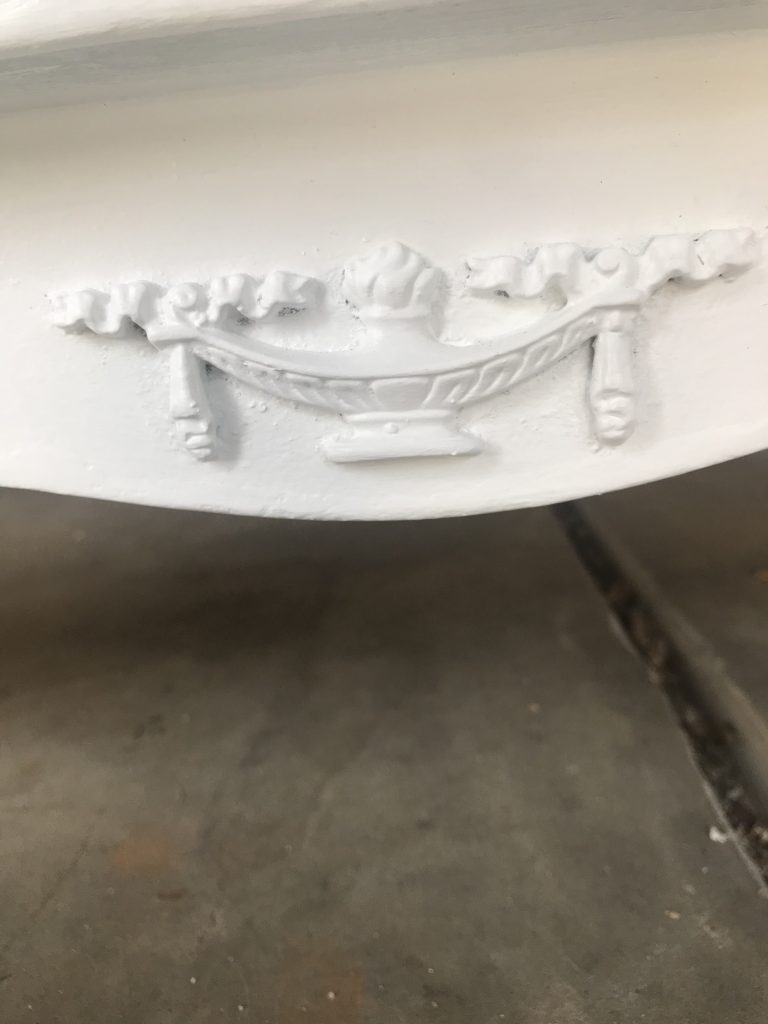
I had another snafu – there were two appliqués on the bib of the dresser. One of the appliqués was missing a piece. Luckily, the two were identical, so I was able to create a mold and duplicate the image. **Pro tip** Here are the steps: spray the desired section of the “good” appliqué with cooking oil. Use a hot glue gun to apply glue to that section. Once it dries, peel it off. You now have a mold for the missing piece. Use wood epoxy https://amzn.to/3cPAlEh to fill in the mold. Once the epoxy hardens, remove it from the mold and trim it to match the other side. Apply the new piece to the missing section with glue. Below are the steps in pictures.
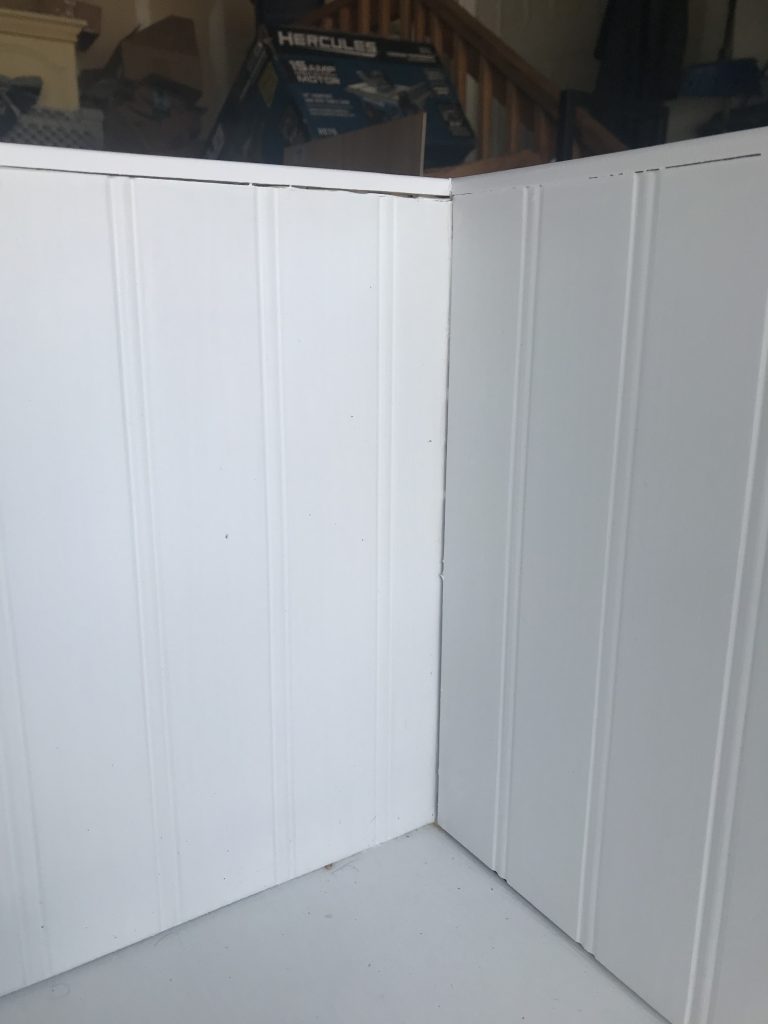
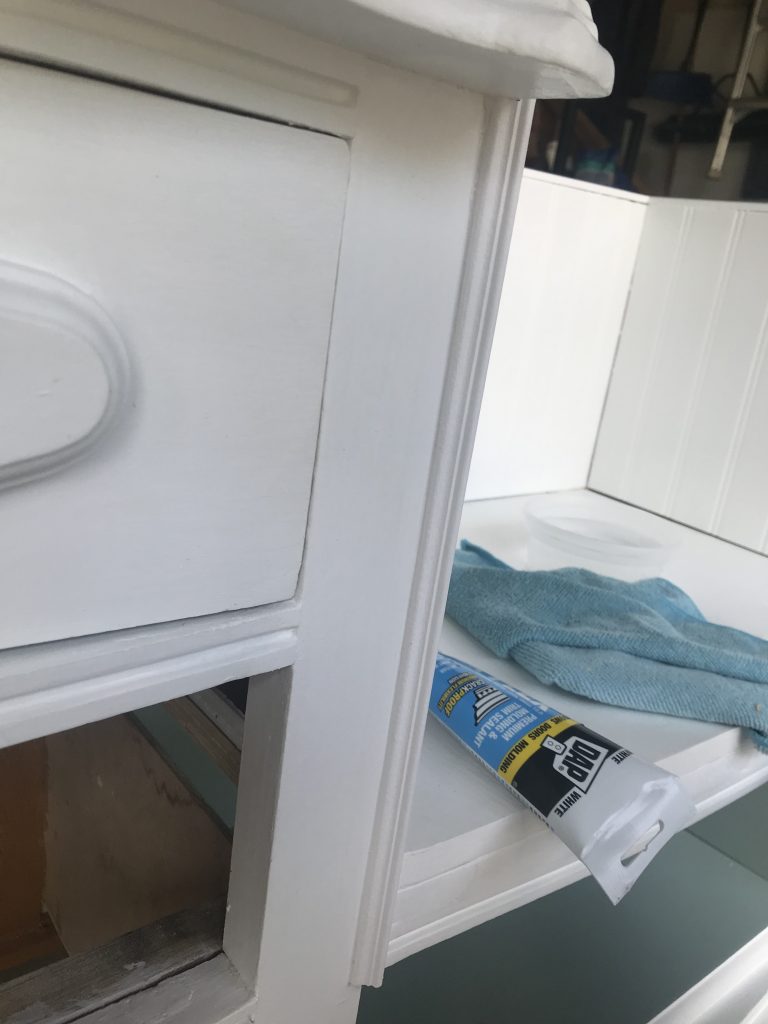
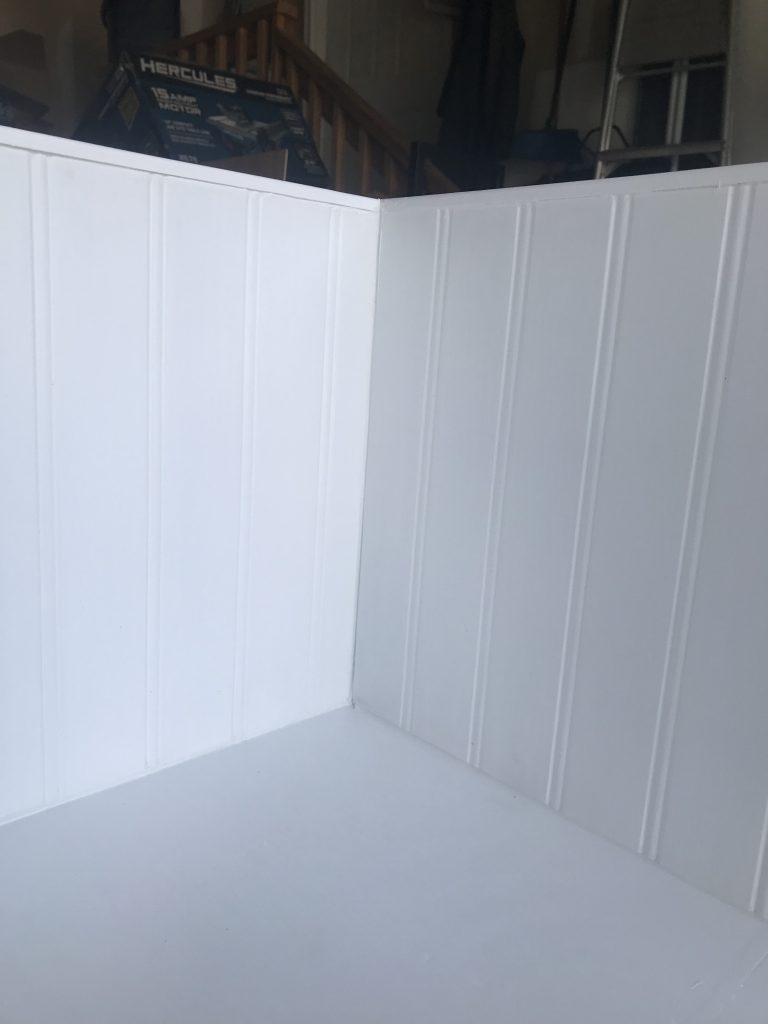
I trimmed out the cubby with the luan that I had cut to size and trimmed out the seating area with the wainscoting that I had cut to size. I used liquid nails to adhere the pieces to the frame. I found some thin trim at Lowes and trimmed around the top and front of the bench for a more polished look. Since the area was not cut square when I bought it, there were some gaps in the seams of the wainscoting. I used white caulk to fill in all the gaps and create a neater look.
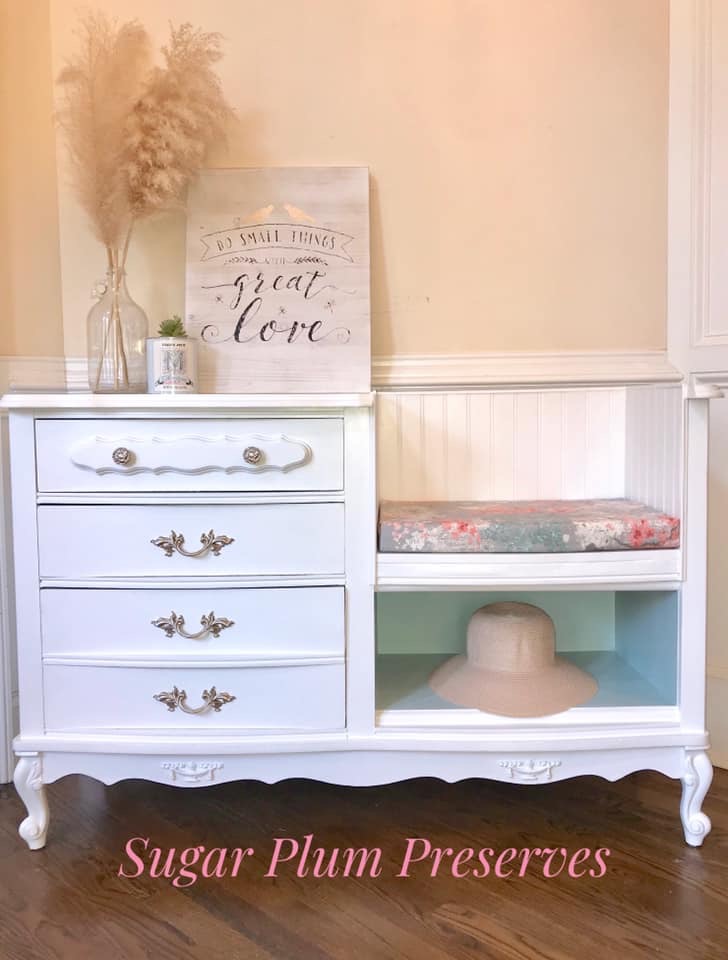
Once again, I forgot to take pictures of this part, but I decided to paint the piece in a custom made chalk paint. Like I said above, the top was formica, so I had to prep it before I could paint it. I first painted the whole top with a few coats of Valspar bonding primer. I will say, it worked wonderfully! I had no adhesion problems when I painted over it. I chose the color Bit of Sugar by Behr and mixed in calcium carbonate https://amzn.to/3ia8lyt at a ratio of two parts paint to one part calcium carbonate. Mix the calcium carbonate with a little water first to get out any lumps and dissolve the chalk. I decided to paint the cubby and the insides of the drawers in a custom paint color that I created to exactly match the fabric that I found for the seat cushion. I mixed several colors until I found the right one, but it started with a base of Fusion Mineral Paint, Brook https://amzn.to/3cPW2V0. The seat cushion was made with a double piece of foam from Joannes and fabric from Hobby Lobby. I basically wrapped it like a present using spray adhesive https://amzn.to/2TrcDa1. I made sure that the seat looked just as good without the cushion for easy removal or replacement.
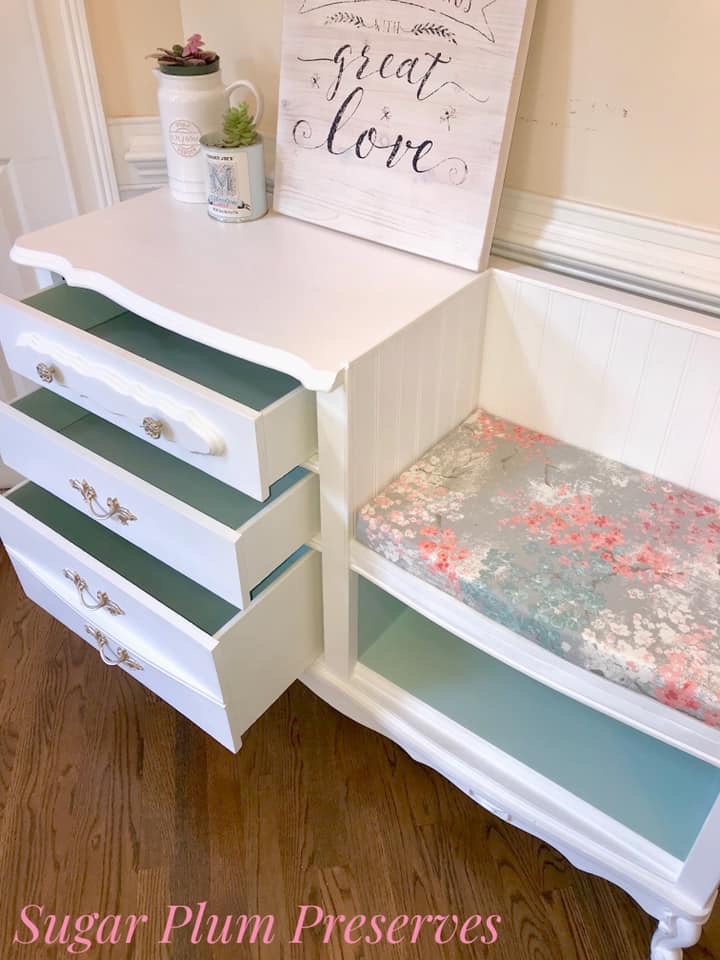
I kept the original pulls, but cleaned and refreshed them with Rustoleum gold spray paint https://amzn.to/3g809xO. The whole piece was sealed in a few coats of Chalked Matte topcoat https://amzn.to/3e7gtNt applied with my favorite method, a slightly damp car detail sponge https://amzn.to/2ANgY0K.
This was definitely a labor of love and one that I probably won’t attempt again. 😂 If I ever see an orphaned dresser and say “this will make THE PERFECT dresser bench!”, please remind me of my own words documented in video and stop me!
Thank you so much for joining me for Sugar Plum Sundae! Please check back every Sunday for more yummy recipes to transform reclaimed “junk” into sweet little treats for the home! 🤗
For more delicious treats, follow Sugar Plum Preserves:
Facebook: https://www.facebook.com/SugarPlumPreserves/
Pinterest: https://www.pinterest.com/sugarplumpreserves/
Instagram: https://www.instagram.com/sugarplumpreserves/
YouTube: https://youtu.be/tQplTZMCjq0
XOXO
Michele
Materials List (may not be all inclusive):
Citristrip https://amzn.to/308Ydid
Mouse Sander https://amzn.to/2Yf42cT
3 Wheel Dolly, 4 pack https://amzn.to/3bKfilf
Wood filler https://amzn.to/3qZ4h7r
Wood epoxy https://amzn.to/3cPAlEh
TiteBond Wood Glue https://amzn.to/2LLxIHP
Calcium carbonate https://amzn.to/3ia8lyt
Fusion Mineral Paint, Brook https://amzn.to/3cPW2V0
Spray adhesive https://amzn.to/2TrcDa1
Rustoleum gold spray paint https://amzn.to/3g809xO
Chalked Matte topcoat https://amzn.to/3e7gtNt
Car Detail Sponge https://amzn.to/2ANgY0K
Zibra Paint Brush, Angled 2 inch Stubby https://bit.ly/3oI0V9z
*Affiliate disclosure: As an Amazon Associate I may earn a small commission from qualifying purchases from Amazon.com.