Lime Sherbert
This week's feature is a cool old handmade table transformed into a cheery updated plant stand.
~ A Sweet Little Treat for the Home ~
Lime Sherbert
Hello My Sweets!
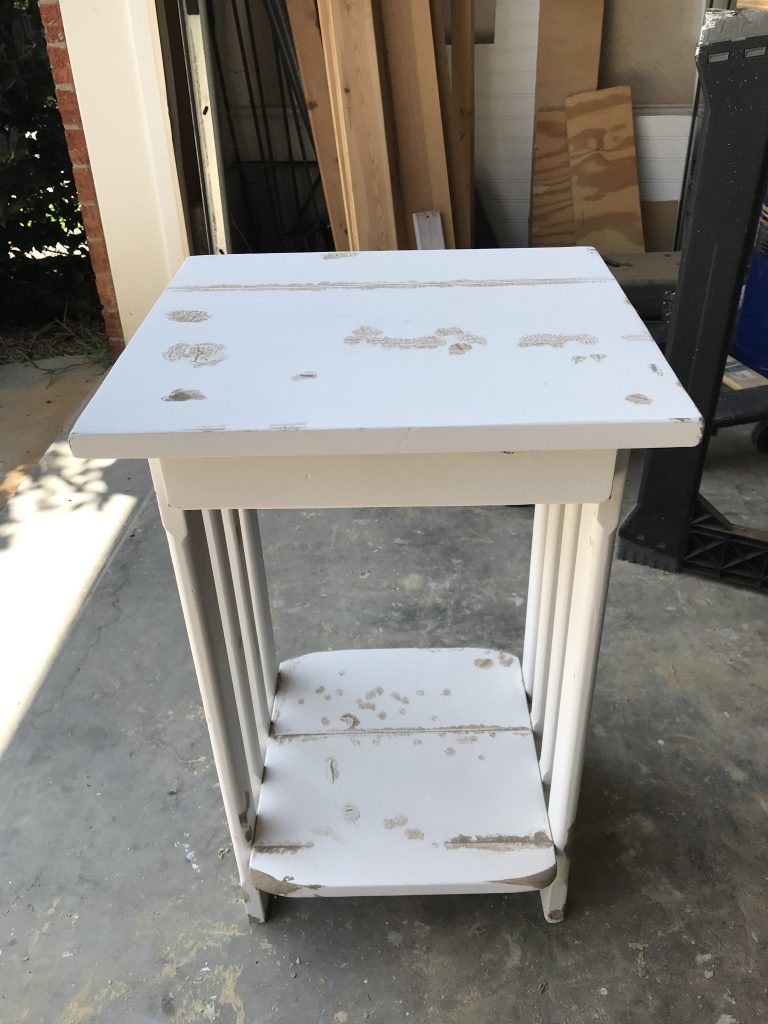
So, I got this little table at a garage sale, pretty chewed up, but handmade. It actually has a name stamped underneath. I googled the name and it was a gentleman, Mr. Carlton, who passed at 83 years old in 2008 and liked to woodwork. I love this kind of piece – it has a story and history. ❤️
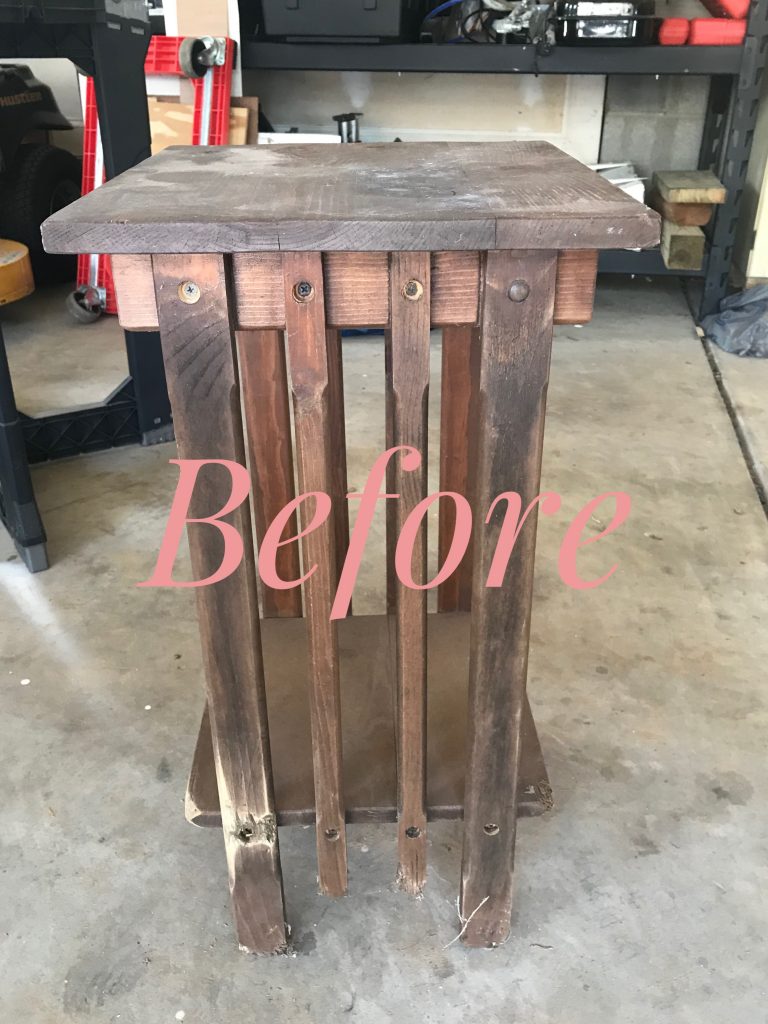
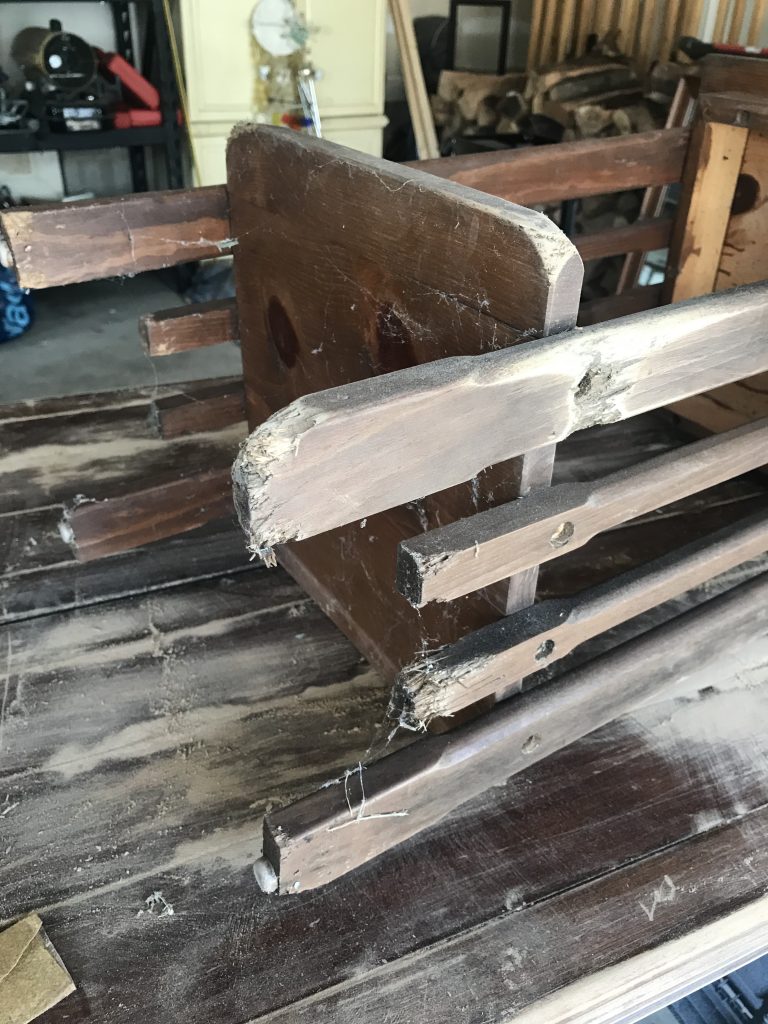
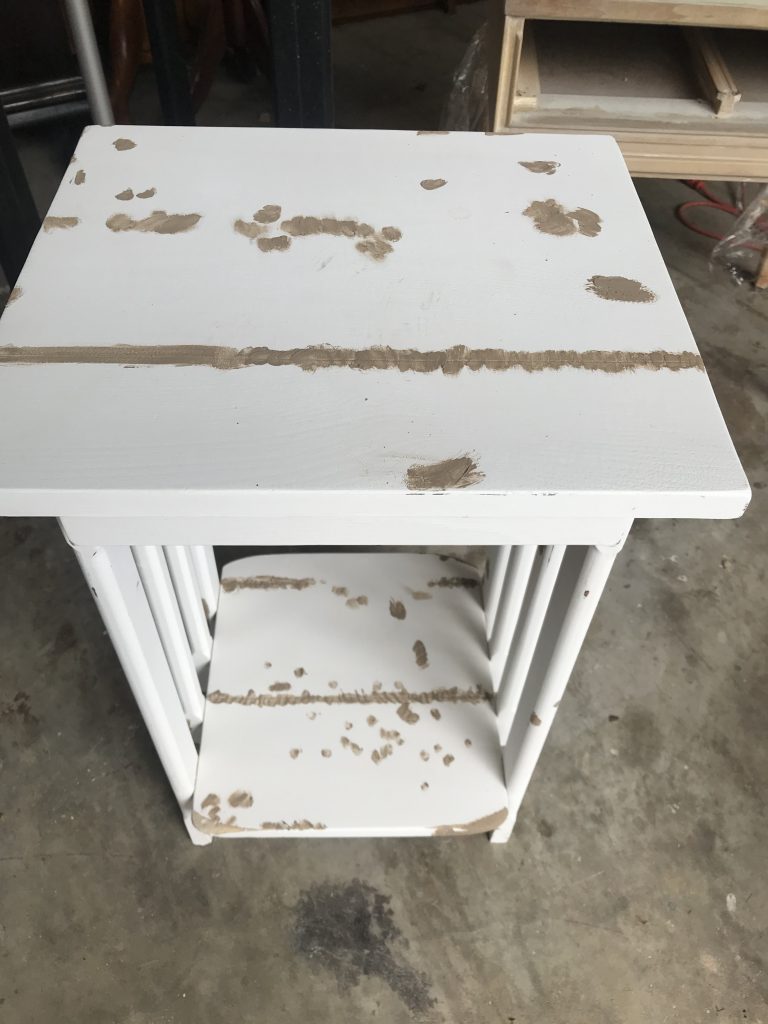
The first thing that I needed to do was to get rid of the damaged parts of the legs and cut them so that the table was level. I measured each leg from the top down and cut them with my jigsaw –https://amzn.to/34GDwx7. I then cleaned the whole thing with Krud Kutter TSP Substitute – https://amzn.to/3gsO2Kx. I knew that this stain would bleed through the paint that I applied, so I primed it with two coats of shellac based primer – BIN Shellac Primer, Quart https://amzn.to/3g8fuyb lightly sanding after each coat. The corners of the bottom shelf were worn and uneven, so I sanded them each to have more of a rounded shape. There were many spots of uneven wear and wood knots that I wanted to cover up, so I used Dixie Belle Mud https://amzn.to/2zfMdRB to fill in the wood. Once dry, the mud can be sanded smooth and shaped, which was helpful in getting all the corners to match.
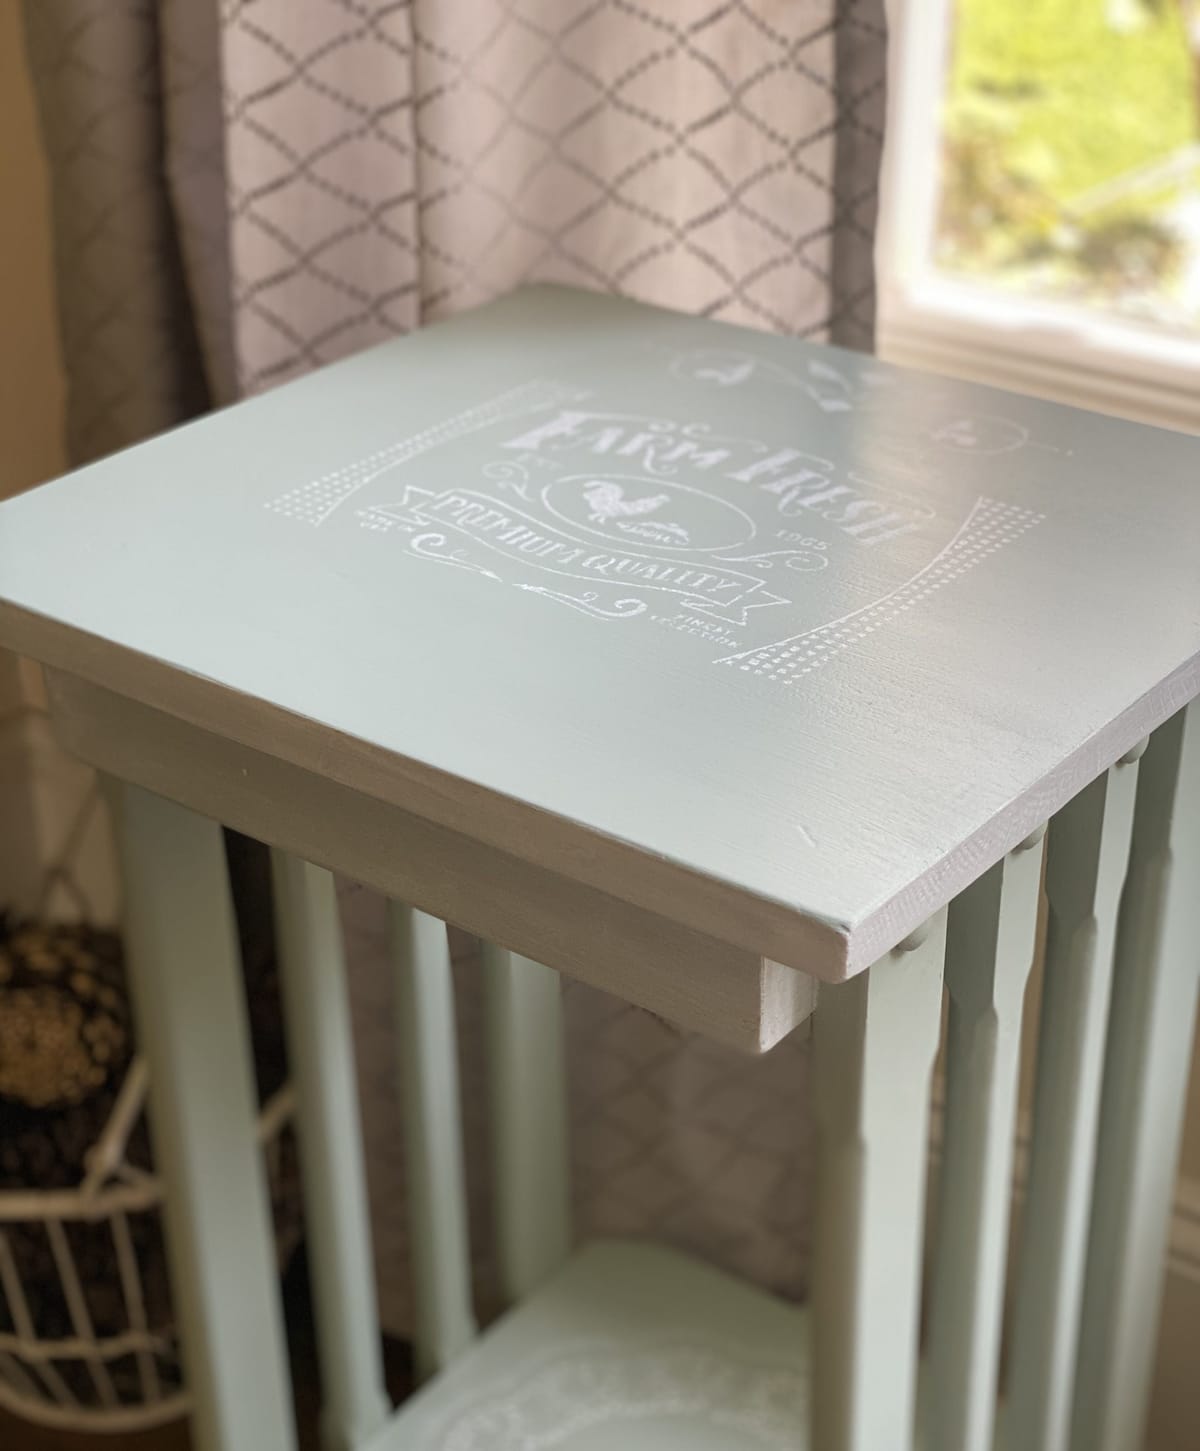
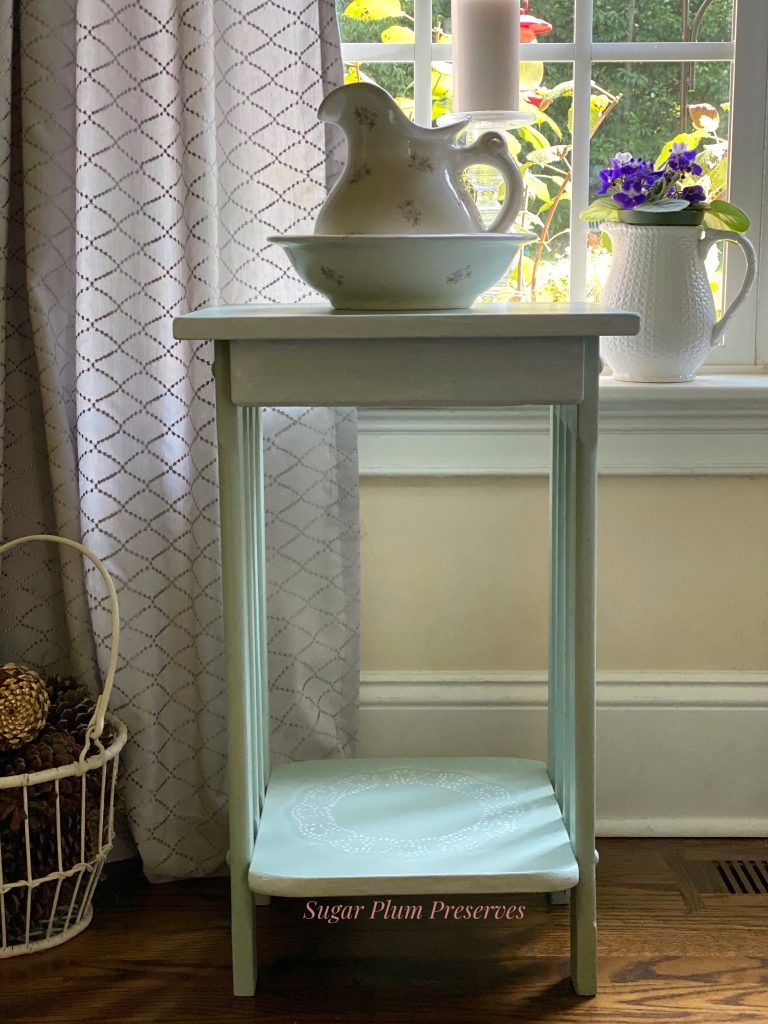
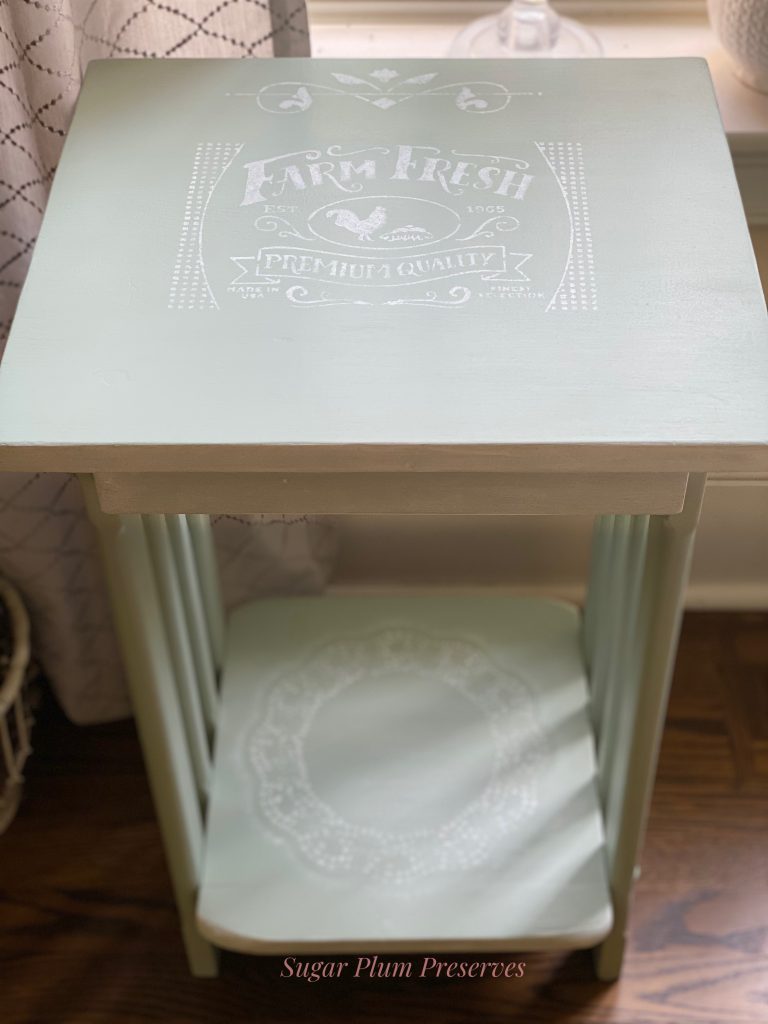
Being handmade, it is kind of a quirky little table. I thought the rustic vibe would lend itself to the farmhouse style really well. I decided on using a really beautiful, muted farmhouse green that I had on hand. Actually, my front door is painted in this color! It is called Inglenook by Fusion Mineral Paint. It is a mineral paint, as opposed to a chalk paint, so it still has a lovely matte quality, but is not chalk paint – Fusion Mineral Paint, Inglenook https://amzn.to/2LHyGoD. It goes on really beautifully, a little goes a long way, is self leveling, and I just love the color. I used my favorite brush for when I am painting anything with spindles – Round 1 inch https://bit.ly/3oI0V9z. The round shape wraps around the spindles and makes painting them so much easier. I also used it to paint the top and the bottom shelf and it applied the paint just as beautifully. I painted the whole piece in three coats. I probably could have gotten away with two, but since I am selling it, I wanted it to be perfect.
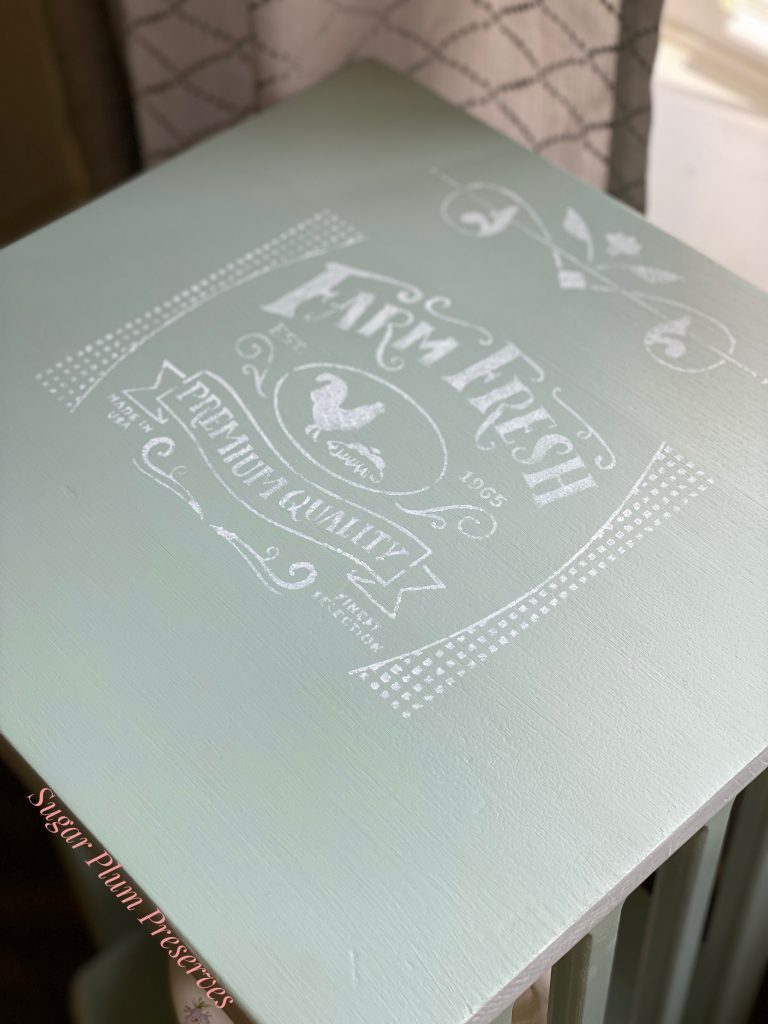
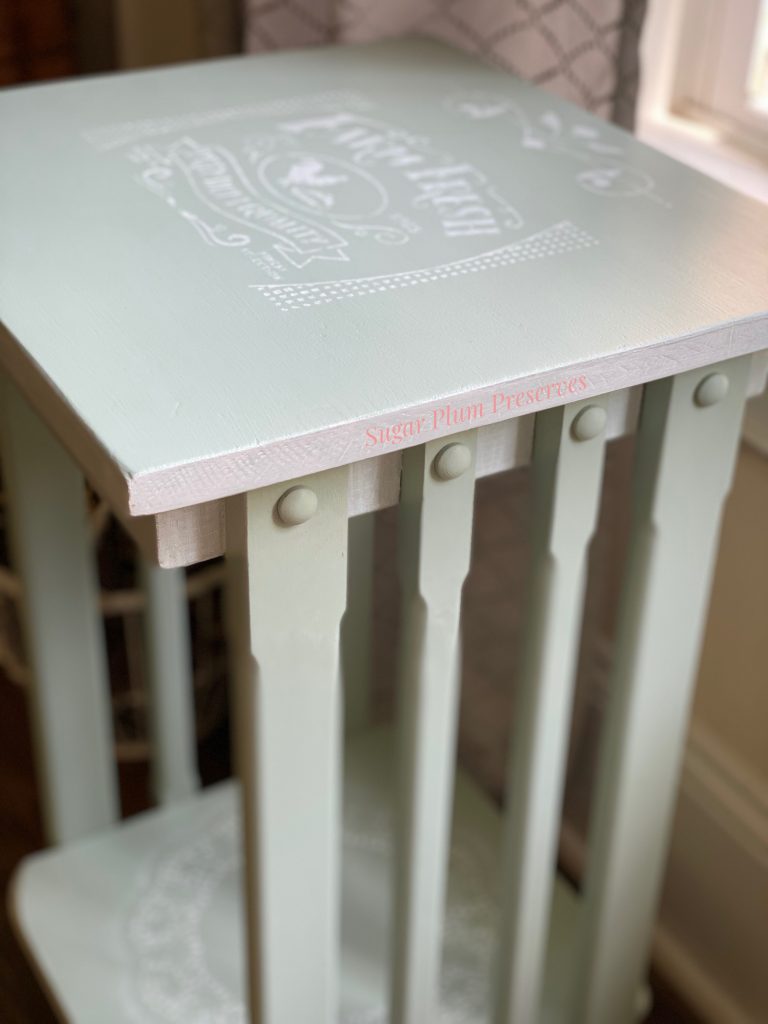
While I loved the color, I felt like the table needed a little something extra. I decided to use two stencils on top that I had on hand. One was a farmhouse motif and the other was some scroll work. I centered both and used white chalk paint to create the stencil. I used a pre-made chalk paint, as opposed to the homemade chalk paint that I have talked about in other blogs, because it was just for accents, not the whole piece. I chose chalk paint because I liked the matte, rustic look of it. I found that chalk paint is great to stencil with because it has a thicker consistency that didn’t run under the stencil. Also, with the chalky quality of the paint, the stencil didn’t have to be perfect. The chalk paint that I used on this piece is Deco Art Chalk Paint, Everlasting https://amzn.to/32Bc4hE.
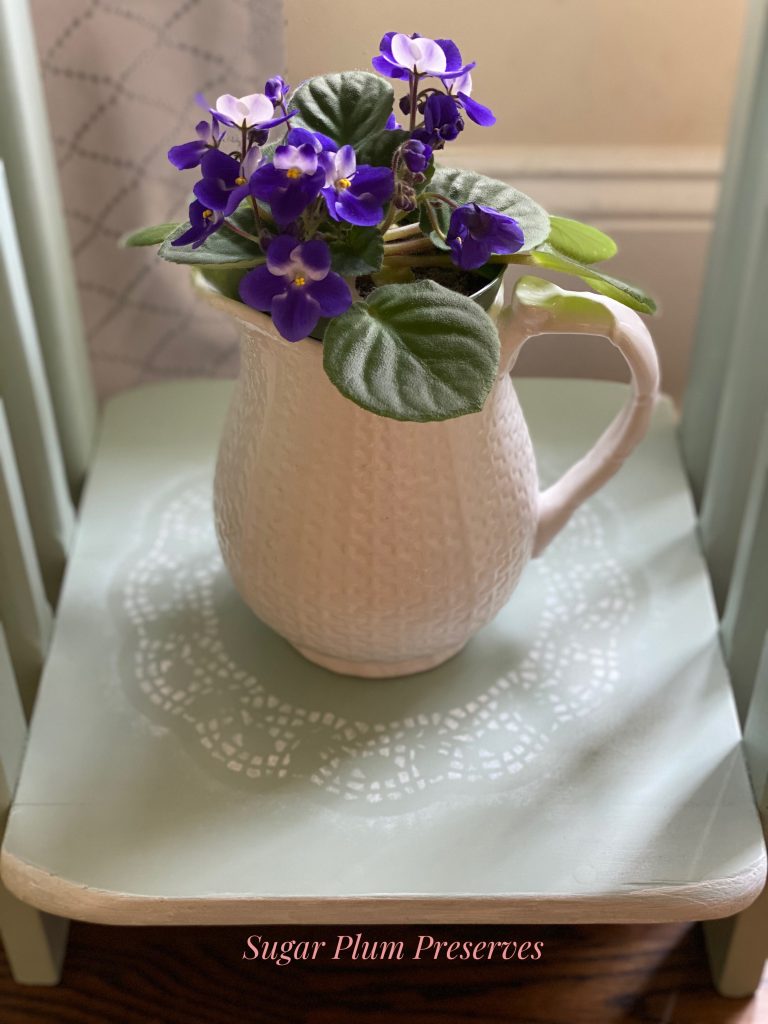
On the bottom shelf, I tried something that I wasn’t sure would work. I used a paper doily that I got from the dollar store and used it as a stencil. I just dabbed the chalk paint in the open spaces to create a lace look. It was a little challenging working with the paper once it was wet with paint, but it turned out how I had hoped – a stenciled lace doily! Isn’t that cute?!? Score!
It still looked a little plain, and I wanted it to look slightly more rustic, so I added the white chalk paint around the edges and trim. I applied it intensionally messy, again for that rustic look that goes so well with this wonky little handmade table. I also painted and replaced all the little button screw caps since some were missing and the new ones were not the same size as the old.
Lastly, I sealed the whole thing with 3 coats of a matte topcoat – Rustoleum Chalked Matte Water Based Topcoat https://amzn.to/3e7gtNt, using my trusty microfiber detail sponge Car Detail Sponge https://amzn.to/2ANgY0K.
I am so happy that I was able to refinish this little table and give it another several years of use! I hope that I made Mr. Carlton proud with how I revamped his handiwork. 💖
Thank you so much for joining me for Sugar Plum Sundae! Please check back every Sunday for more yummy recipes to transform reclaimed “junk” into sweet little treats for the home! 🤗
For more delicious treats, follow Sugar Plum Preserves:
Facebook: https://www.facebook.com/SugarPlumPreserves/
Pinterest: https://www.pinterest.com/pinterest/sugarplumpreserves
Instagram: https://www.instagram.com/sugarplumpreserves/
YouTube: https://youtu.be/tQplTZMCjq0
XOXO
Michele
MATERIALS LIST (may not be all inclusive):
Jigsaw –https://amzn.to/34GDwx7
Krud Kutter TSP Substitute – https://amzn.to/3gsO2Kx
BIN Shellac Primer, Quart https://amzn.to/3g8fuyb
Dixie Belle Mud https://amzn.to/2zfMdRB
Fusion Mineral Paint, Inglenook https://amzn.to/2LHyGoD
Round 1 inch https://bit.ly/3oI0V9z
Deco Art Chalk Paint, Everlasting https://amzn.to/32Bc4hE
Painters Tape https://amzn.to/363jJrh
Rustoleum Chalked Matte Water Based Topcoat https://amzn.to/3e7gtNt
Car Detail Sponge https://amzn.to/2ANgY0K
*Affiliate disclosure: As an Amazon Associate I may earn a small commission from qualifying purchases from Amazon.com.