Madeleine
This week's feature is a garage sale mirror turned glamorous gold leafed treasure.
~ A Sweet Little Treat for the Home ~
Madeleine
Hello my Sweets!
This is the second post, in a series of blog posts, about transforming our bedroom. I will post a new piece each week that I have transformed. Once all of the pieces have been completed, I will post an entire before and after of our bedroom with all of the pieces included. If you missed the first blog post:
You can check out the first transformation here: https://sugarplumpreserves.com/snowball-cookie/
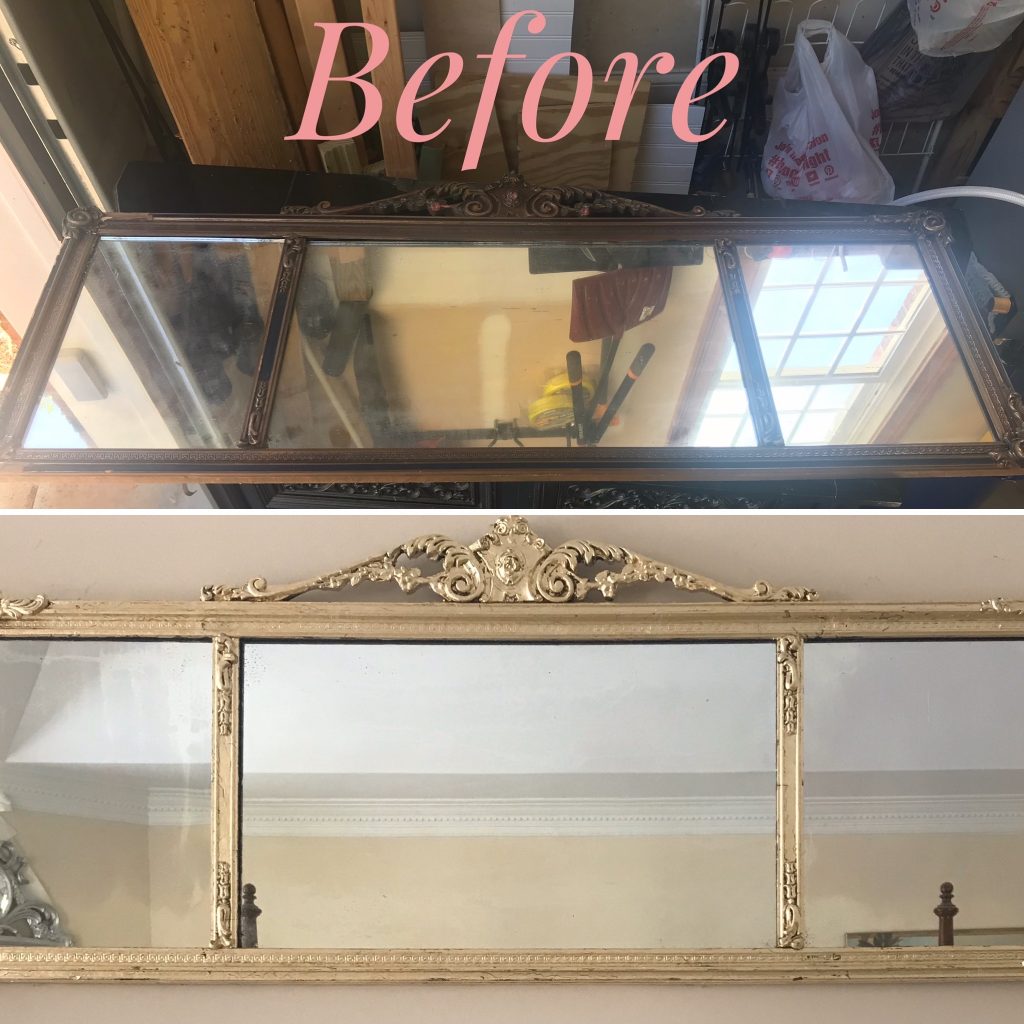
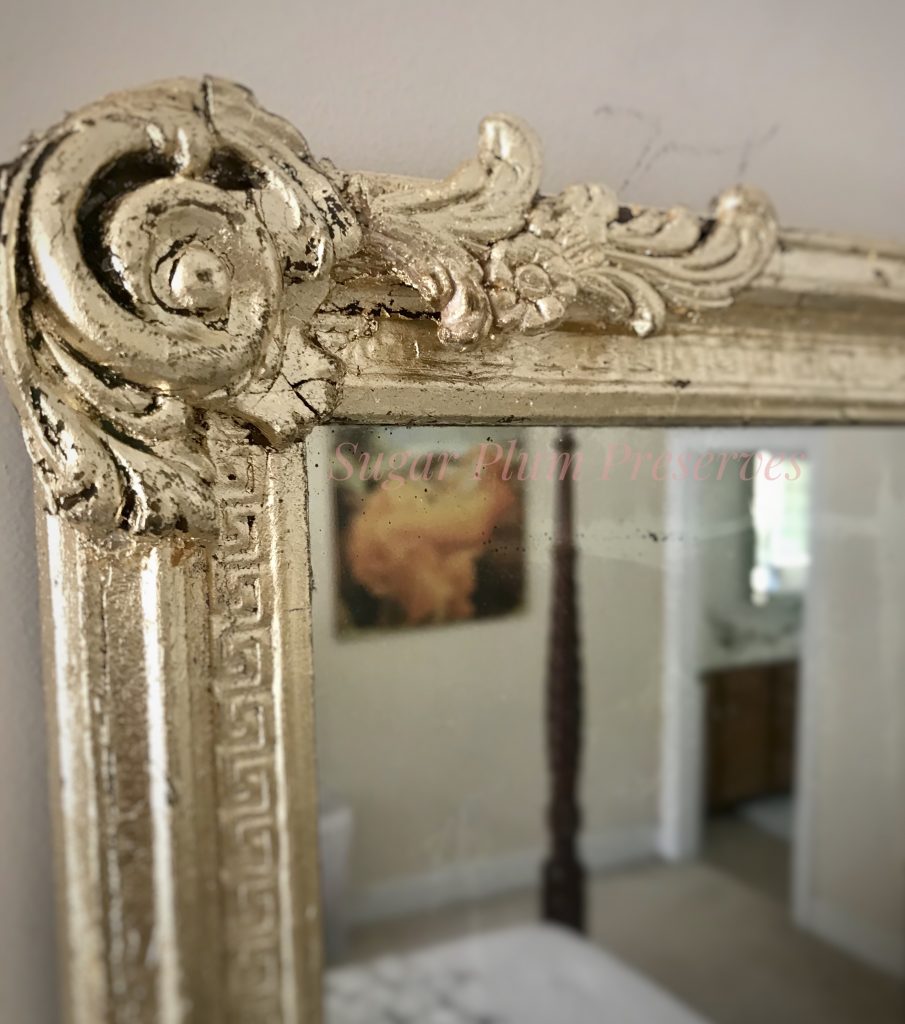
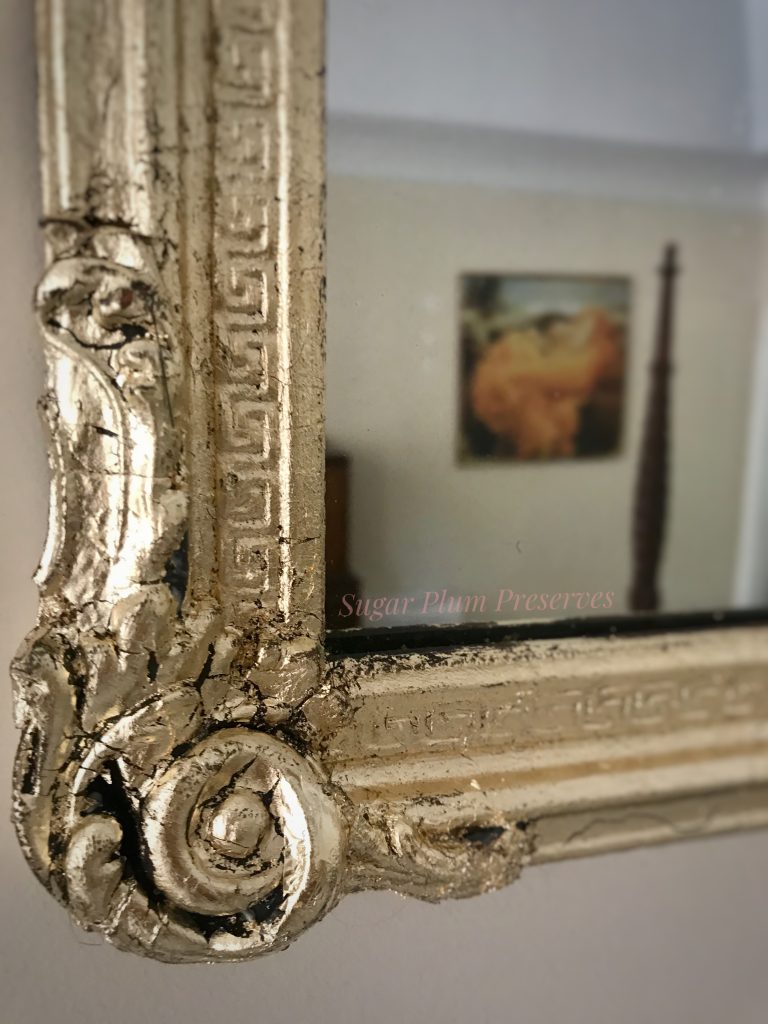
I found this vintage mirror at a garage sale for $5 (I think $5 must be my standard offering at garage sales since most of my garage sale items were $5). I loved the 3 panel mirror and the cool scroll work. I think the details are made of gesso. The mirror itself had some wear and dark spots on the silvering, but I think that aging gives it some interest. Some of the gesso was broken off, but saved in a bag taped to the mirror, so I thought I would just repair it no problem.

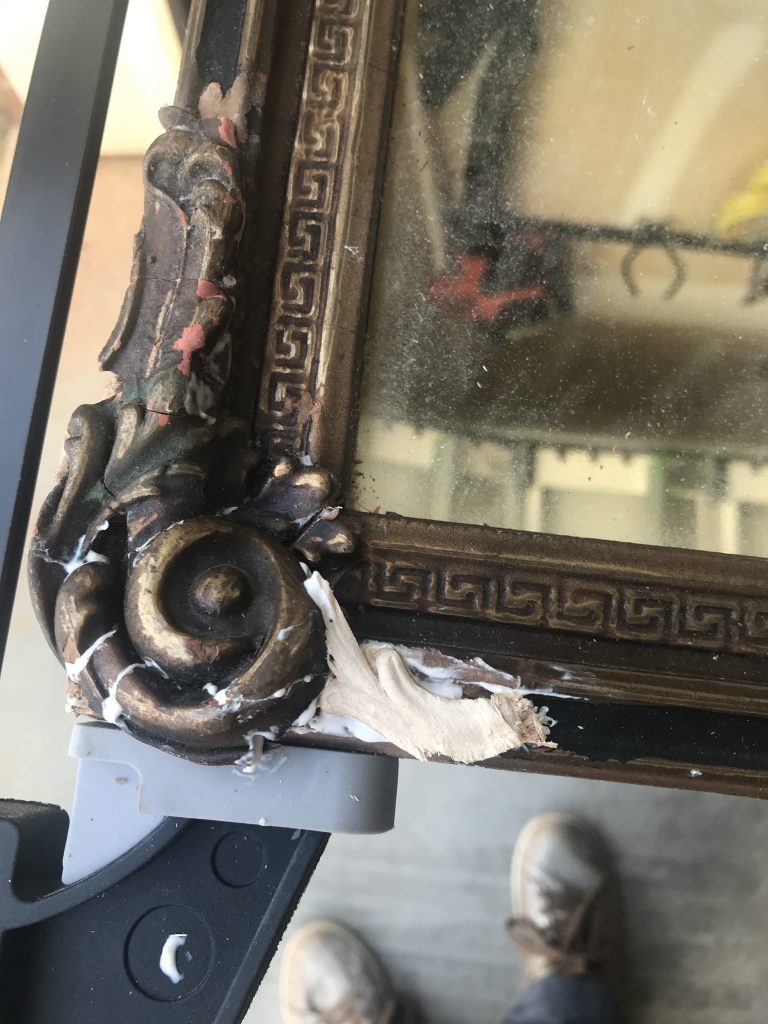
The problem came after I took it out to repair it and I was holding it by the wire in the back……..and it snapped. Now I had more broken scroll work and a broken frame to repair. Phooey!! 😖


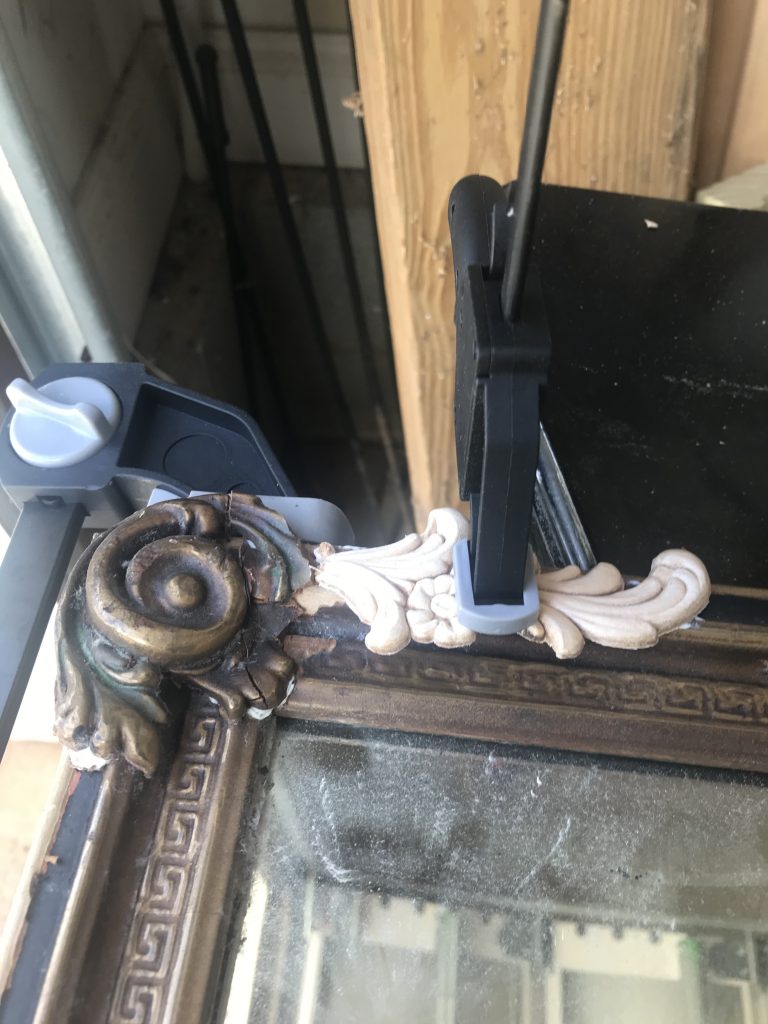
For the frame I used liquid nails and clamped it tightly overnight. For the missing scroll work, I had a few wooden appliques on hand. One of them had been chewed by my dog, so I decided to use it to replace the broken gesso since it would be covered up anyway.
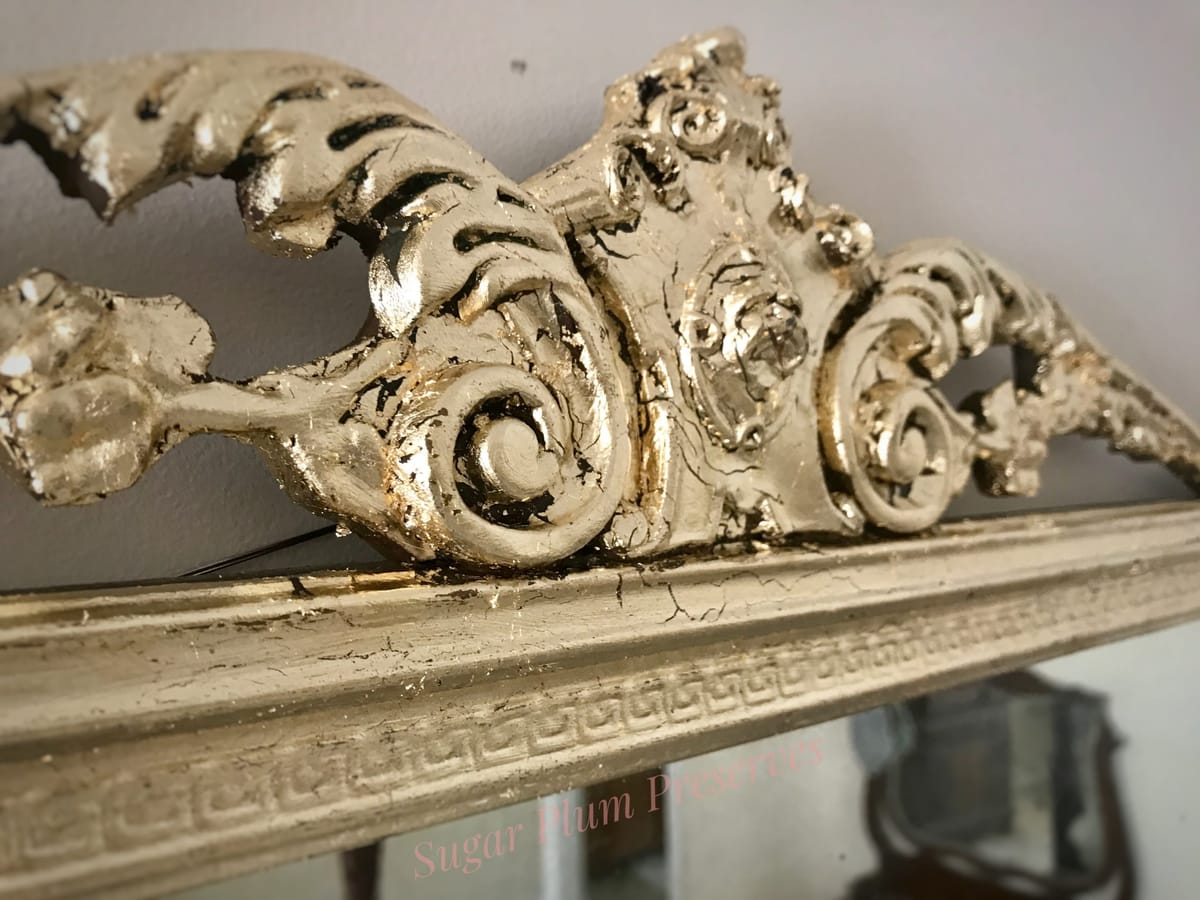
You may be wondering, covered up? What do you mean? Wellllll, it’s no big secret that I have been having a gold leaf moment. Soooooooooo, that was my plan – cover the whole mirror in gold leaf to give it an antique French mirror feel. With the painted gesso, it felt Italian, but with gold leaf, it becomes French. 🤗 Voila!
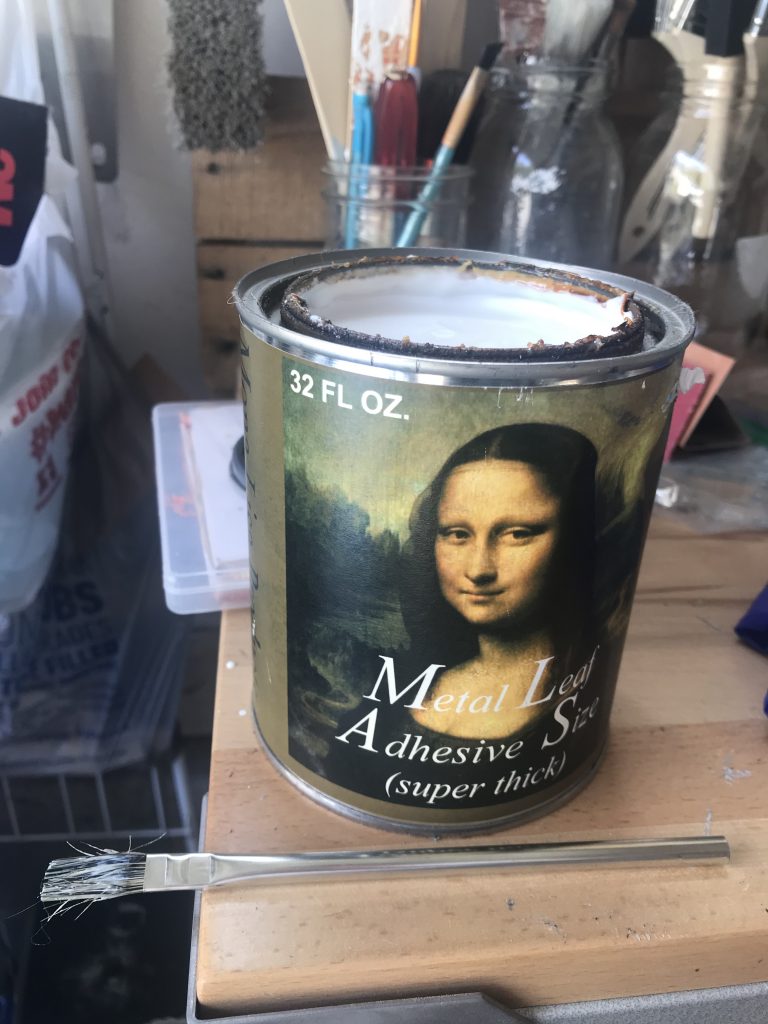
Gold leaf can be a little tricky, but don’t let that scare you. It is probably best applied inside, where there is no wind. It is VERY delicate and will wrinkle up or stick to things that you don’t want fairly easily. You may even want to hold your breath until you get the hang of it. So naturally, I decided to apply it in my garage with the door up on a very windy day. 🙄 It was really nice outside and this stay at home order had me desperate to enjoy the outdoors. But in this instance, save your own sanity and do as I say, not as I do. 😂 The first step in applying gold leaf is to “paint” on the sizing. I got a huge can of sizing by Mona Lisa on Amazon (see pic below). You will want to use a natural bristle disposable brush for this step because it is impossible to clean the sizing from the brush and you don’t want to ruin one of your good brushes. The sizing is the glue that the gold leaf will stick to. It goes on milky white, so you can see where you’ve put it, but dries clear. When it is clear and tacky (usually 20 mins or so) you can apply the gold leaf.
Simply lay the gold leaf over the area and gently tamp it down with your finger or a soft natural bristle brush. It’s ok if it tears, just tamp down more of the foil in that area. Like I have mentioned in the past, I HATE to be wasteful and didn’t want to waste a whole sheet of gold leaf on a small area. You could lay a whole sheet of gold leaf down if you want and brush away the excess (admittedly, this would probably be easiest) or you can do what I did and carefully cut strips to apply to smaller areas that don’t require a whole sheet. I typically will tamp down the gold leaf on the entire piece, then go back and burnish and brush off the excess. You will want to be outside for the brushing off part because gold leaf ends up everywhere!
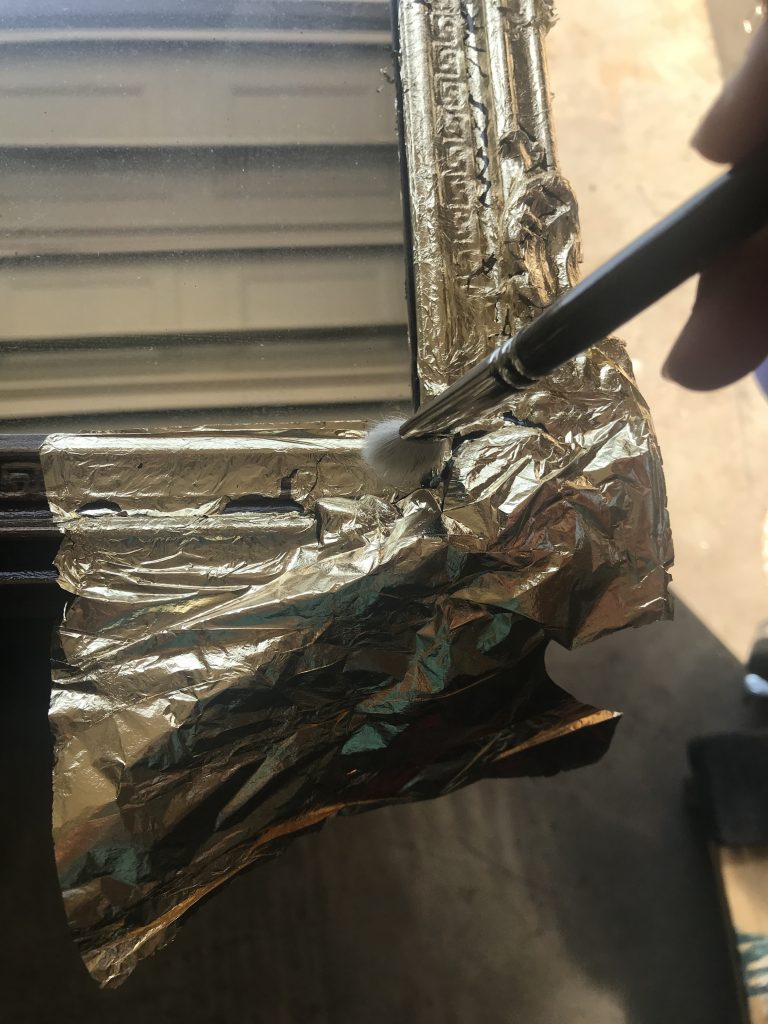
As you can see, there will be areas that will not be covered on your first pass. No worries, just fold some gold leaf on top and tamp it down, as it will stick to where the sizing is. It is ok if it is layered. Some areas you will have missed with the sizing and there will be gold leaf missing. I like that crackled, aged, worn look. I think it looks like natural wear and not so “perfect”. If you want your piece covered entirely, add more sizing and go back over it with the gold leaf. When all of the gold leaf has been applied, go over the whole piece with a soft natural bristle brush, brushing in circular and back and forth motions to remove the excess foil. I have tried synthetic brushes in the past and they seem to scratch the gold leaf and take away the pretty sheen. Lastly, I replaced the wire in the back with safety wire and it was ready to be hung!
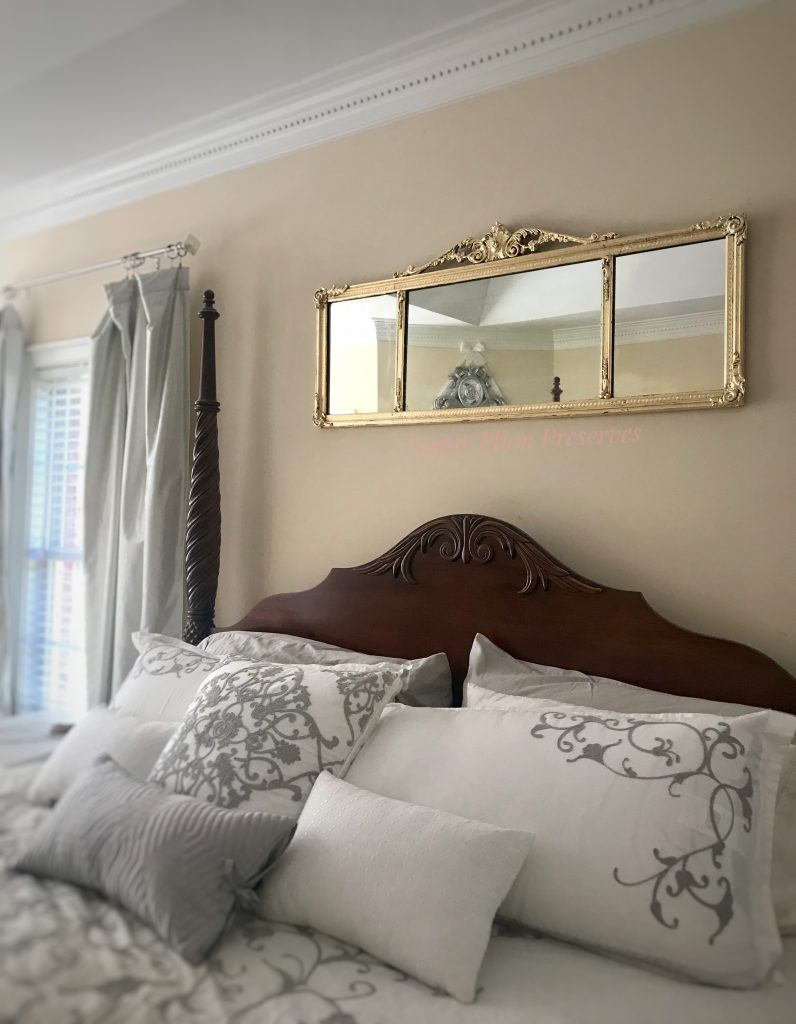
The $5 garage sale find, turned “Antique French” mirror found a new home above our bed and brings some nice light and sparkle to an otherwise dark area between the windows.
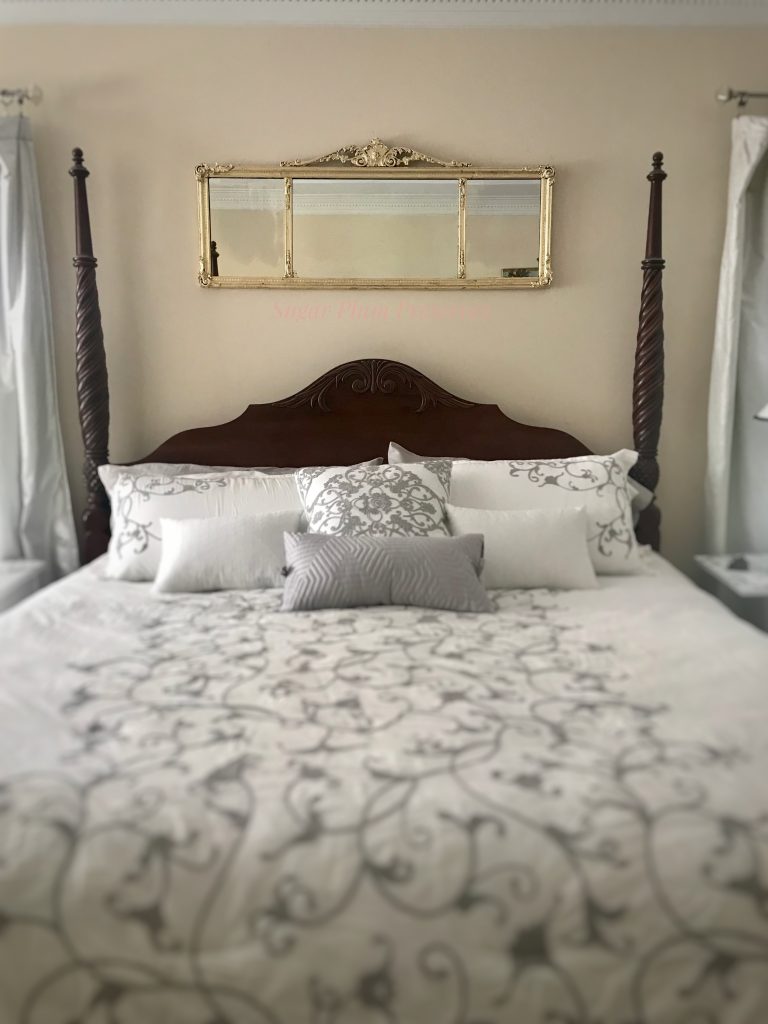
This transformation is the second piece added to our bedroom in the hopes of creating a cohesive, beautiful, restful retreat in a time of uncertainty and stress. Check back in next week for the third transformation in our journey.
Thank you so much for joining me for Sugar Plum Sundae! Please check back every Sunday for more yummy recipes to transform reclaimed “junk” into sweet little treats for the home!
For more delicious treats, follow Sugar Plum Preserves:
Facebook: https://www.facebook.com/SugarPlumPreserves/
Pinterest: https://www.pinterest.com/pinterest/sugarplumpreserves
Instagram: https://www.instagram.com/sugarplumpreserves/
YouTube: https://youtu.be/tQplTZMCjq0
XOXO
Michele
Materials List (may not be all inclusive):
Appliques, Scroll https://amzn.to/3cT9KX8
Gold Leaf Sizing, Quart https://amzn.to/36hdOxP
Gold Leaf, Silver Leaf, Rose Gold Leaf, 300 sheets https://amzn.to/3e1vhgr
Craft Brush https://amzn.to/3pKxFQD
Natural Bristle Gold Leafing Brush https://amzn.to/3LAVdBu
Liquid Nails https://amzn.to/3SrUftu
Clamps https://amzn.to/3DKenT
*Affiliate disclosure: As an Amazon Associate I may earn a small commission from qualifying purchases from Amazon.com.