Pink Champagne Truffle
Welcome to the first Sugar Plum Sundae blog of 2021! I decided to start the new year with my favorite transformation of 2020.
~ A Sweet Little Treat for the Home ~
Pink Champagne Truffle
Hello My Sweets!
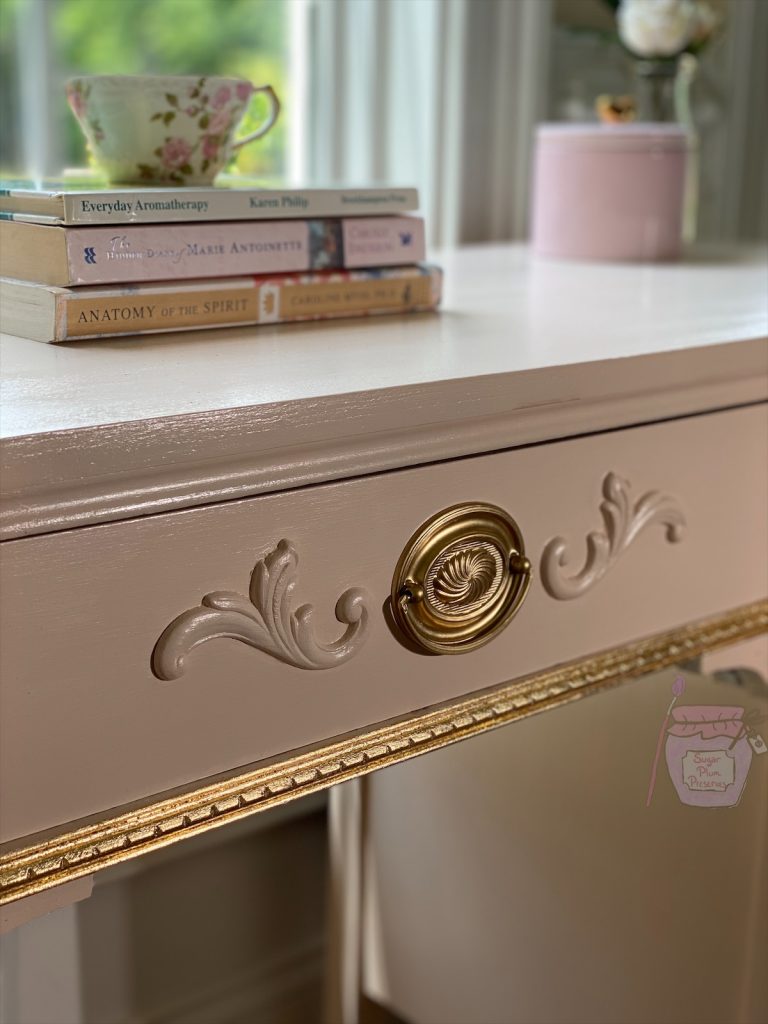
I am a pink-loving kinda gal ~ add to that gold leaf dipped legs, gold polka dot decoupaged lined drawers, and a gorgeous fabric with gold roses!?!?! FAHGETTABOUDIT! That is my idea of a good time! 💖 I absolutely loved everything about the way this piece turned out and thought you may want to know how it was achieved. There are links to the products used throughout and a materials list with links at the end. ☺️
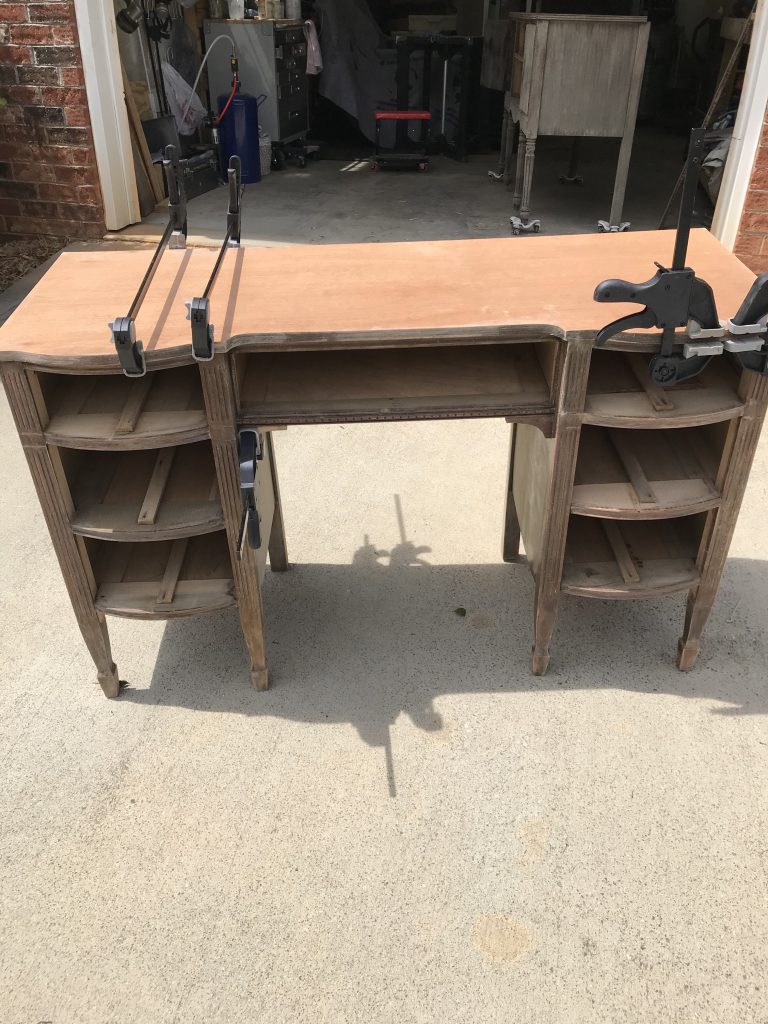
I found this piece in a thrift store in Boston. I actually pulled out the drawers, took a look, and decided it would be too much work and kept walking. Whhhhhhaaaaattt?? I know, I know, in hindsight, I’m not proud.🙄 I found a few other pieces in the store so I figured, ehhhh I’m loading the truck anyway, what’s one more piece? Thank goodness I snapped it up because it really just need some love to make it shine! Beforehand though, it was stinky and needed H-E-L-P!
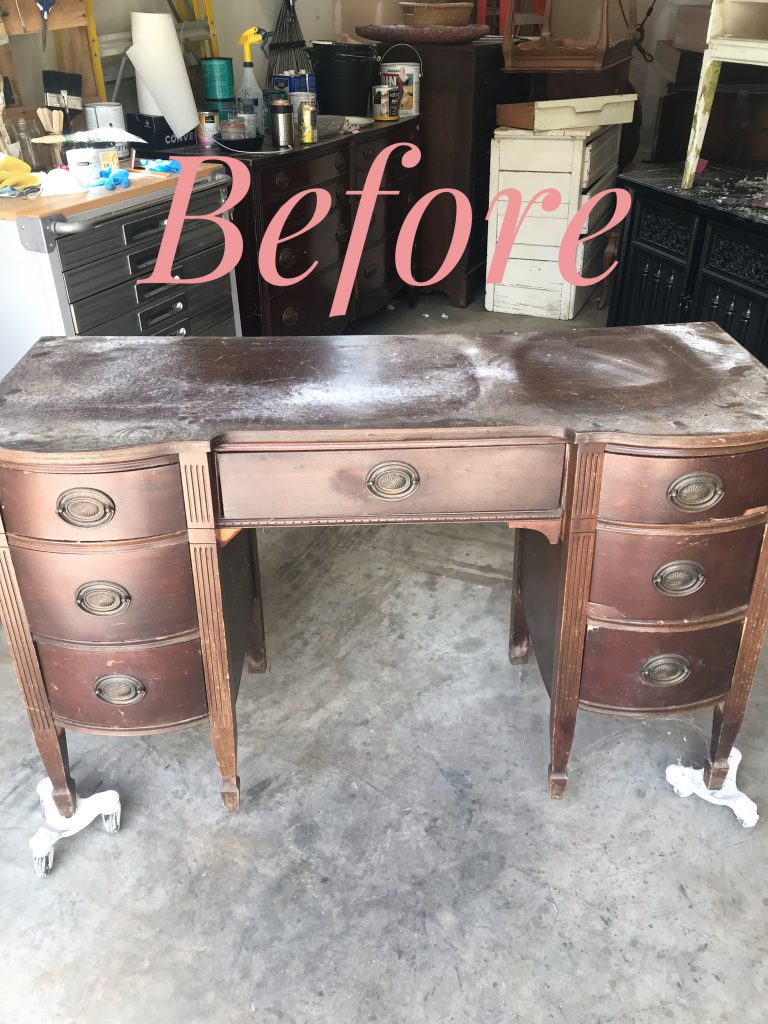
As always, first up, a GOOD cleaning. I cleaned the whole piece, inside and out, with Krud Kutter and a rag https://amzn.to/36549fO. It was still stinky on the inside, so I sprayed it down with white vinegar and water and left it in the sun to dry (three times). There were quite a few repairs to address before I was able to begin painting:
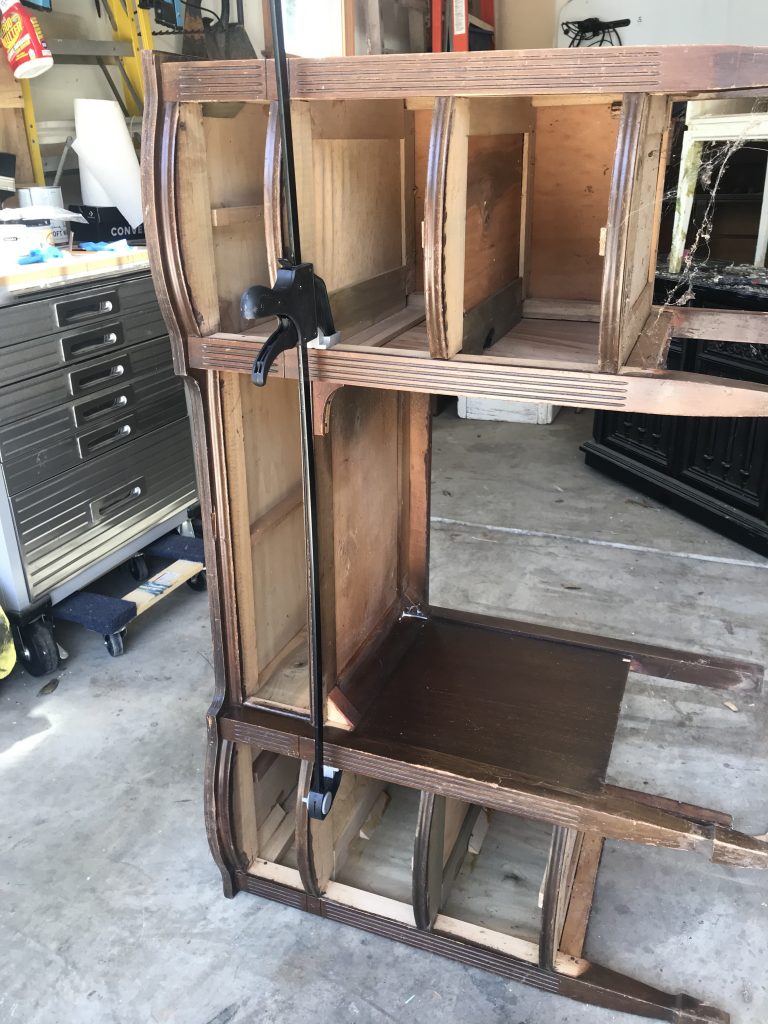
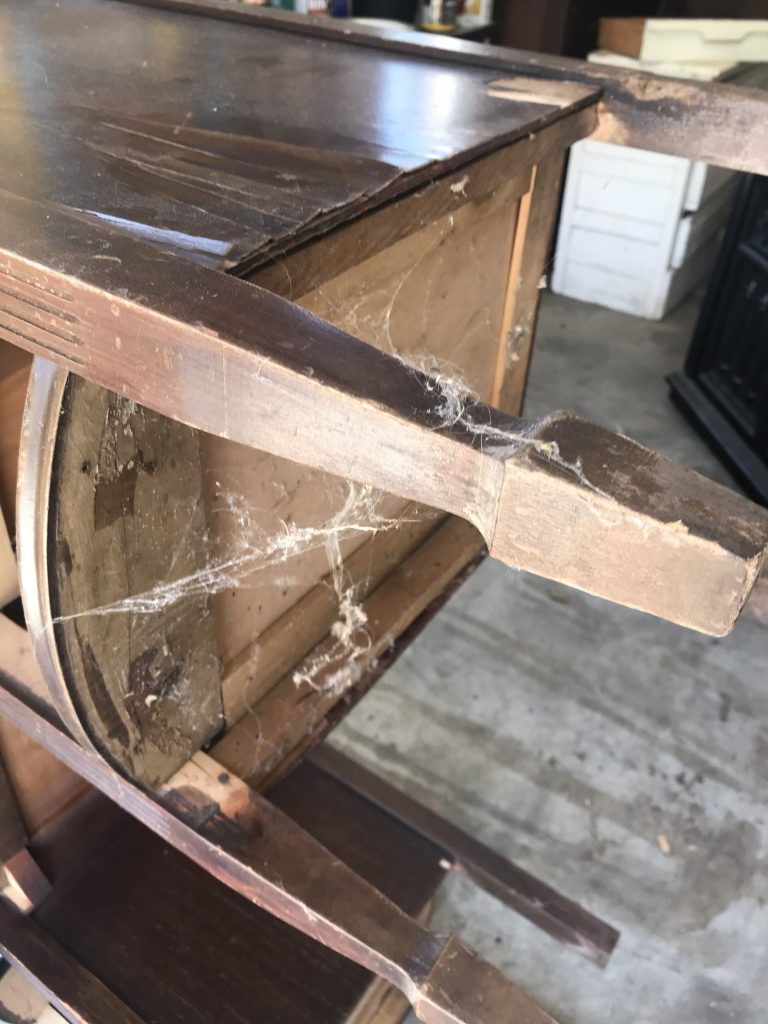
A huge problem was that the desk was not square because the frame was not stable and needed to be glued in some areas. I used wood glue ~ https://amzn.to/2LLxIHP and clamps to square up and reinforce the frame of the desk.
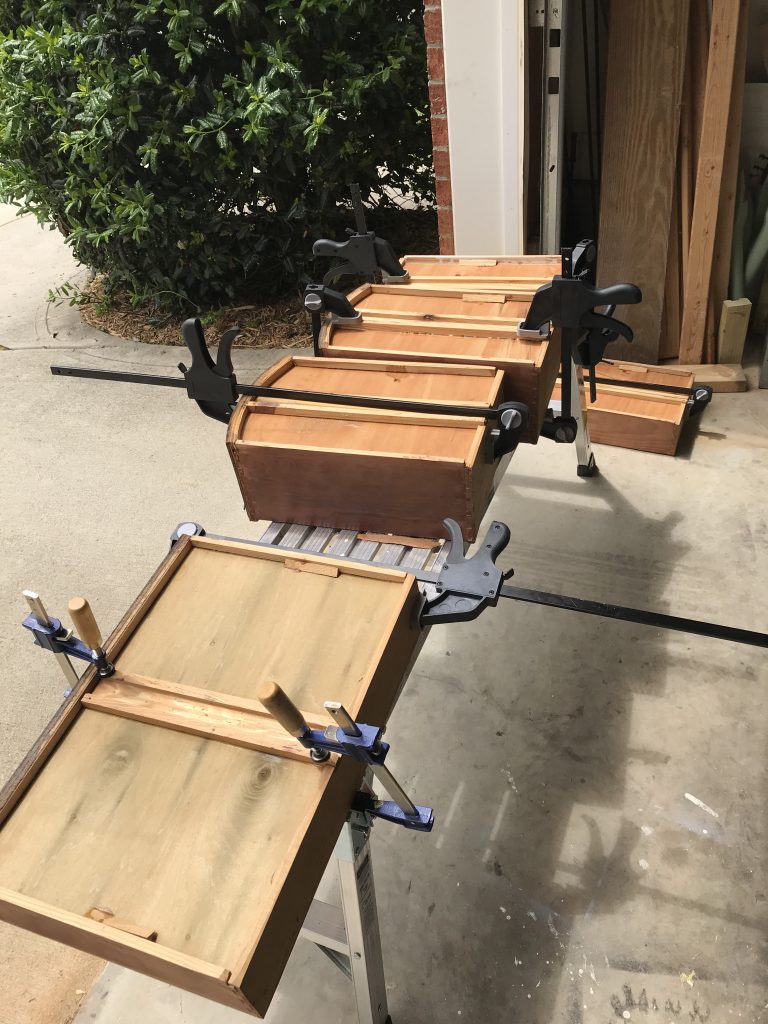
I had to do the same thing with all of the drawers. Since they had been in a desk that was not square, they became disjointed and not square as a result. I used the same wood glue ~ https://amzn.to/2LLxIHP and clamps to square them all up.
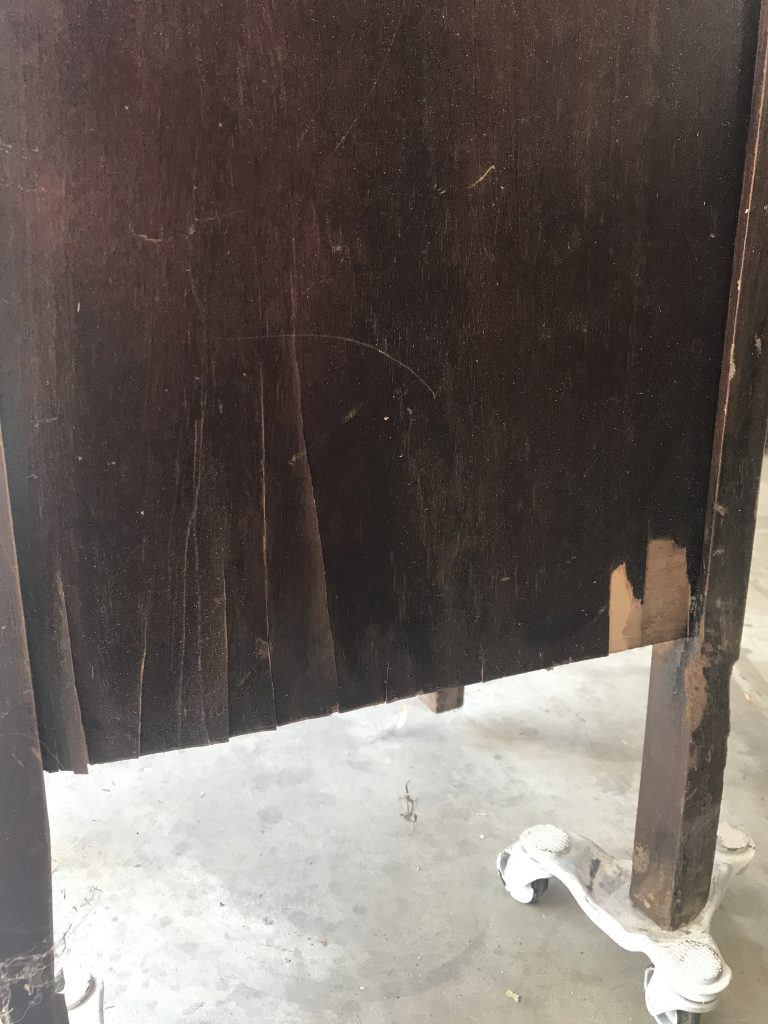
As seen in the photo above, one side of the desk was missing a large part of the veneer. Not to worry, PRO TIP – I removed the veneer with a warm damp towel, left on overnight. Some sections were hard to remove, so I used a warm iron over the towel to heat the glue and scrape the remaining veneer.

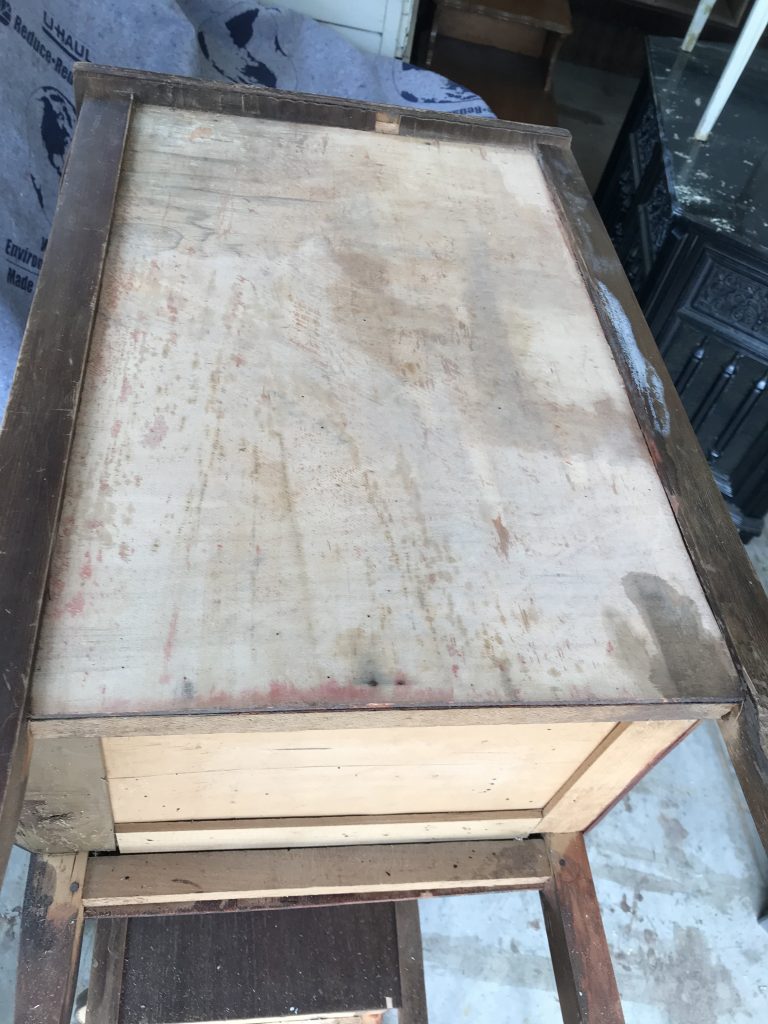
The other side had damage as well, but it was repairable. PRO TIP – I used a syringe filled with wood glue ~ https://amzn.to/2LLxIHP to get into the small spaces and clamped a piece of wood on top to flatten it out. For the missing veneer in the corner, I used Dixie Belle Mud ~ https://amzn.to/2zfMdRB to fill it in. Once dry, I sanded the whole side to make it all level.
There were actually several other areas on the legs and the drawer fronts that also needed to be filled in with wood filler. You can see one of the areas on the leg in the photo above. I simply went around the desk to all of the areas that needed repair and I filled them in with Dixie Belle Mud ~ https://amzn.to/2zfMdRB. I let the mud dry and sanded it smooth and level with the area around it. If it wasn’t completely smooth or was an obvious repair, I would just repeat the process until it was indistinguishable from the area around it.
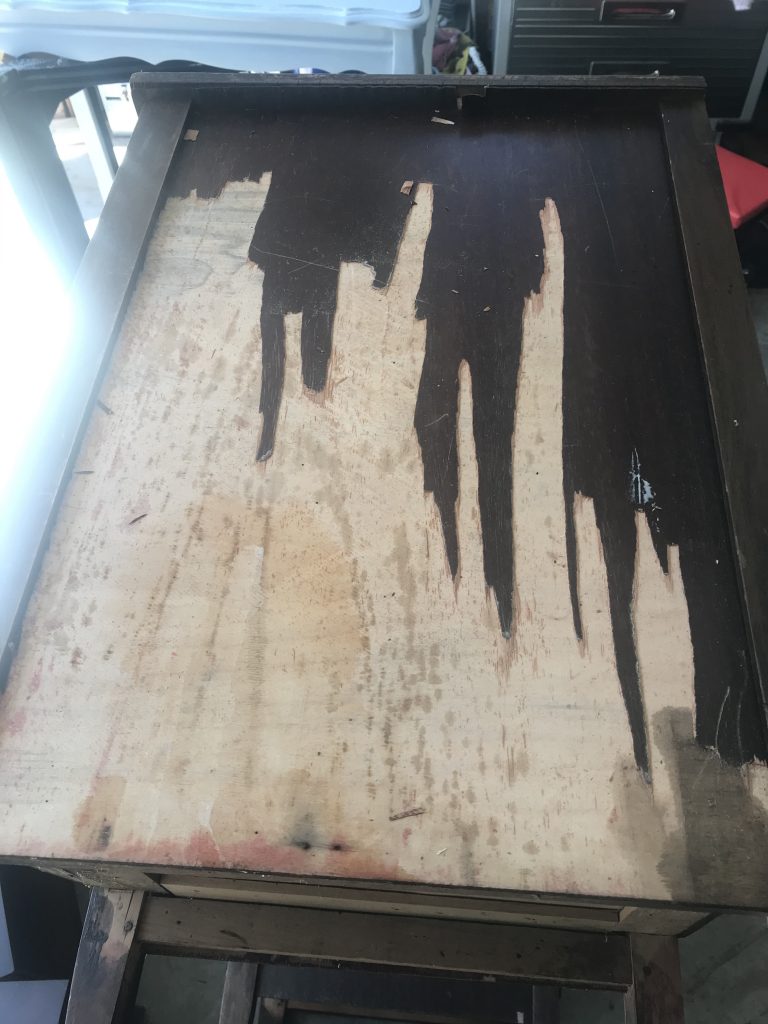
Lastly, before the paint, I sanded the top down to bare wood with my orbital sander ~ https://amzn.to/3mOzGsi, and the body of the desk with my mouse sander ~ https://amzn.to/2Yf42c. Some of the veneer on the top was pulling up, so again, wood glue ~ https://amzn.to/2LLxIHP and clamps.
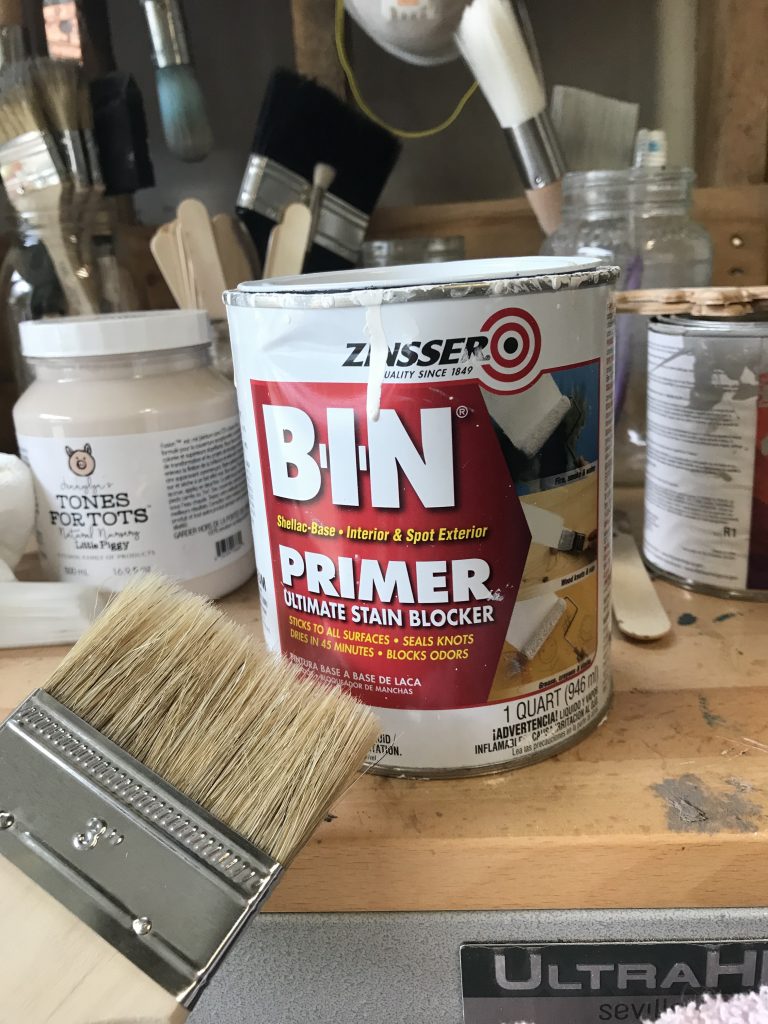
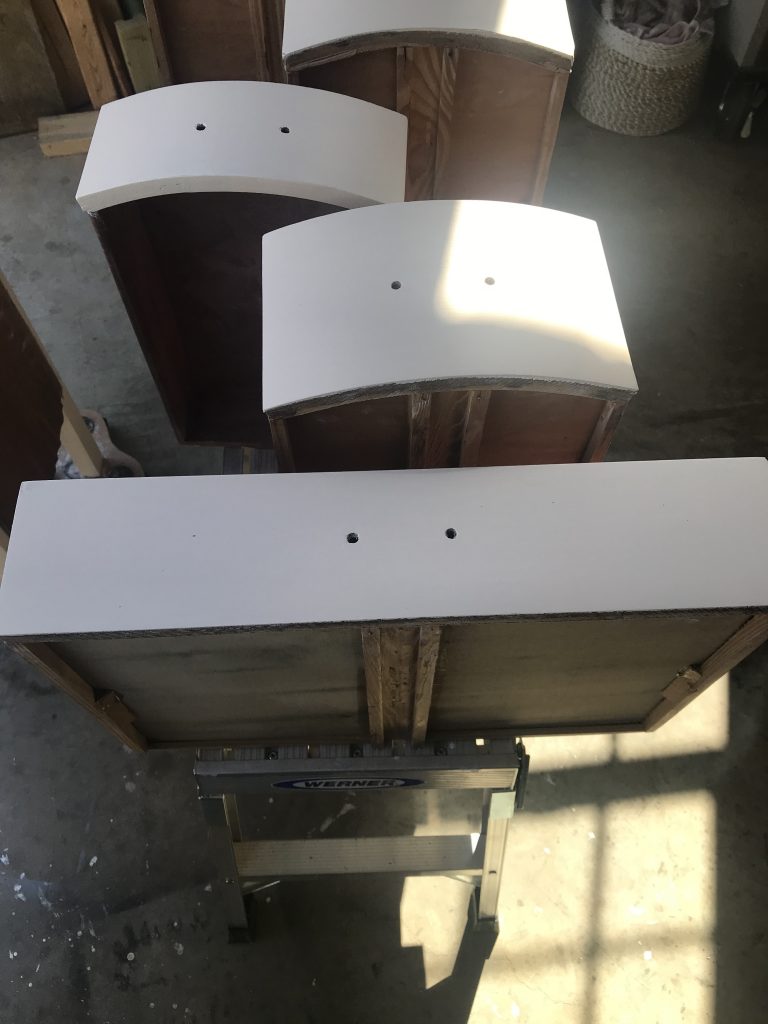
PHEW!!! Can you now see why I initially turned my nose up at this potential beauty?!? Finally…….paint! Well, actually……primer. This piece is mahogany, which is a well known bleeder. Save yourself the frustration of having to start over and prime. I always use the same primer because it works. I have tried all kinds that promise to prevent bleed through, but trust me, this is the only one that works every time ~ BIN Shellac Primer, Gallon https://amzn.to/3g8f0In or the quart size https://amzn.to/3g8fuyb. Apply this primer with an inexpensive throw away chip brush ~3 inch, 24 pack https://amzn.to/2WNntJf because it will be impossible to clean after. I applied two coats, sanding smooth between coats with 220 grit sand paper.
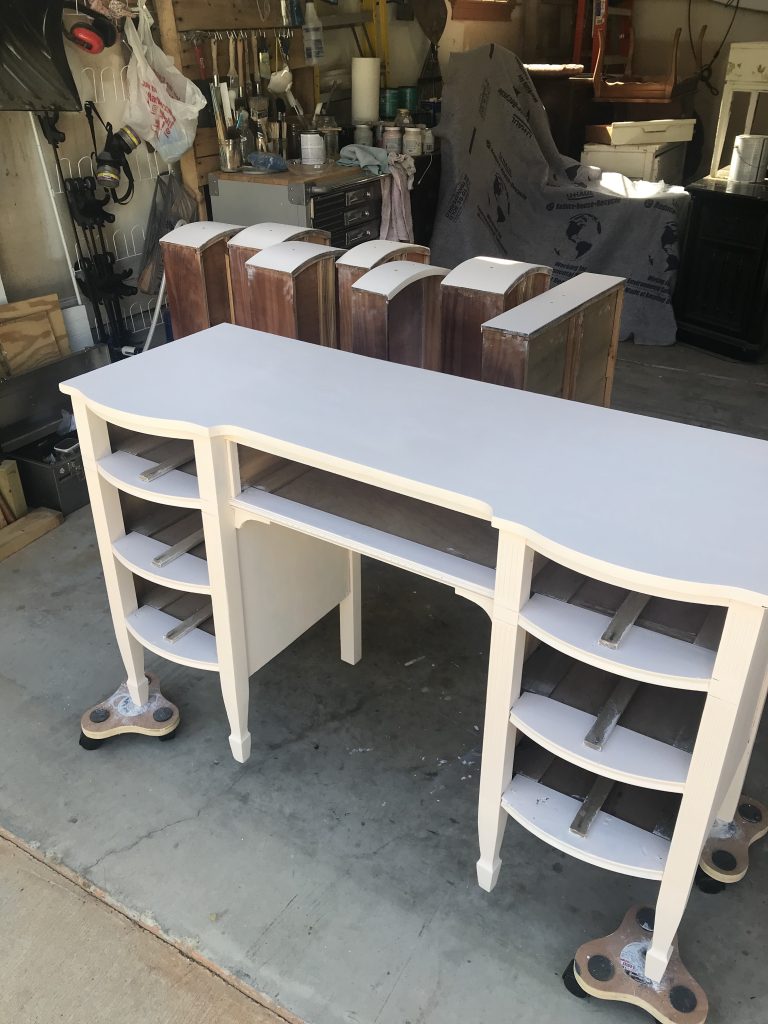
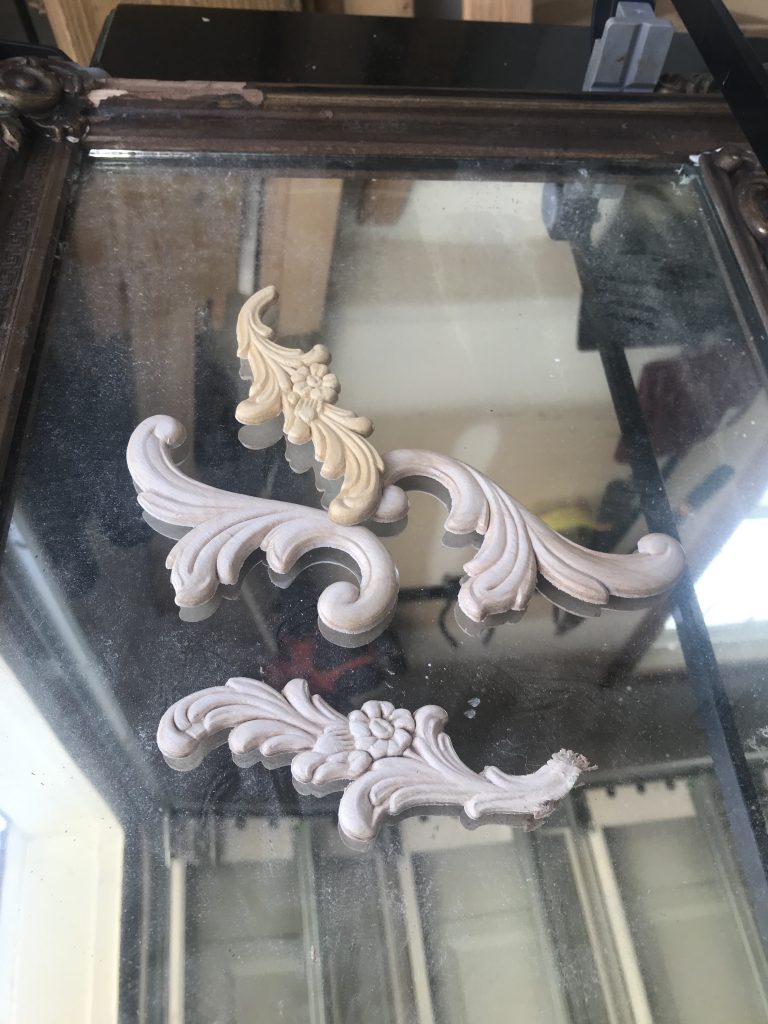
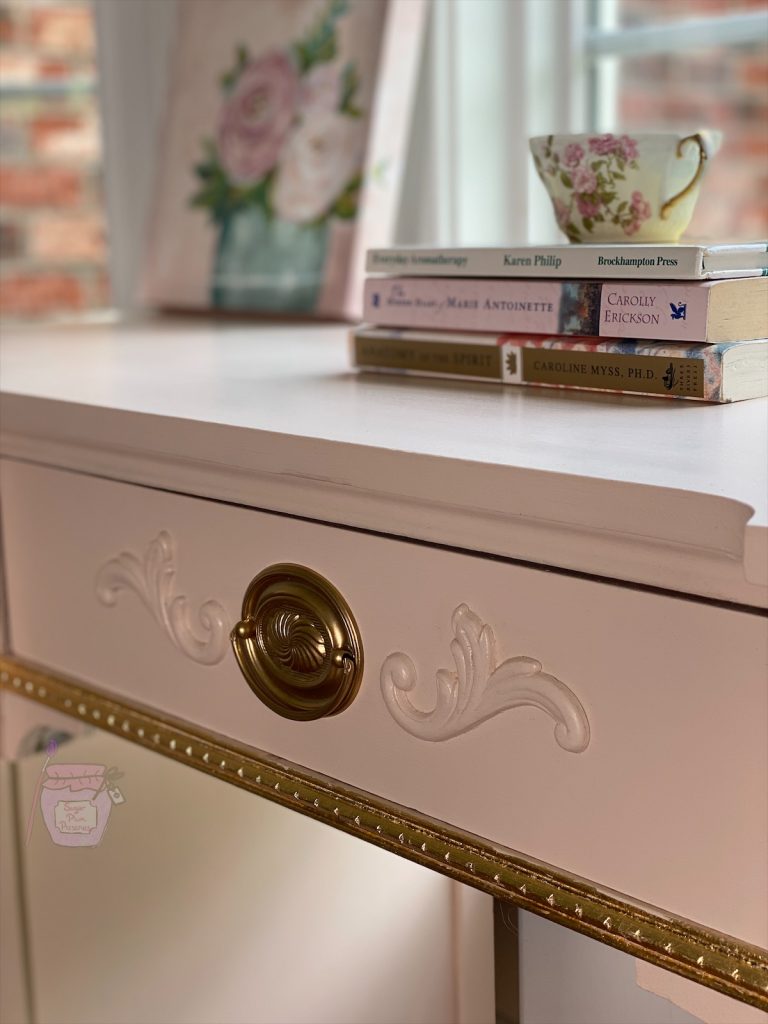
I wanted to add a little more “special” and “feminine”, so I added some appliques similar to these ~ https://amzn.to/3chb2QN to the front of the center drawer. I simply glued them to the front with wood glue ~ https://amzn.to/2LLxIHP. Once painted the same color, they look like they had always been there.
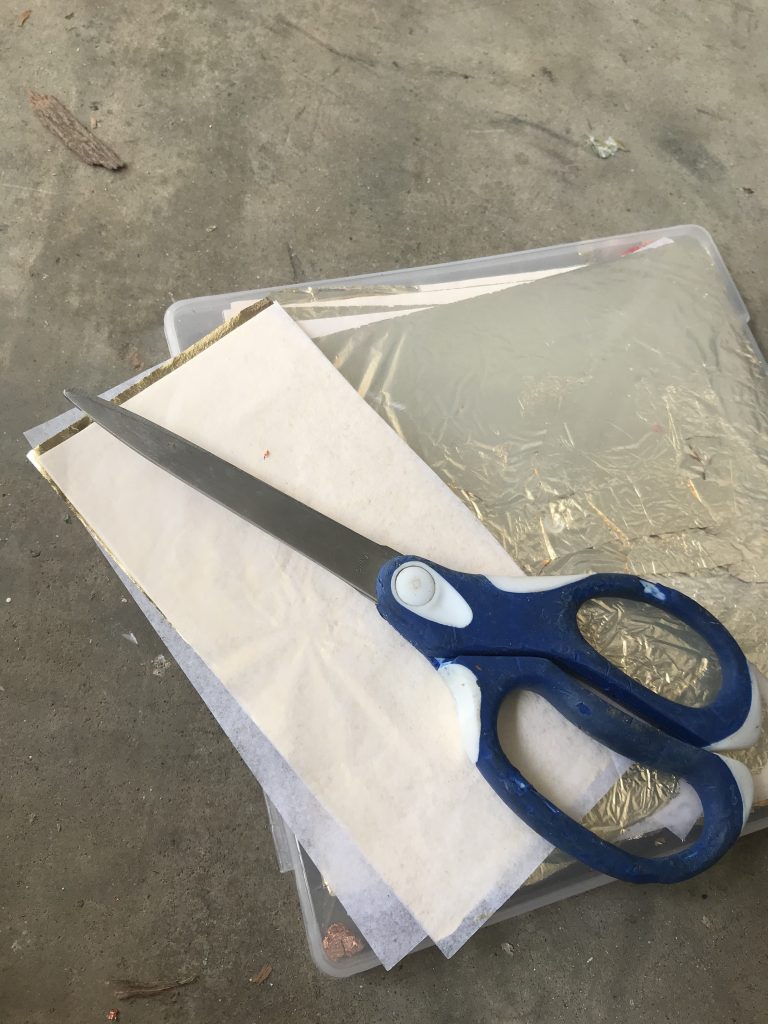
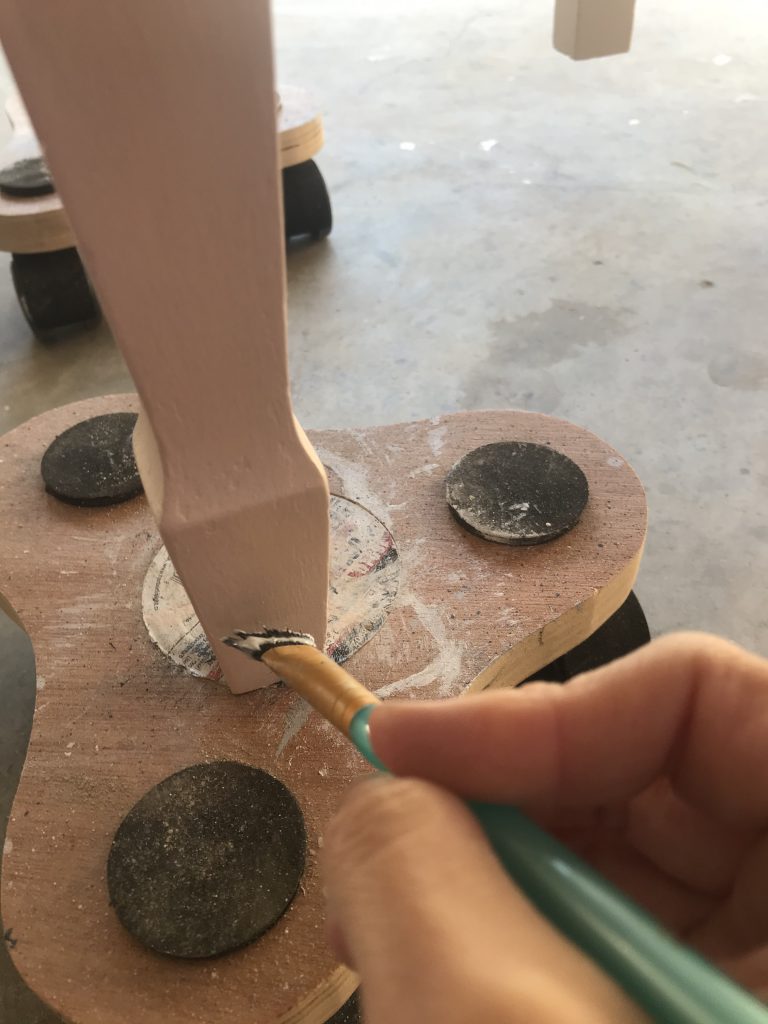
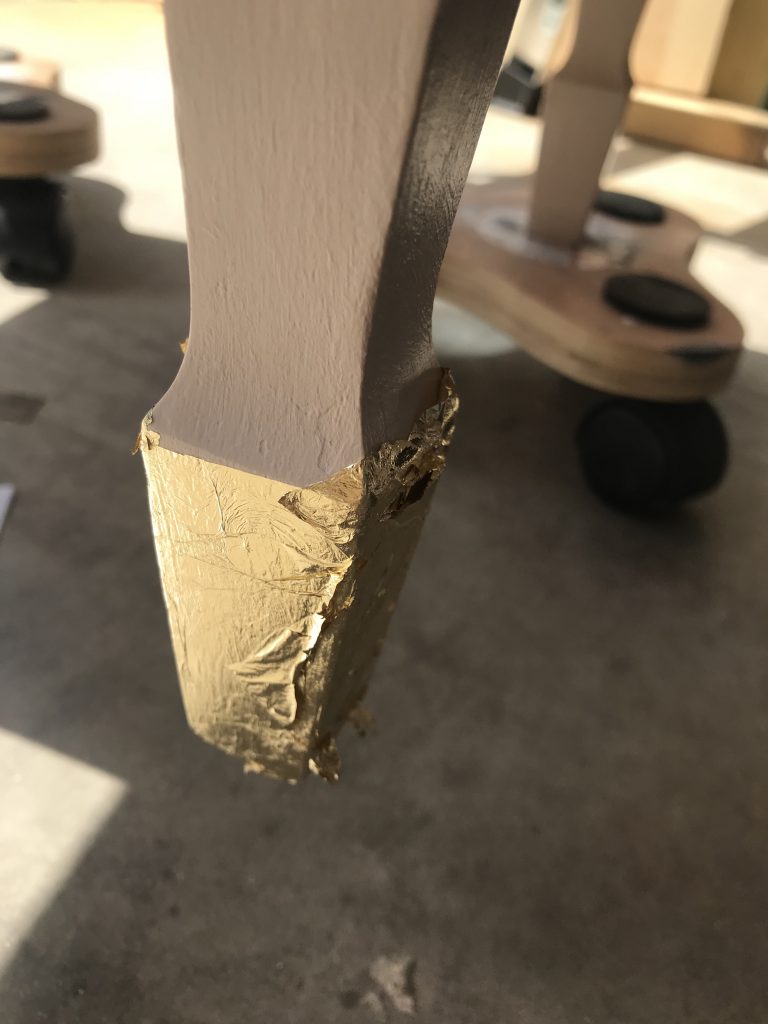
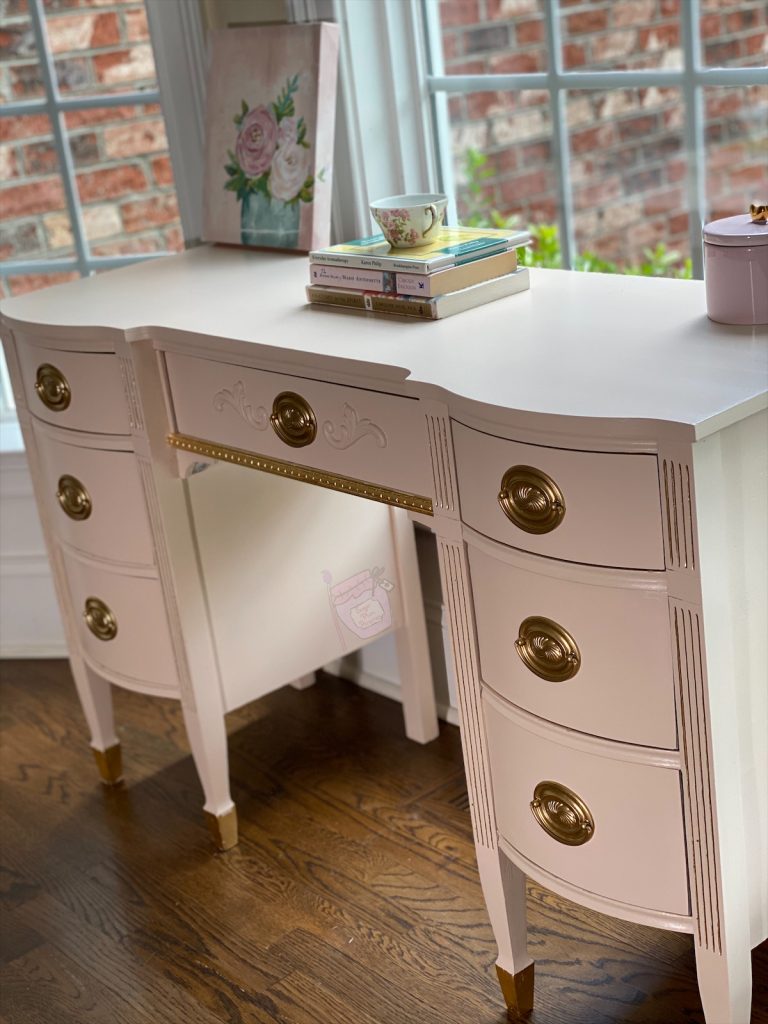
Since I spent so much time on the prep and repair, painting was a breeze. I chose the color Little Piggy by Fusion Mineral Paint. It is the sweetest, most beautiful shade of pink. I applied three thin coats of paint to the body and the drawer fronts using my favorite paint brush, Zibra Angled 2 inch Stubby https://bit.ly/3oI0V9z. The beautiful fluting beside the drawers was begging for something extra. I used an oil based gold metallic pen and filled in the fluting with gold. The feet had some lovely detail, so I wanted to show them off. What better way than a little sparkle with gold leaf?? ✨ I have gone into great detail about how to gold leaf in other posts, so I will just briefly explain the process here. First you apply the sizing ~ https://amzn.to/36hdOxP with a disposable brush. Once it is dry, apply the gold leaf, tamping down with a natural bristle brush. This is the gold leaf that I use ~ https://amzn.to/3e1vhgr. Gold leaf is very delicate, so some people find it hard to work with, but I like to cut it into strips that match the size of my project to avoid a lot of excess waste. Once all of the sizing is covered, use a soft natural bristle brush to rub off the excess. I repeated this process on all four front legs, as well as the detail on the center drawer.

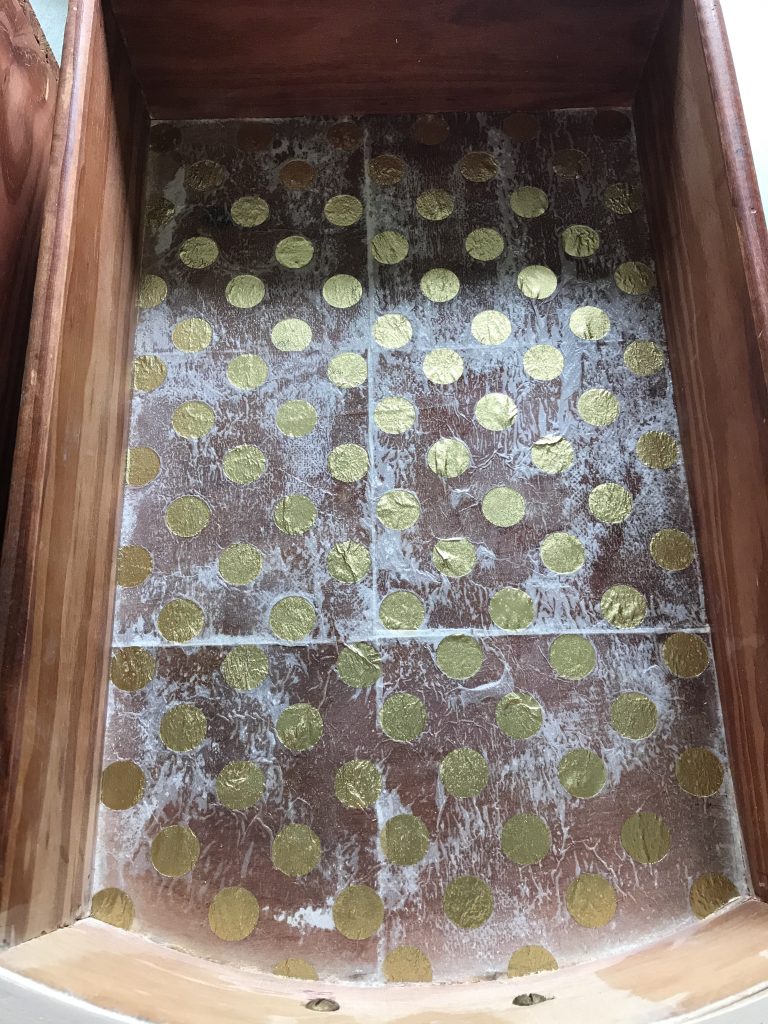
Unless the insides of the drawers have beautiful, unblemished wood, I love to line the drawers of my pieces with matching fabric, paint, or paper. I found some napkins that were white with gold polka dots that I knew would be so cute! One problem was that when I got them home, only the front fold of the napkin had the dots. 😤 I had to cut the napkin fronts off and decoupage them individually rather than as a sheet as I planned. I brushed the decoupage medium ~ https://amzn.to/3cV0eD2 on the bottoms of the drawers and arranged the squares so the dots looked uniform. Once they were all applied, I brushed a thin layer of decoupage over the top to seal it. I did this to all six of the side drawers. Problem number two, once dried from the decoupage, the napkins became translucent and were no longer white. 😤 x2
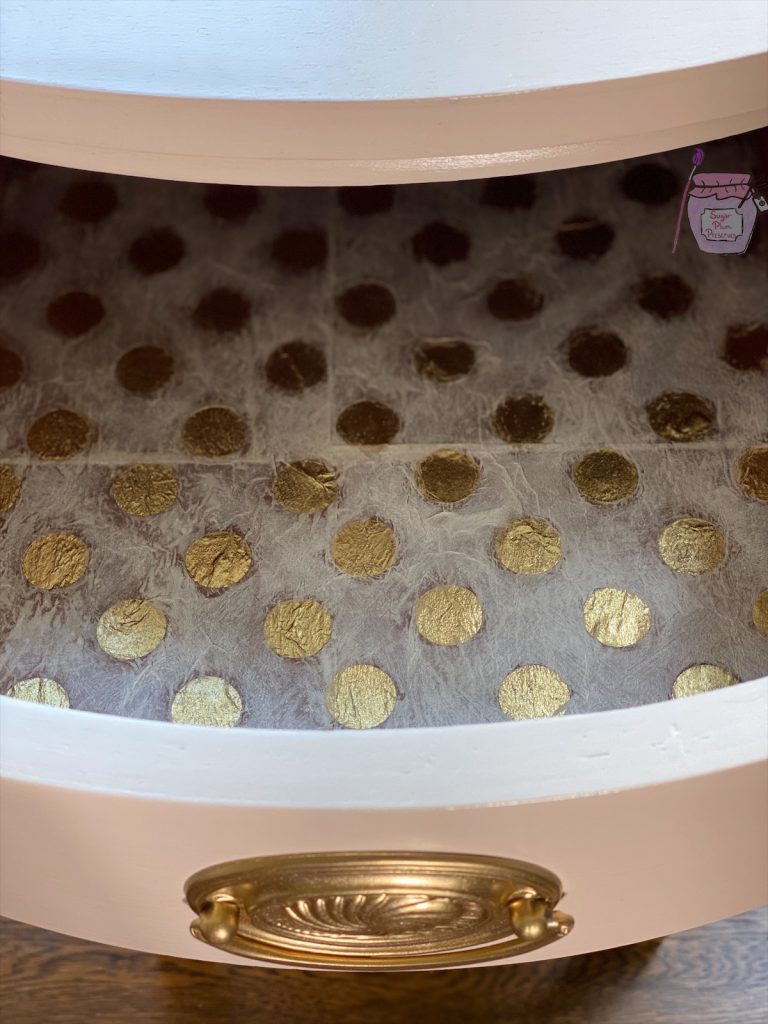
You know, I often figure things out as I go and came up with a solution. I had some white wax on hand ~ Deco Art White Cream Wax https://amzn.to/2APzW6V. I took a small artists brush and painted a thin layer of wax around all of the gold dots. And whatta you know? That did it! The wax will also provide an added layer of protection once it cures. Yep, feeling pretty smart right about now. 😎
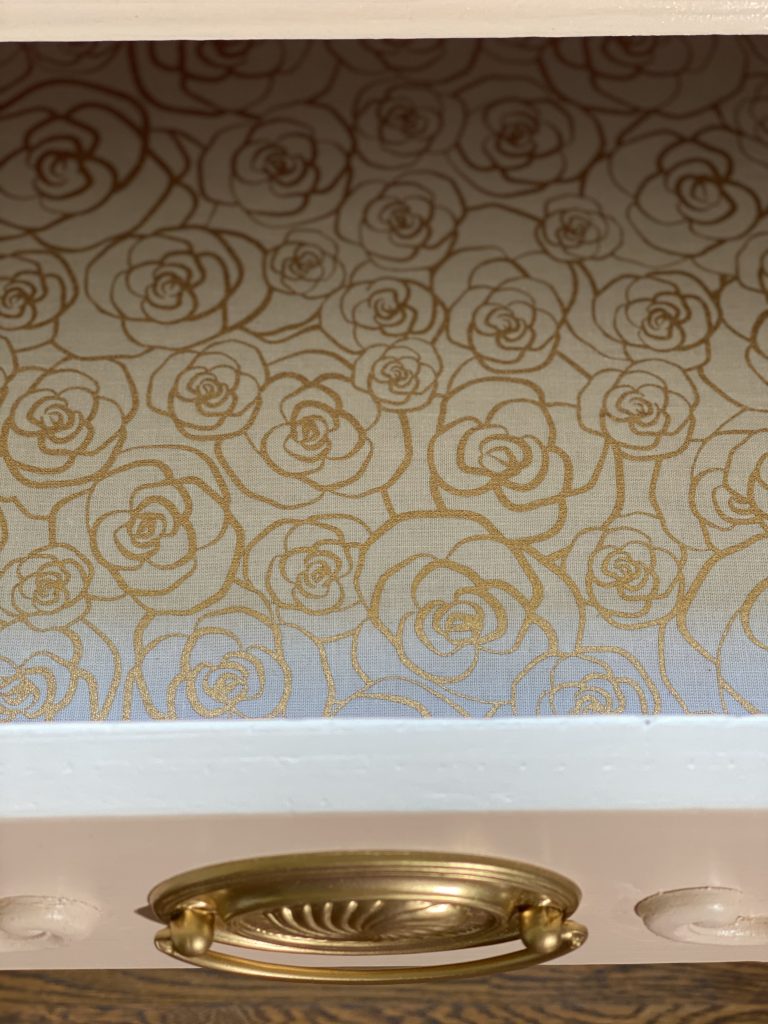
I decided to line the center drawer with a matching fabric to give some added pretty. I found this gold rose print fabric at Hobby Lobby and knew it would be perfect! The metallic gold has a little more sparkle in person, which I am always here for! I cut the fabric to size and adhered it with a spray adhesive ~ Elmer’s Craft Bond https://amzn.to/2TrcDa1. Voila!
I reused the original pulls because they were so pretty! I cleaned them with Bar Keepers Friend https://amzn.to/343AtgB and sprayed them gold with Rustoleum Gold https://amzn.to/3g809xO. I sealed the entire piece with Minwax Water Based Polycrylic, Satin https://amzn.to/3g7e7Qw, applied with my favorite method ~ Car Detail Sponge https://amzn.to/2ANgY0K.
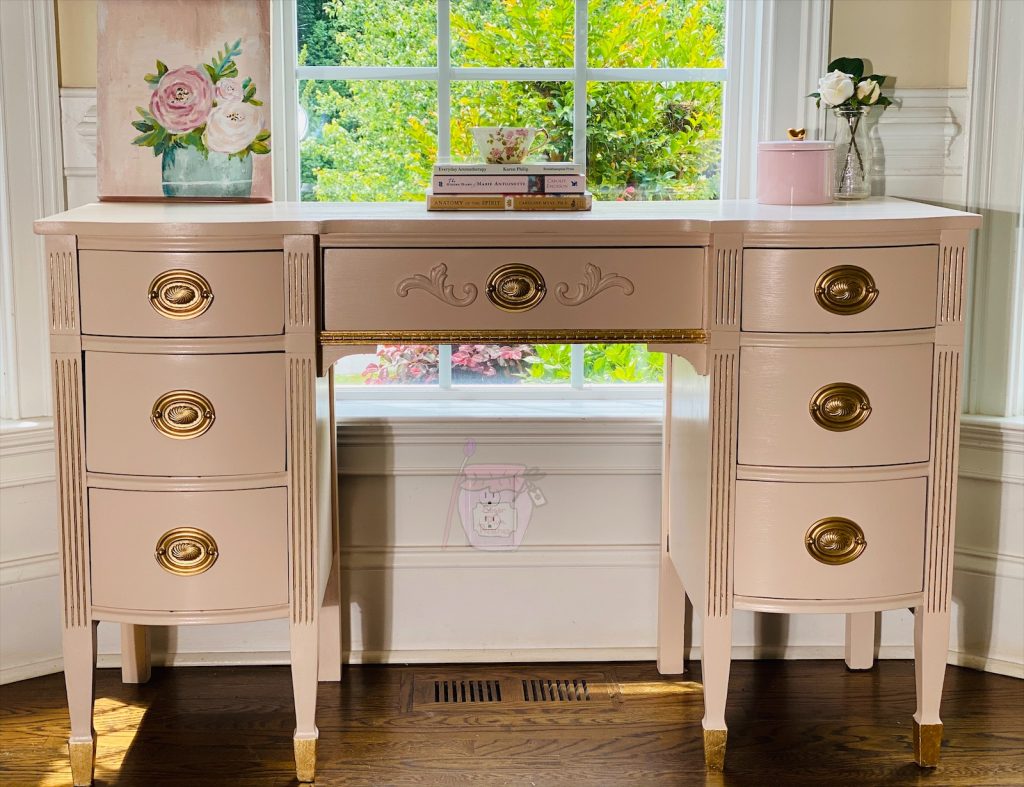
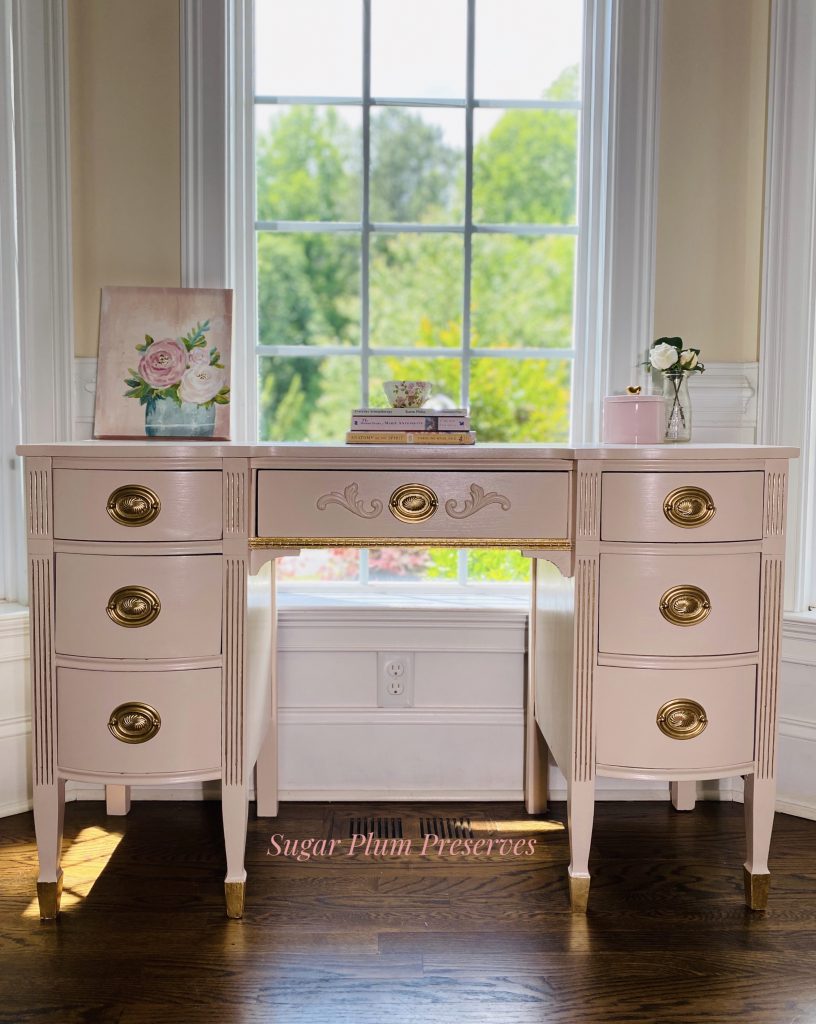
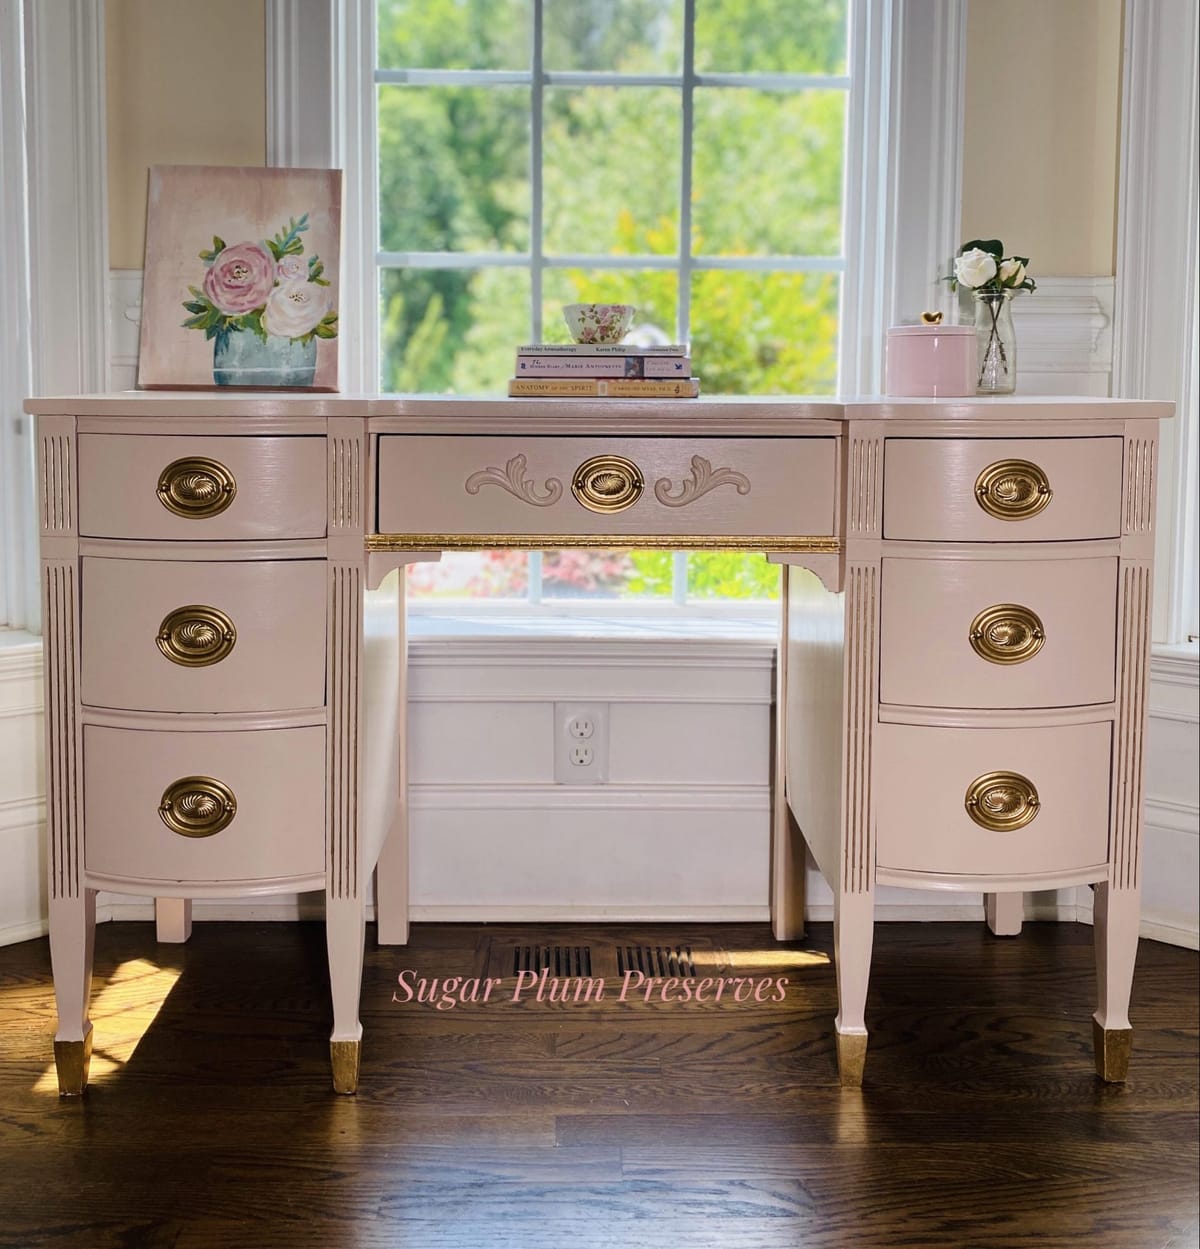
I sure am glad that I went back and took a second look at this diamond in the rough! It ended up being my favorite transformation of 2020. I hope you love it too! Stick around in 2021, it is only going to get more beautiful! 💞
Thank you so much for joining me for Sugar Plum Sundae! Please check back every Sunday for more yummy recipes to transform reclaimed “junk” into sweet little treats for the home! 🤗
For more delicious treats, follow Sugar Plum Preserves:
Facebook: https://www.facebook.com/SugarPlumPreserves/
Pinterest: https://www.pinterest.com/pinterest/sugarplumpreserves
Instagram: https://www.instagram.com/sugarplumpreserves/
YouTube: https://youtu.be/tQplTZMCjq0
XOXO
Michele
Materials List (may not be all inclusive):
Krud Kutter https://amzn.to/36549fO
Wood Glue https://amzn.to/2LLxIHP
Dixie Belle Mud https://amzn.to/2zfMdRB
Orbital Sander https://amzn.to/3mOzGsi
Mouse Sander https://amzn.to/2Yf42c
BIN Shellac Primer, Gallon https://amzn.to/3g8f0In
BIN Shellac Primer, Quart https://amzn.to/3g8fuyb
Chip brush ~3 inch, 24 pack https://amzn.to/2WNntJf
Wood appliques https://amzn.to/3chb2QN
Clamps https://amzn.to/3DKenTC
Paint brush, Zibra Angled 2 inch Stubby https://bit.ly/3oI0V9z
Gold leaf sizing https://amzn.to/36hdOxP
Gold leaf https://amzn.to/3e1vhgr
Natural Bristle Gold Leafing Brush https://amzn.to/3LAVdBu
Decoupage medium https://amzn.to/3cV0eD2
Deco Art White Cream Wax https://amzn.to/2APzW6V
Spray adhesive ~ Elmer’s Craft Bond https://amzn.to/2TrcDa1
Bar Keepers Friend https://amzn.to/343AtgB
Rustoleum Gold https://amzn.to/3g809xO
Minwax Water Based Polycrylic, Satin https://amzn.to/3g7e7Qw
Car detail sponge https://amzn.to/2ANgY0K
Fusion Mineral Paint, Little Piggy
3 Wheel Dolly, 4 pack https://amzn.to/3bKfilf
*Affiliate disclosure: As an Amazon Associate I may earn a small commission from qualifying purchases from Amazon.com.