"Restoration Hardware" Table
This week's treat is a commission piece whose owner wanted a faux weathered wood look, or more specifically, the "Restoration Hardware" look.
~ A Sweet Little Treat for the Home ~
Hello My Sweets!
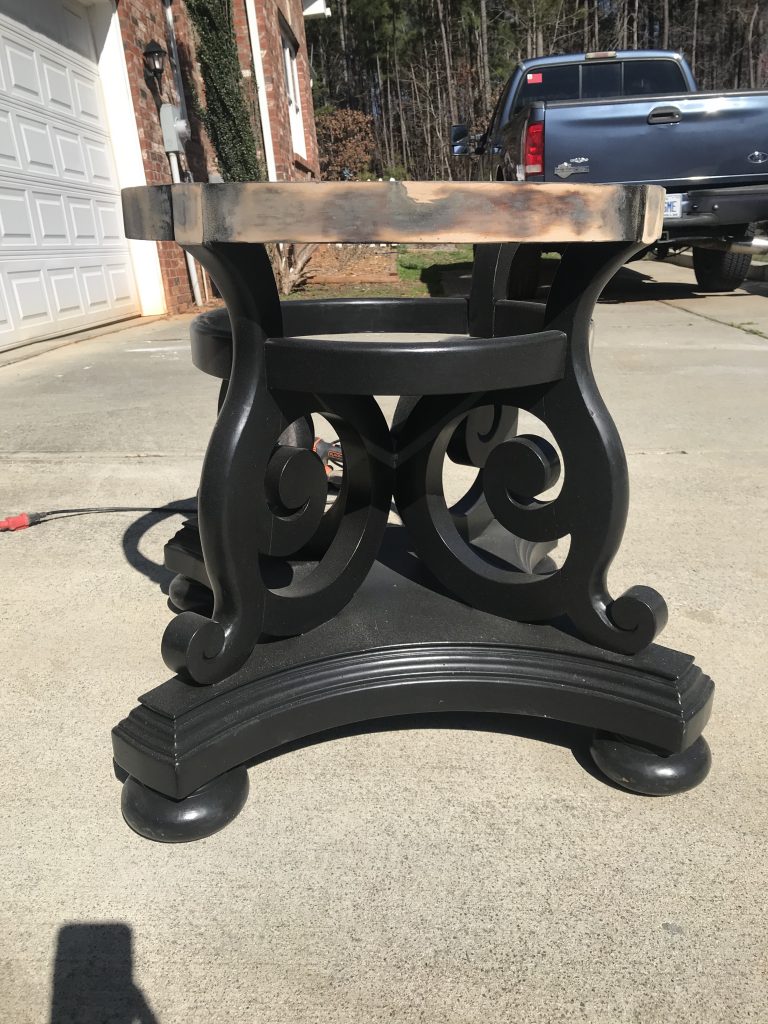
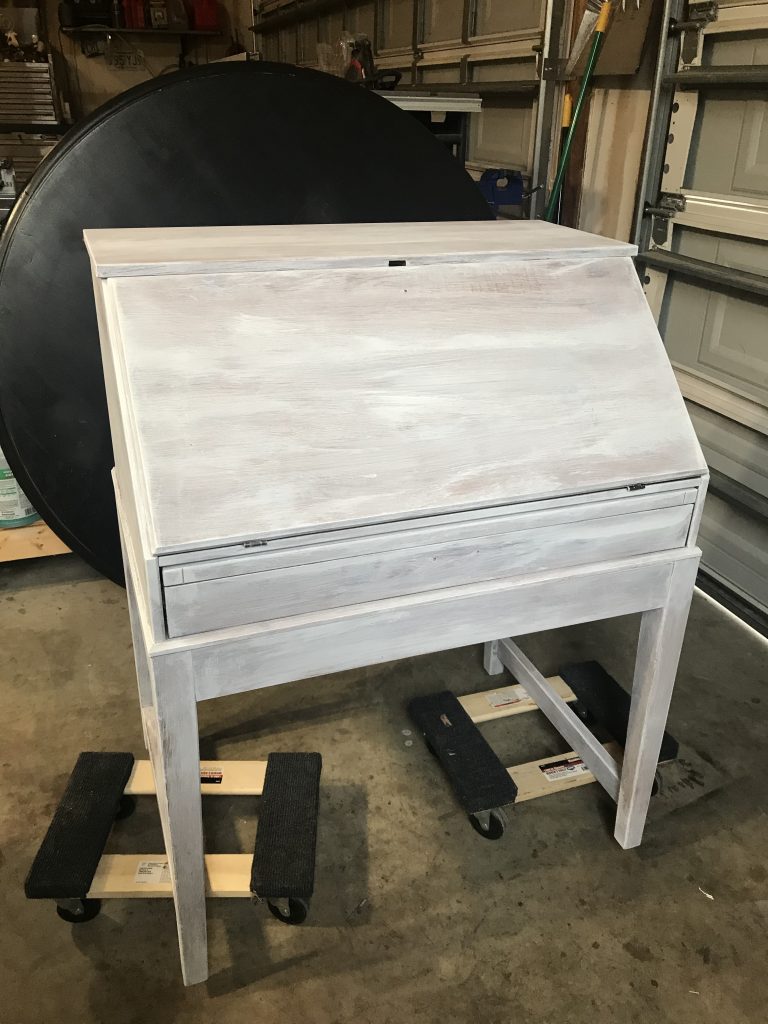
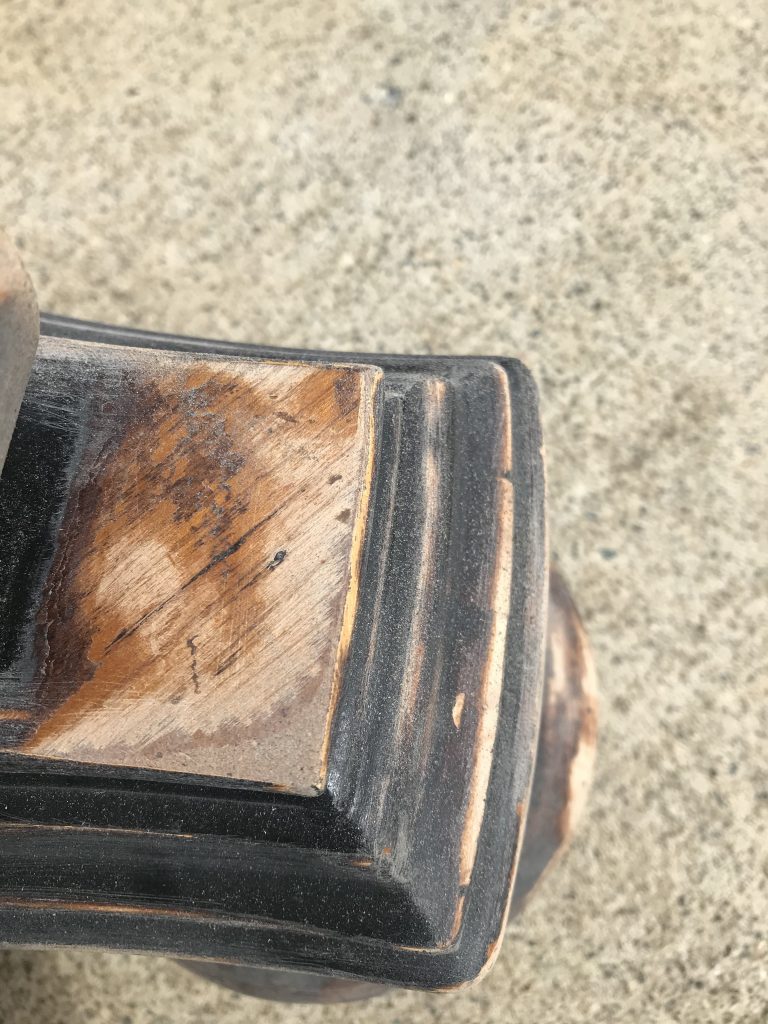
My customer had found the piece inexpensively on Marketplace and wanted to duplicate the expensive tables featured in the Restoration Hardware catalog. The piece was covered in a weird black chalk paint that was easily scratched off. I forgot to take good before pictures, but remembered as I was sanding the base and you can see the table in the background of the desk that I was priming. Sorry, but these are the best “before” that I have.
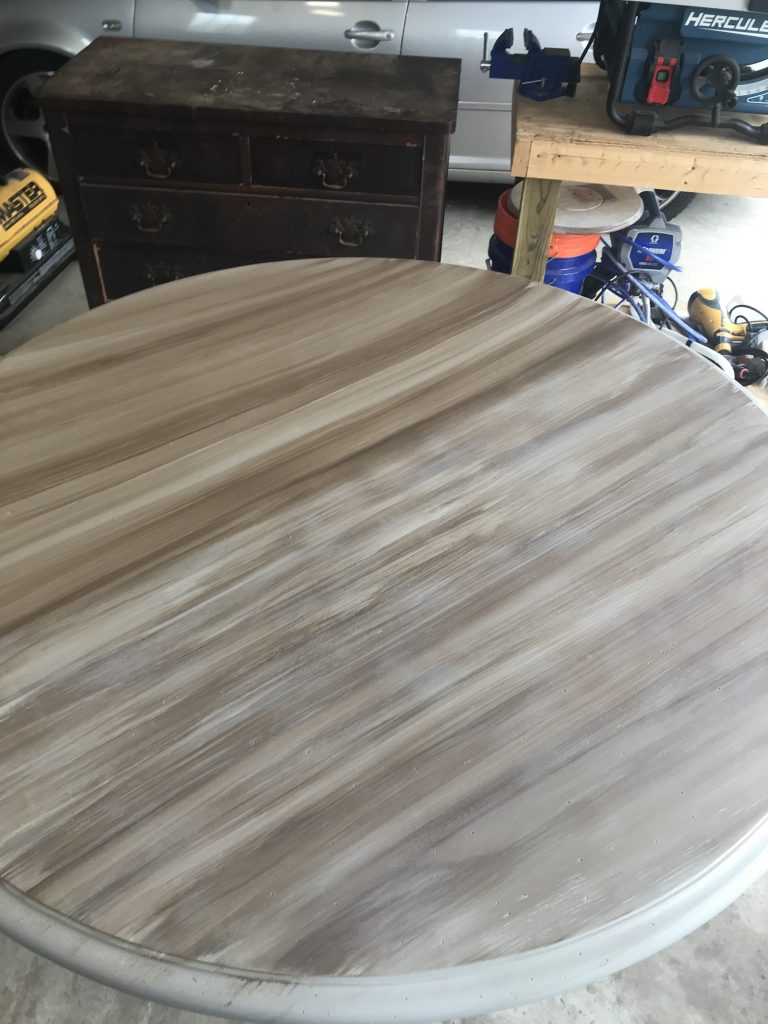
In order to achieve the look she wanted, I would need to remove all of the old paint first. In doing so, I discovered that the table top was solid wood, but unfortunately, the base was not. I sanded (with my trusty detail sander https://amzn.to/2Yf42cT) through some of the veneer to reveal pressed wood on the base, but sanded the top (with my equally trusty orbital sander https://amzn.to/3mOzGsi) all the way to the wood to reveal a gorgeous wood inlay! Clearly this base and top were not originally meant to be together. I FaceTime’d with the owner to show her the beautiful tabletop underneath and to make sure that she wanted to paint it. Normally, I am ALL for painting a piece, but in this case, I was surprised when she said to continue as planned because the inlay was not her style. Okay! I am up for the challenge! Continue as planned.
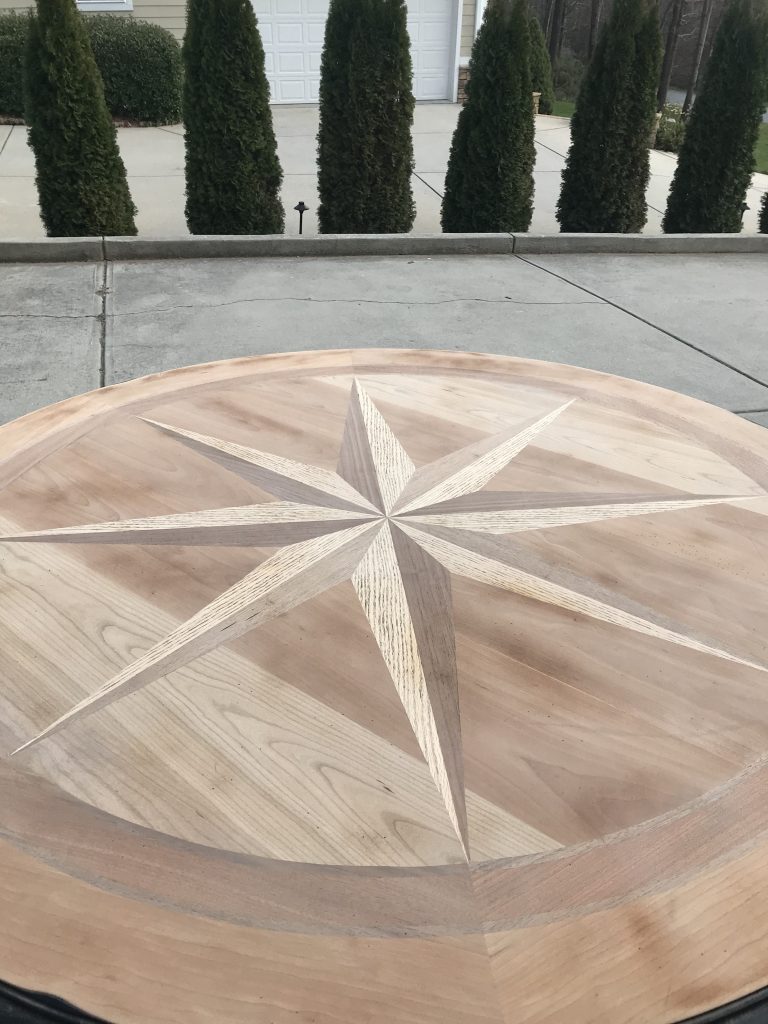
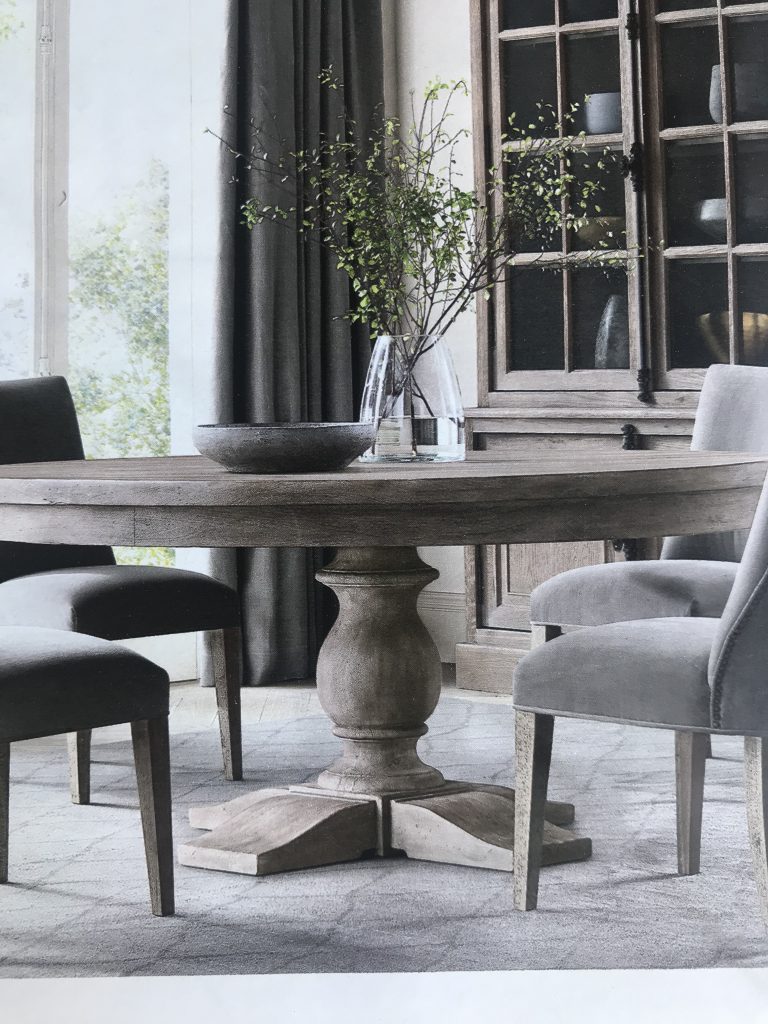
As pretty as the inlay was, it presented a new problem ~ I was going to be creating a weathered faux grain, but this had it’s own “compass” wood grain to contend with. What I thought would be a simple paint and glaze technique turned into a more complex job. In hindsight, I may have done a layer of wood filler to hide the grain because it kept showing through the paint. Since I did not do that, I created more work for myself as it took many layers of paint, glaze, and wax to create a new faux wood grain. Below is the inspiration picture of the Restoration Hardware table. The owner of the table wanted her piece to be less gray and more brown, but liked the weathered look.
Okay, so where to begin?? I started with a base coat of Algonquin by Fusion Mineral Paint. I then created a wash with glaze and Coffee Bean by Dixie Belle https://amzn.to/2WLGtbb. I brushed on the glaze and wiped it back as needed to get the look that I wanted. In order to try and camouflage the compass pattern, I went straight across the top in to give the impression of boards.

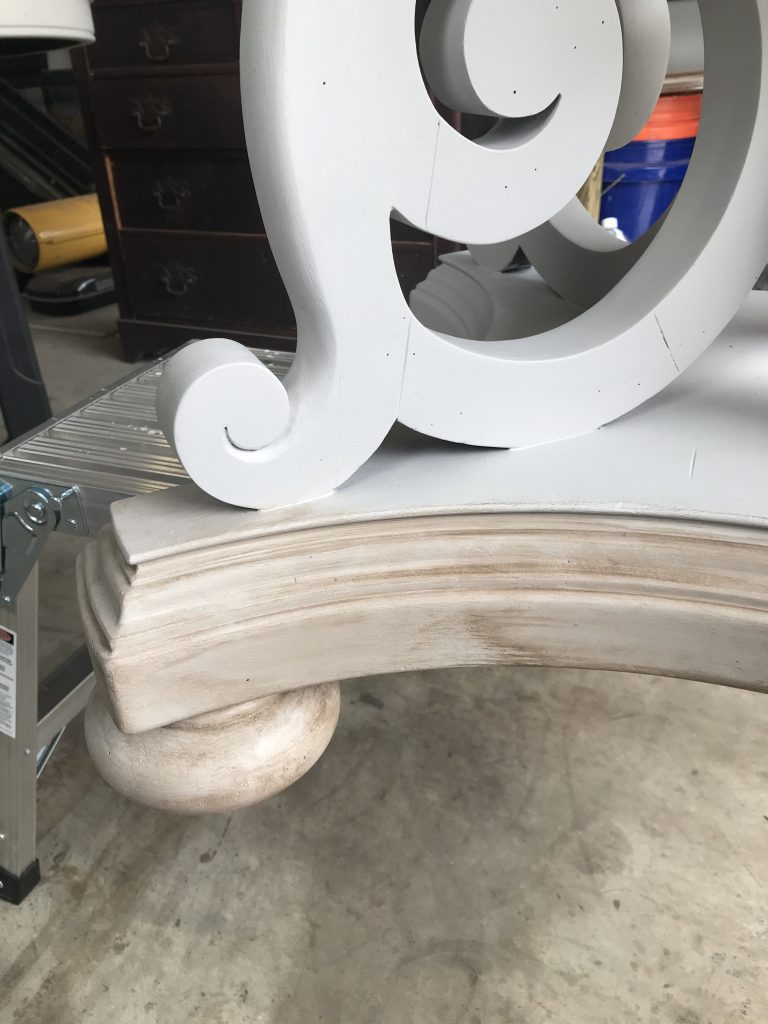
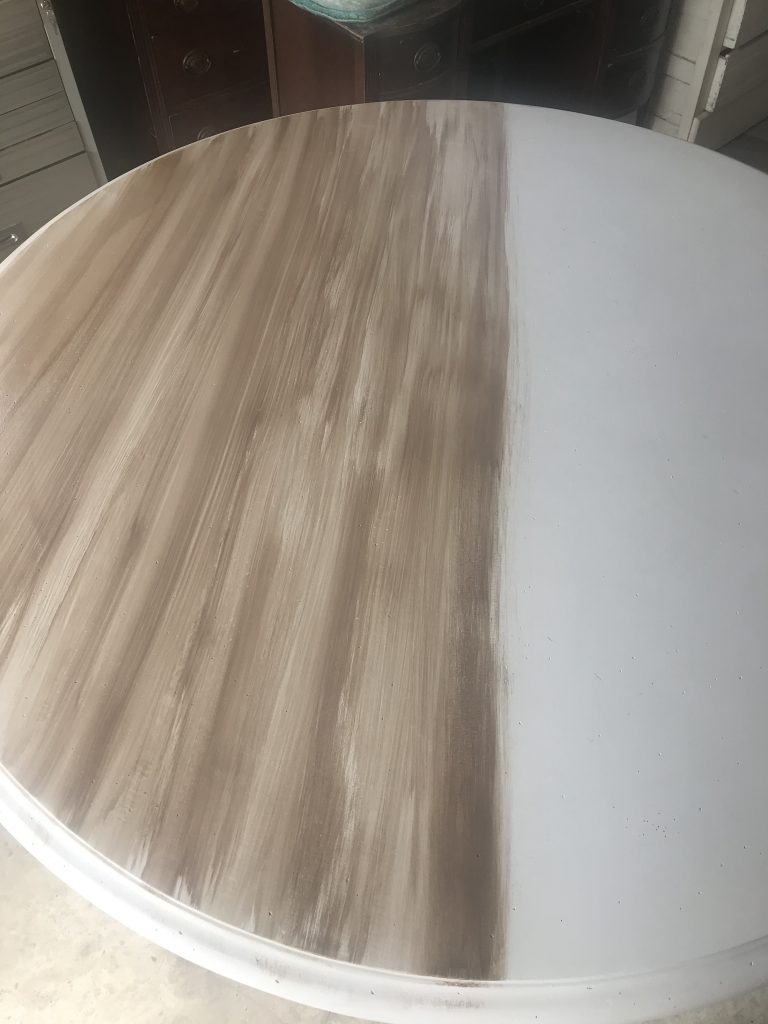
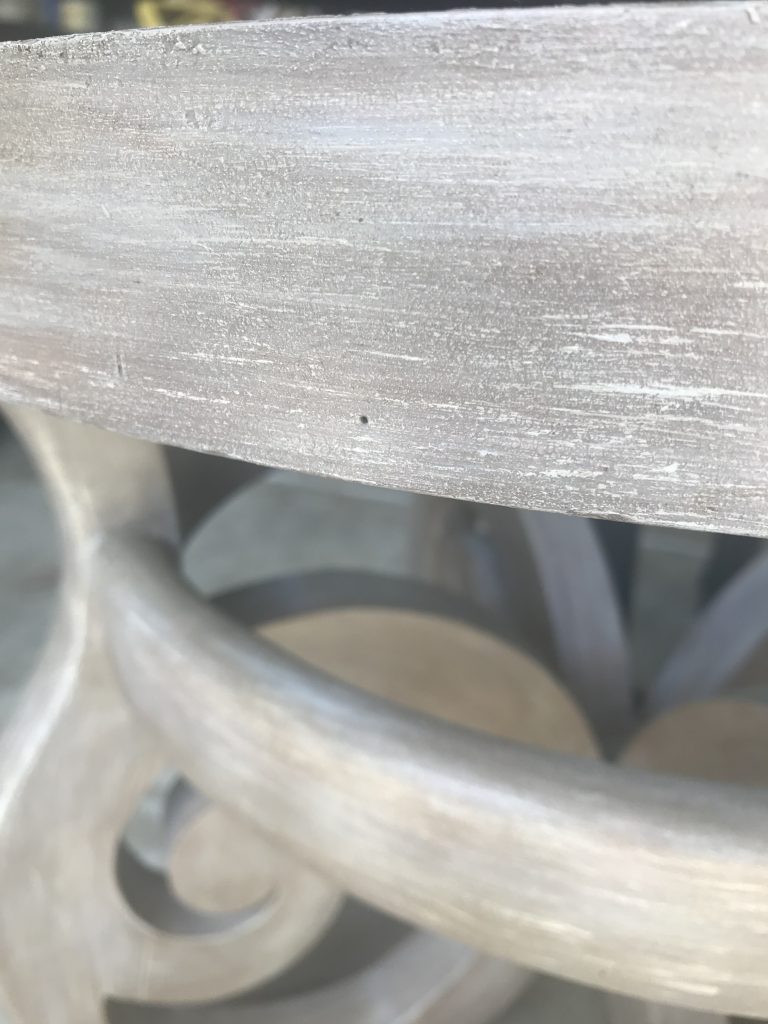
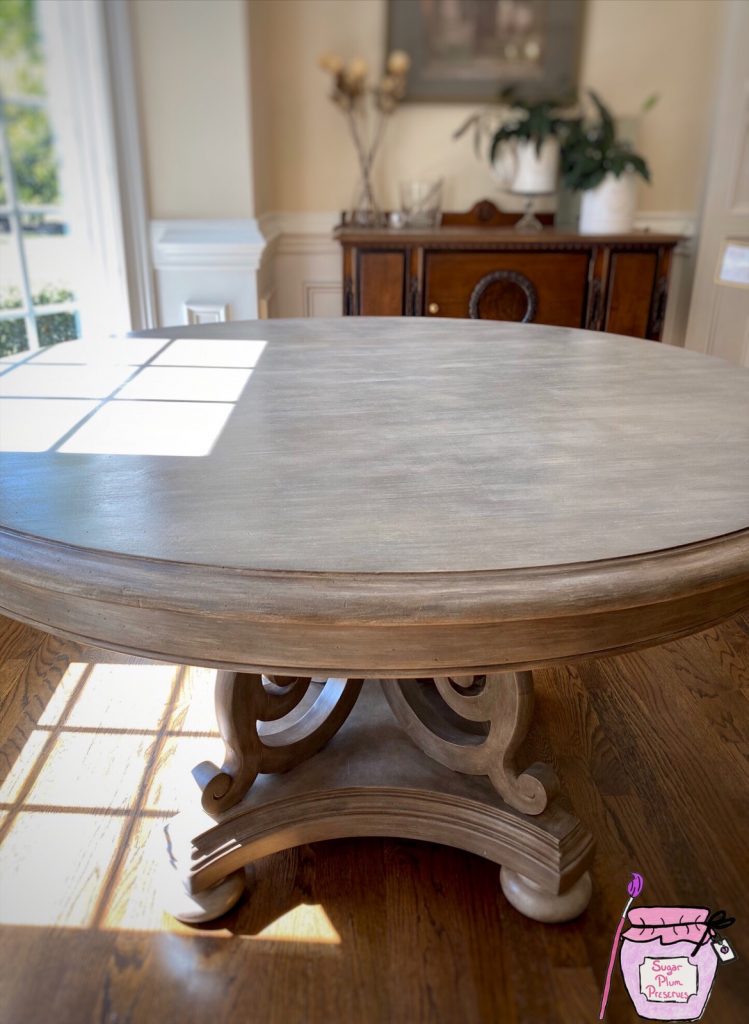
I went over the whole table and base with this method. It was a good start, but it honestly looked too “flat” and the compass pattern was still showing through the paint and glaze. I decided to dry brush some white paint and two shades of gray paint ( a light and a dark). You can see the difference in the look between the bottom of the base and the scroll work and in the table top.
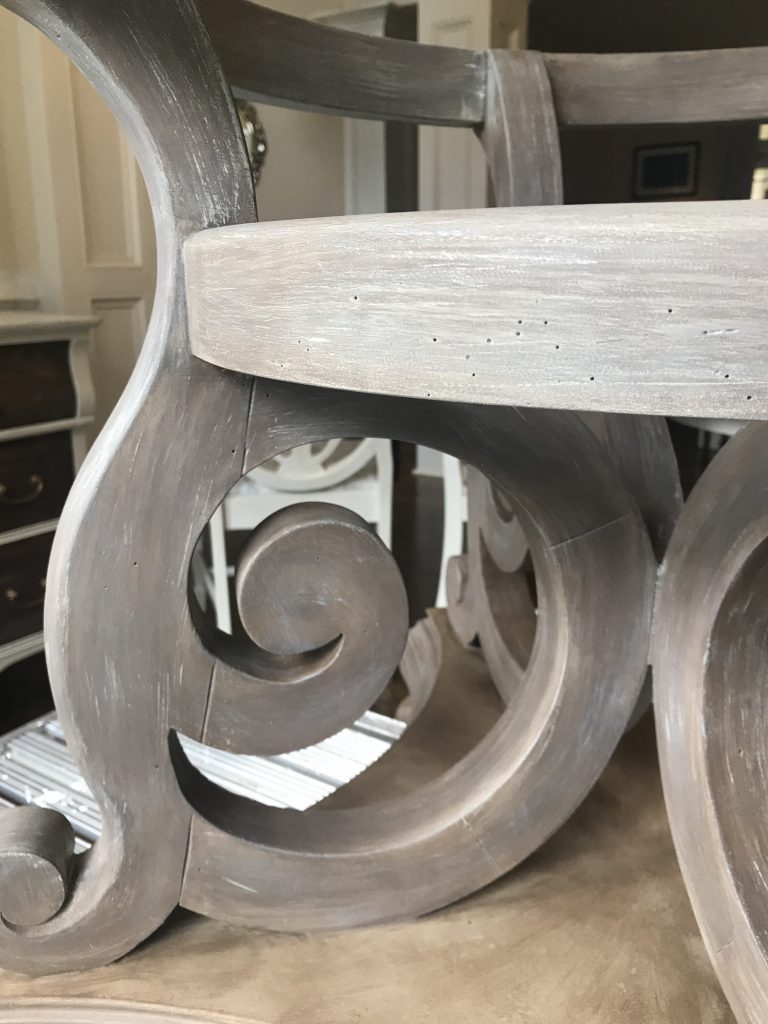
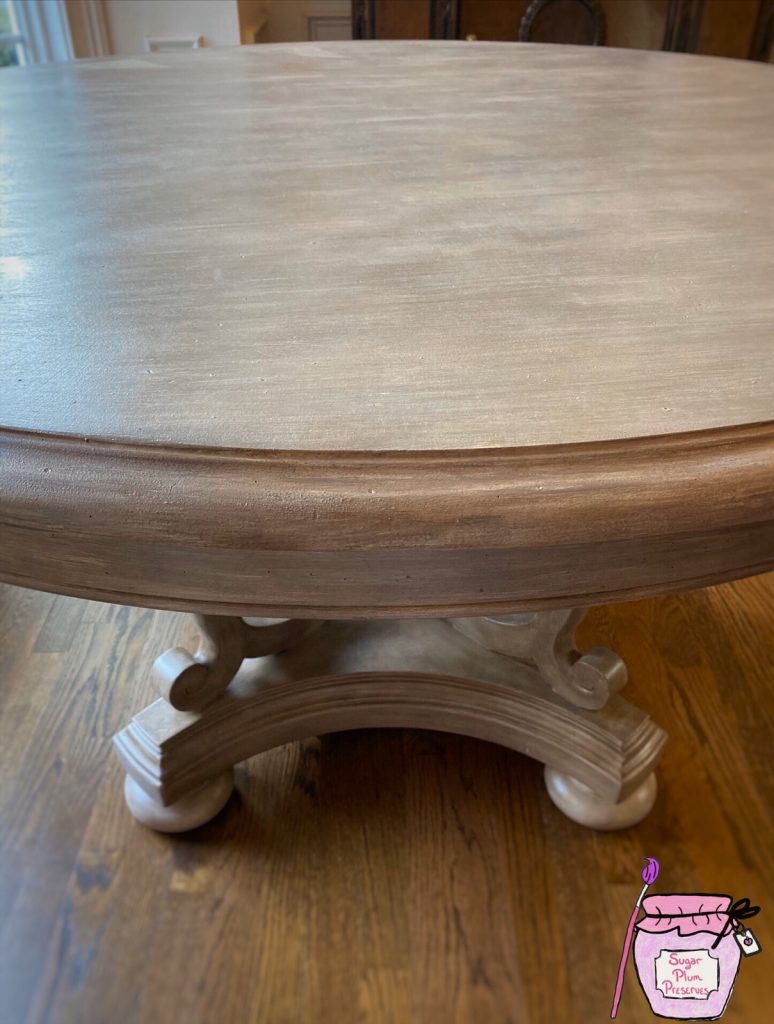
I liked the way the base looked but the top still showed the compass pattern and it looked too perfect, not weathered. Maybe I’m a little crazy, but with permission from the owner, I got out my hammer and used the back end to create some divots in the wood. Better, but still not right. I sealed the whole piece with several coats of polycrylic because I decided to “dirty” up the piece and give it a little more texture with dark wax . I went over both the base and the table top with the dark wax, leaving some areas more “dirty” than others. It looked a little too uniform, so I got out my white wax https://amzn.to/2APzW6V and a painters brush and added little streaks of white here and there. I replicated the same on the base. I like to use wax in this way on table tops and not as a topcoat because it is not as durable at the polycrylic https://amzn.to/36h3kys and would need to be waxed again in the future. Since I sealed it first, it will remain durable and the wax layer will only look better as it wears on this style of finish.
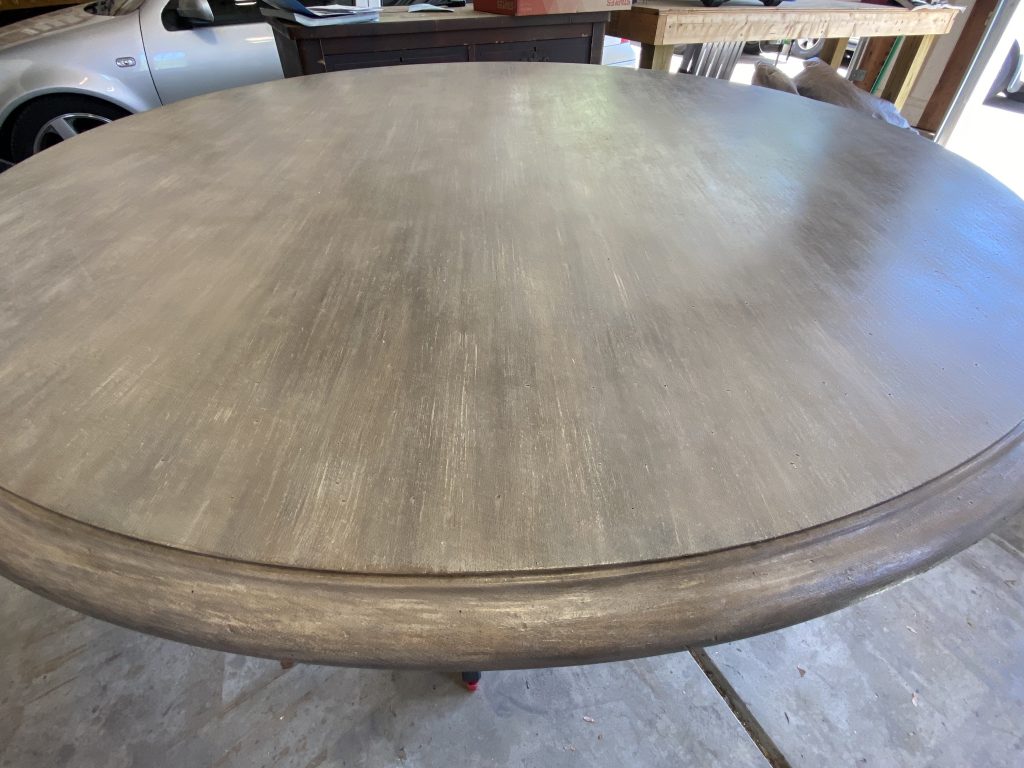
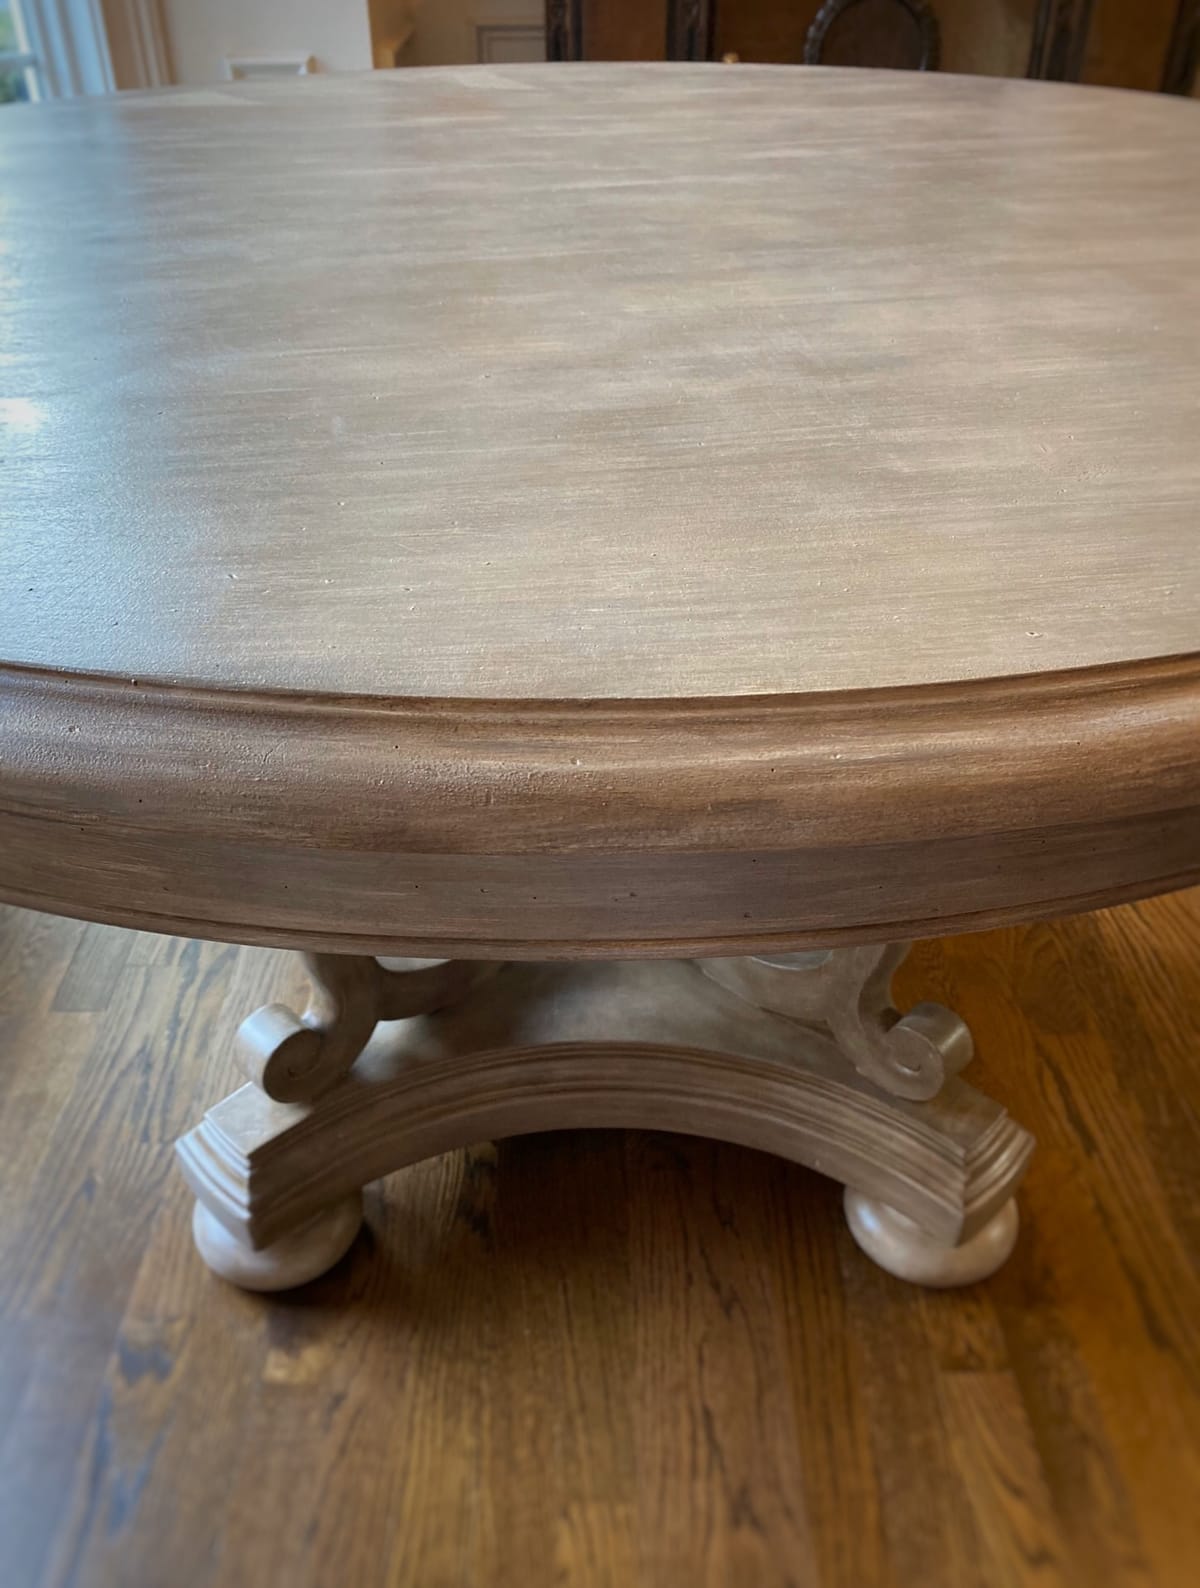
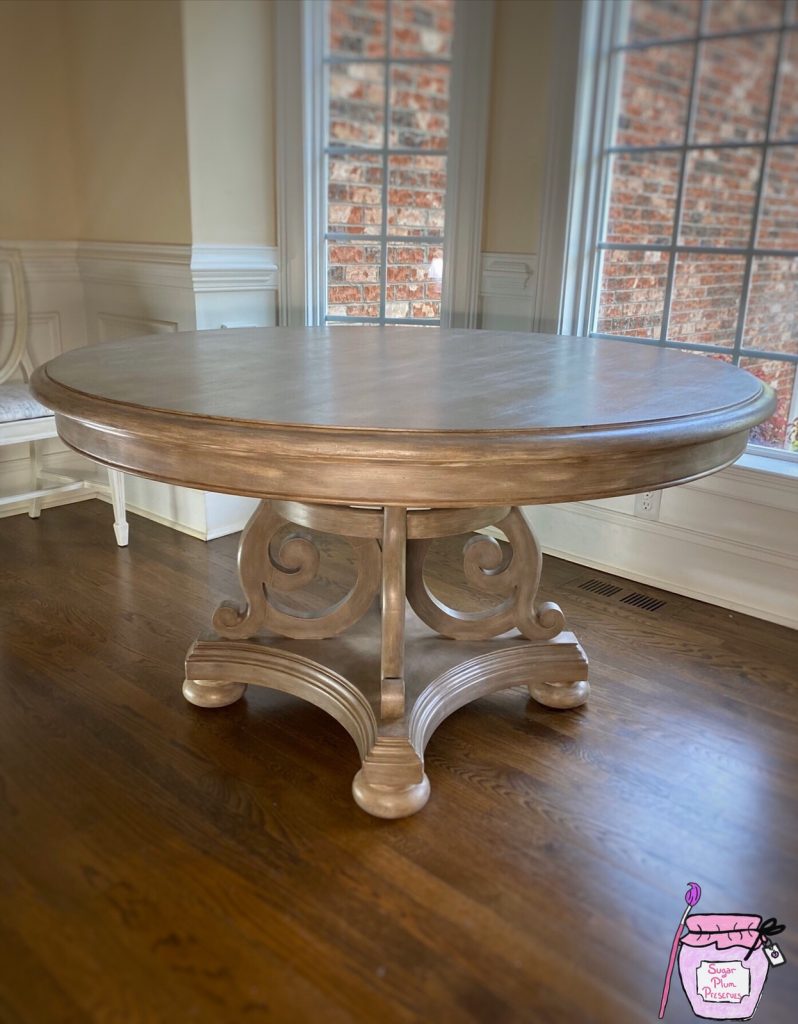
I was satisfied with this finish, as it had depth, texture, and looked weathered. I will say, it took several layers of dry brushing and wax to give the illusion of weathered wood and to camouflage the compass inlay. Again, if I were to do it again, I think I would do a layer of filler first and then use paint to create the weathered look. Overall, I think I pulled off the Restoration Hardware look and the owner was thrilled with the piece. I call that a win! 💁🏻♀️
Thank you so much for joining me for Sugar Plum Sundae! Please check back every Sunday for more yummy recipes to transform reclaimed “junk” into sweet little treats for the home! 🤗
For more delicious treats, follow Sugar Plum Preserves:
Facebook: https://www.facebook.com/SugarPlumPreserves/
Pinterest: https://www.pinterest.com/sugarplumpreserves/
Instagram: https://www.instagram.com/sugarplumpreserves/
YouTube: https://youtu.be/tQplTZMCjq0
XOXO
Michele
Materials List (may not be all inclusive):
Detail Sander https://amzn.to/2Yf42cT
Orbital Sander https://amzn.to/3mOzGsi
Coffee Bean by Dixie Belle https://amzn.to/2WLGtbb
White Wax https://amzn.to/2APzW6V
Minwax Water Based Polycrylic, Matte https://amzn.to/36h3kys
Zibra Paint Brushes https://bit.ly/3oI0V9z
*Affiliate disclosure: As an Amazon Associate I may earn a small commission from qualifying purchases from Amazon.com.