Sweet Little Mirror Project
This week's feature shows that a small change can make a big impact.
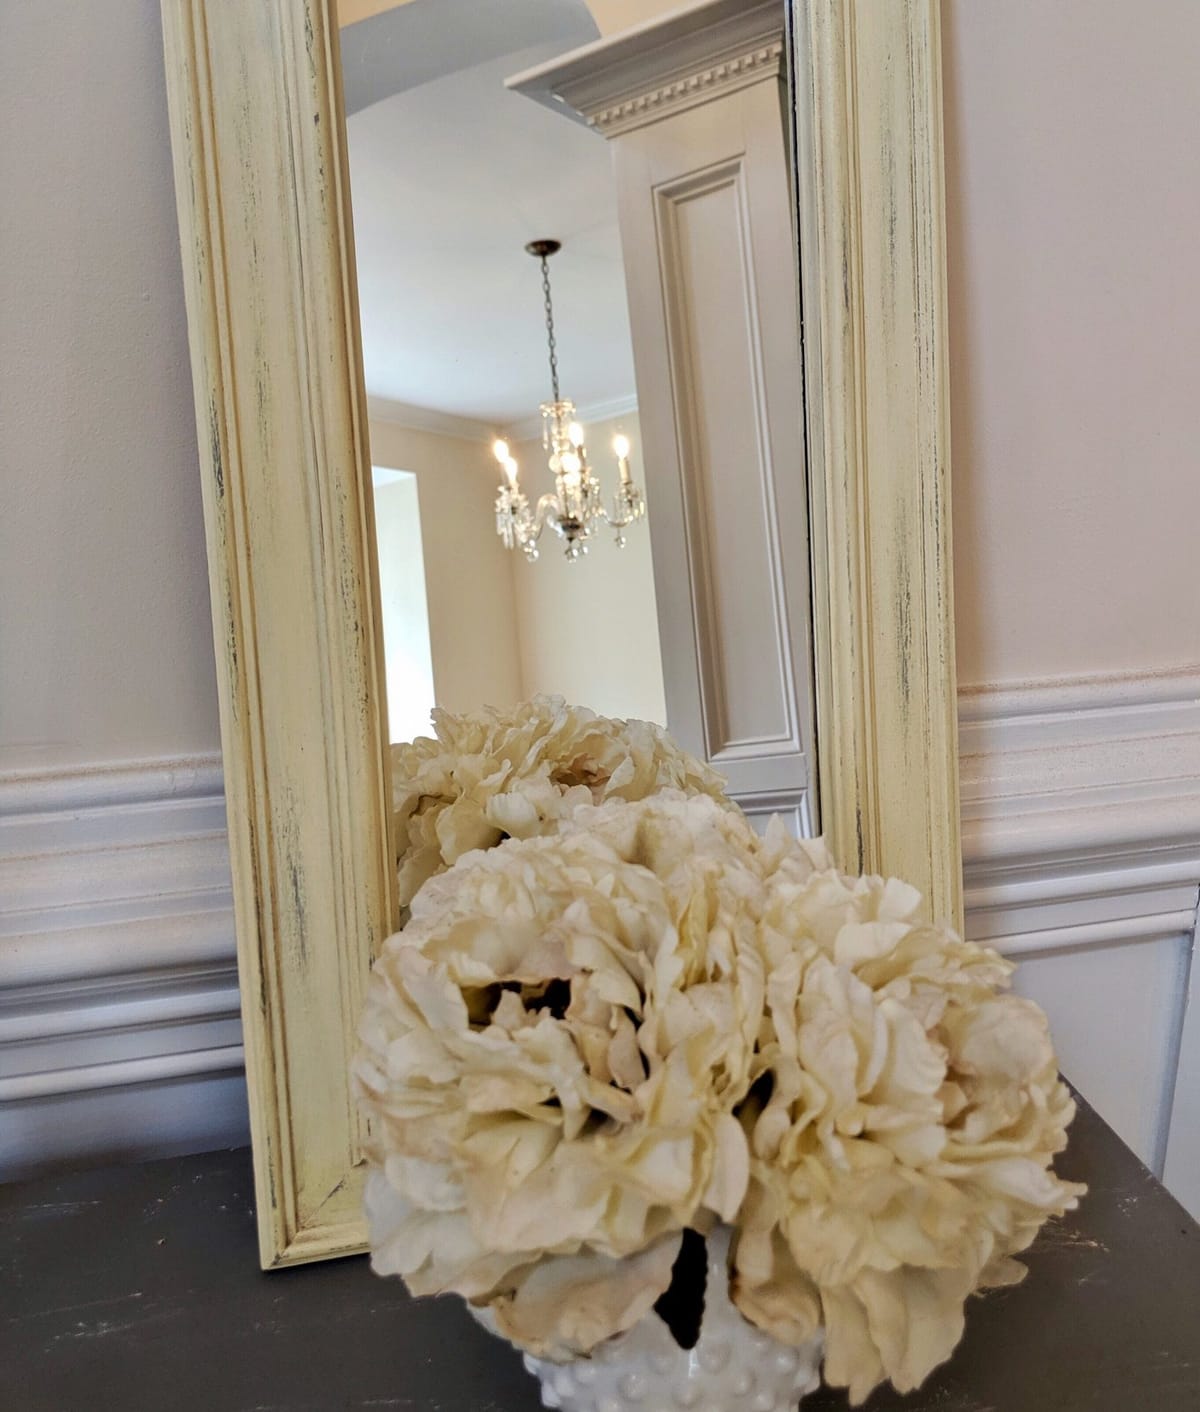
~ A Sweet Little Treat for the Home ~
Hello my Sweets!
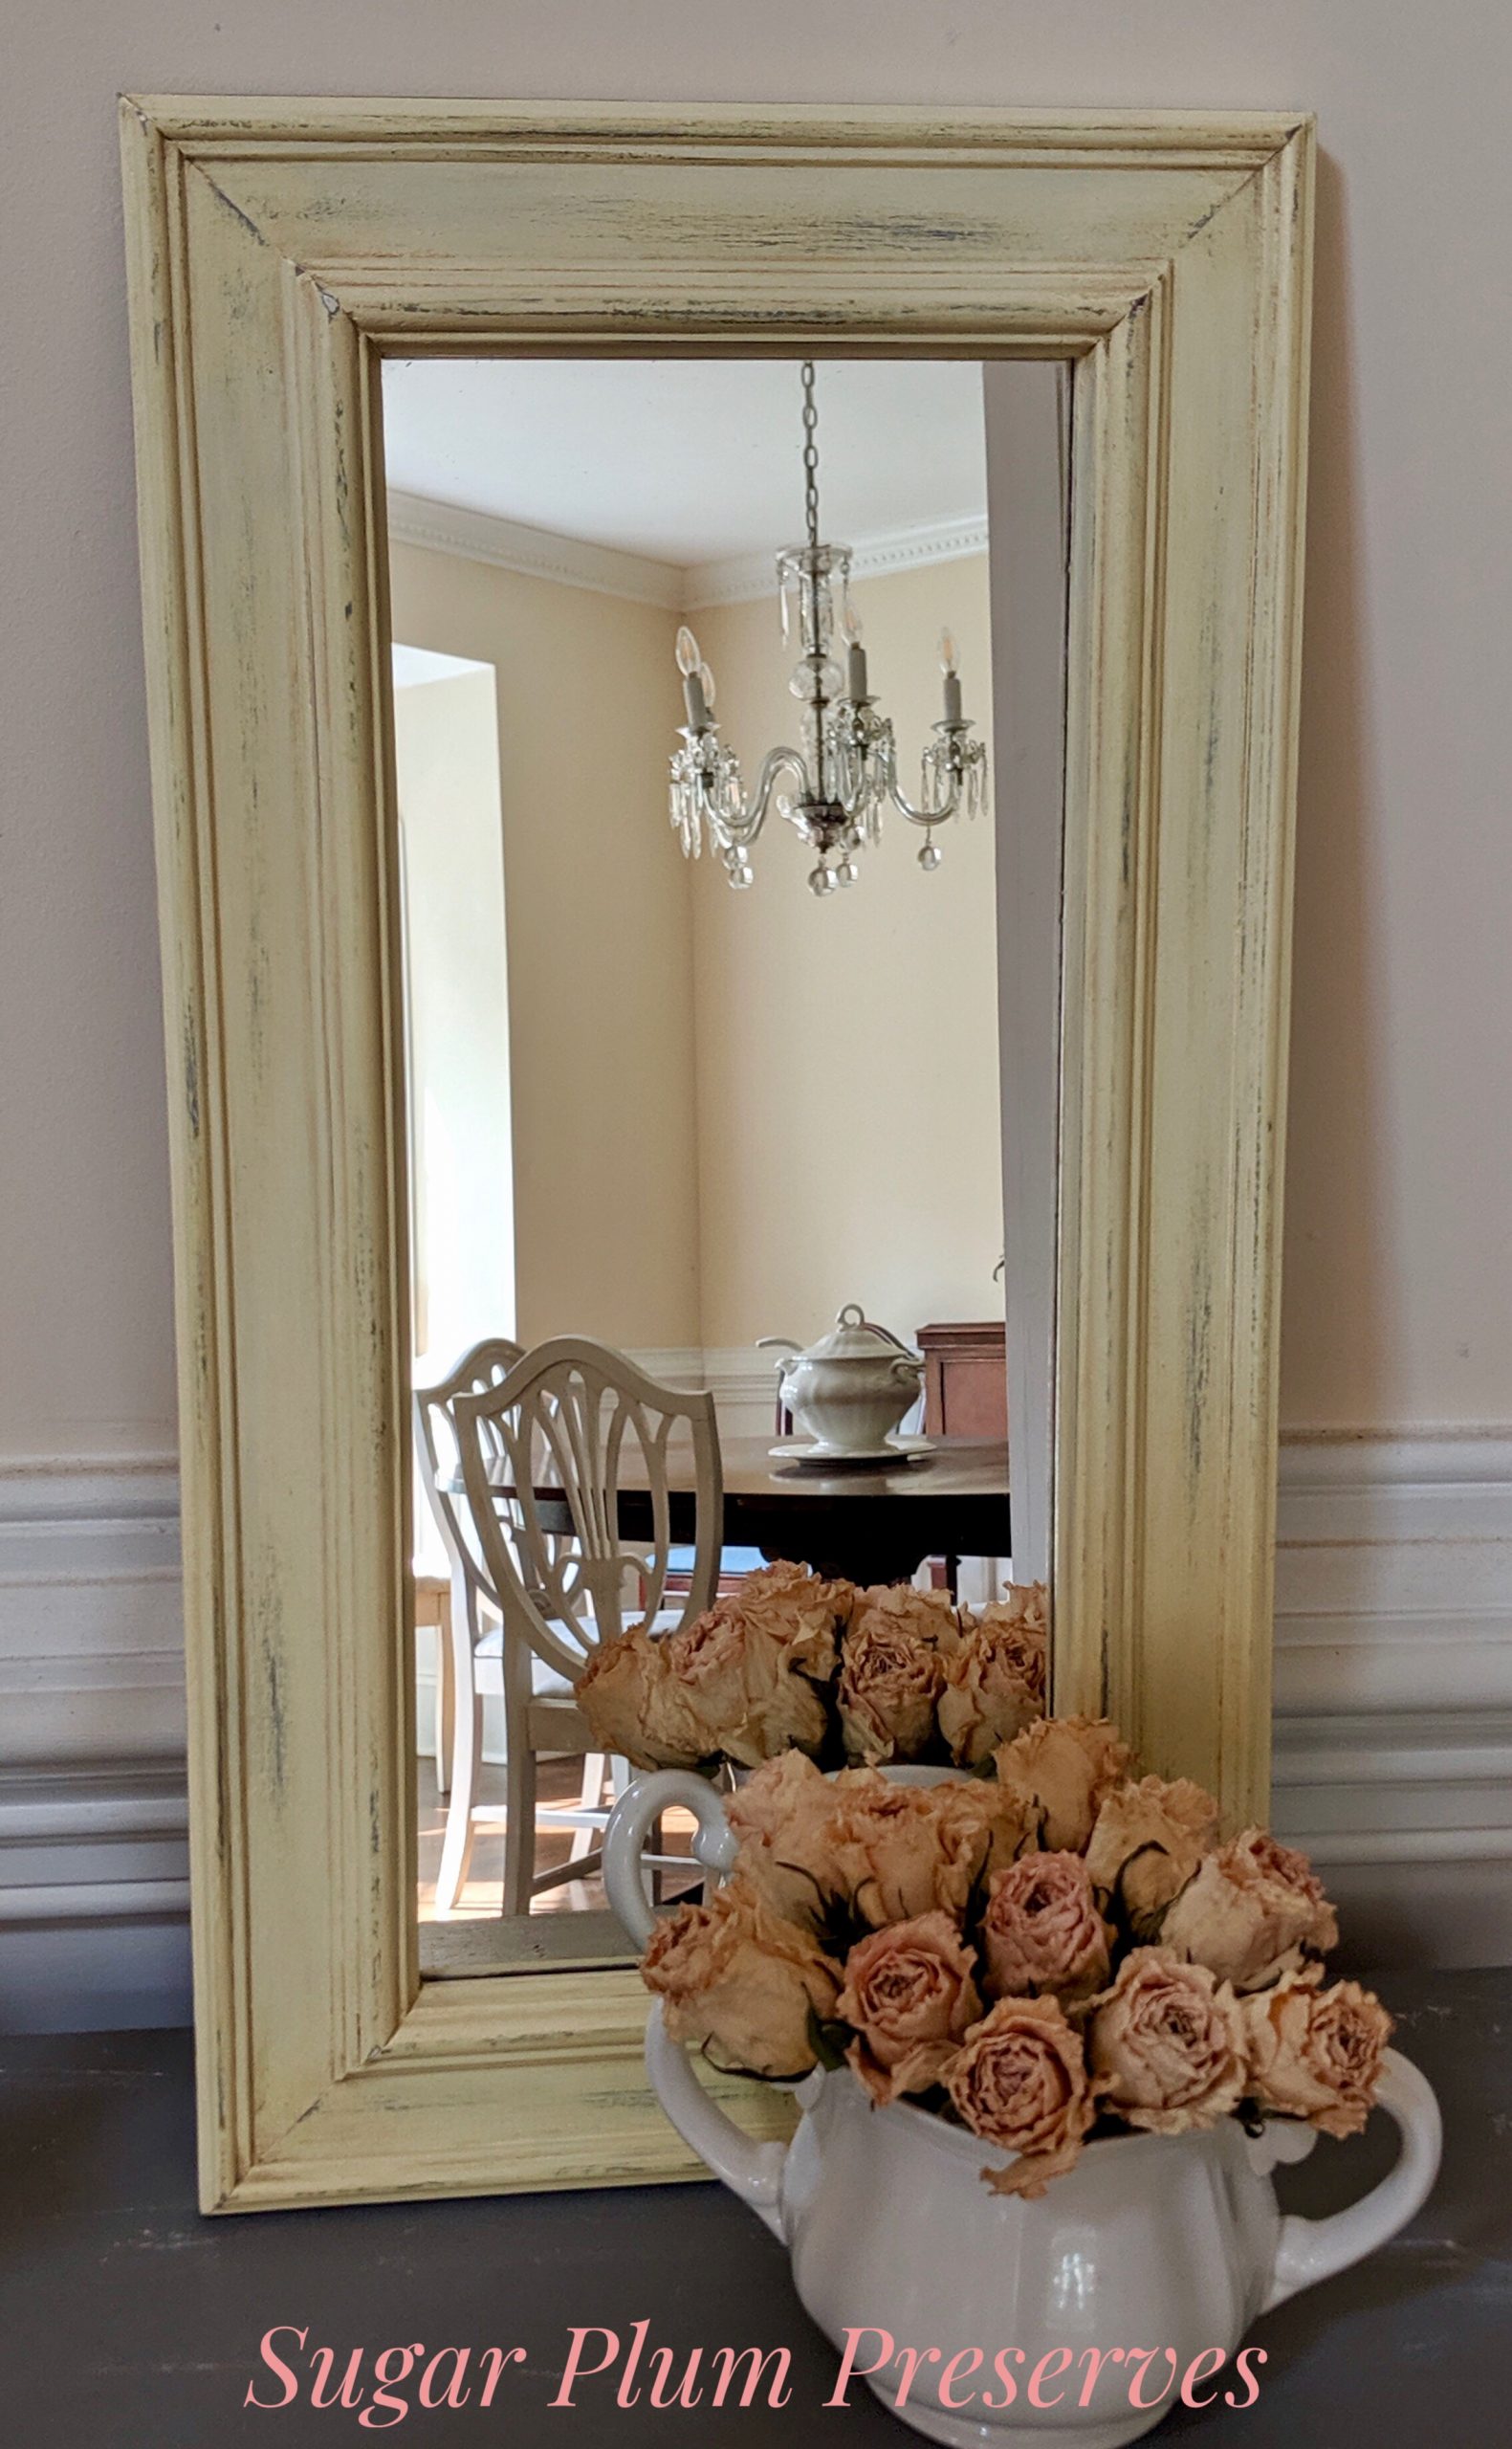
This piece was the very first commissioned piece that I did last year. The little mirror was fine as is, but it was going to be hung in a lovely massage studio, so “fine” just wouldn’t do! Read on to find out how I turned this simple, nondescript mirror into a pretty wall hanging, in a few easy steps.
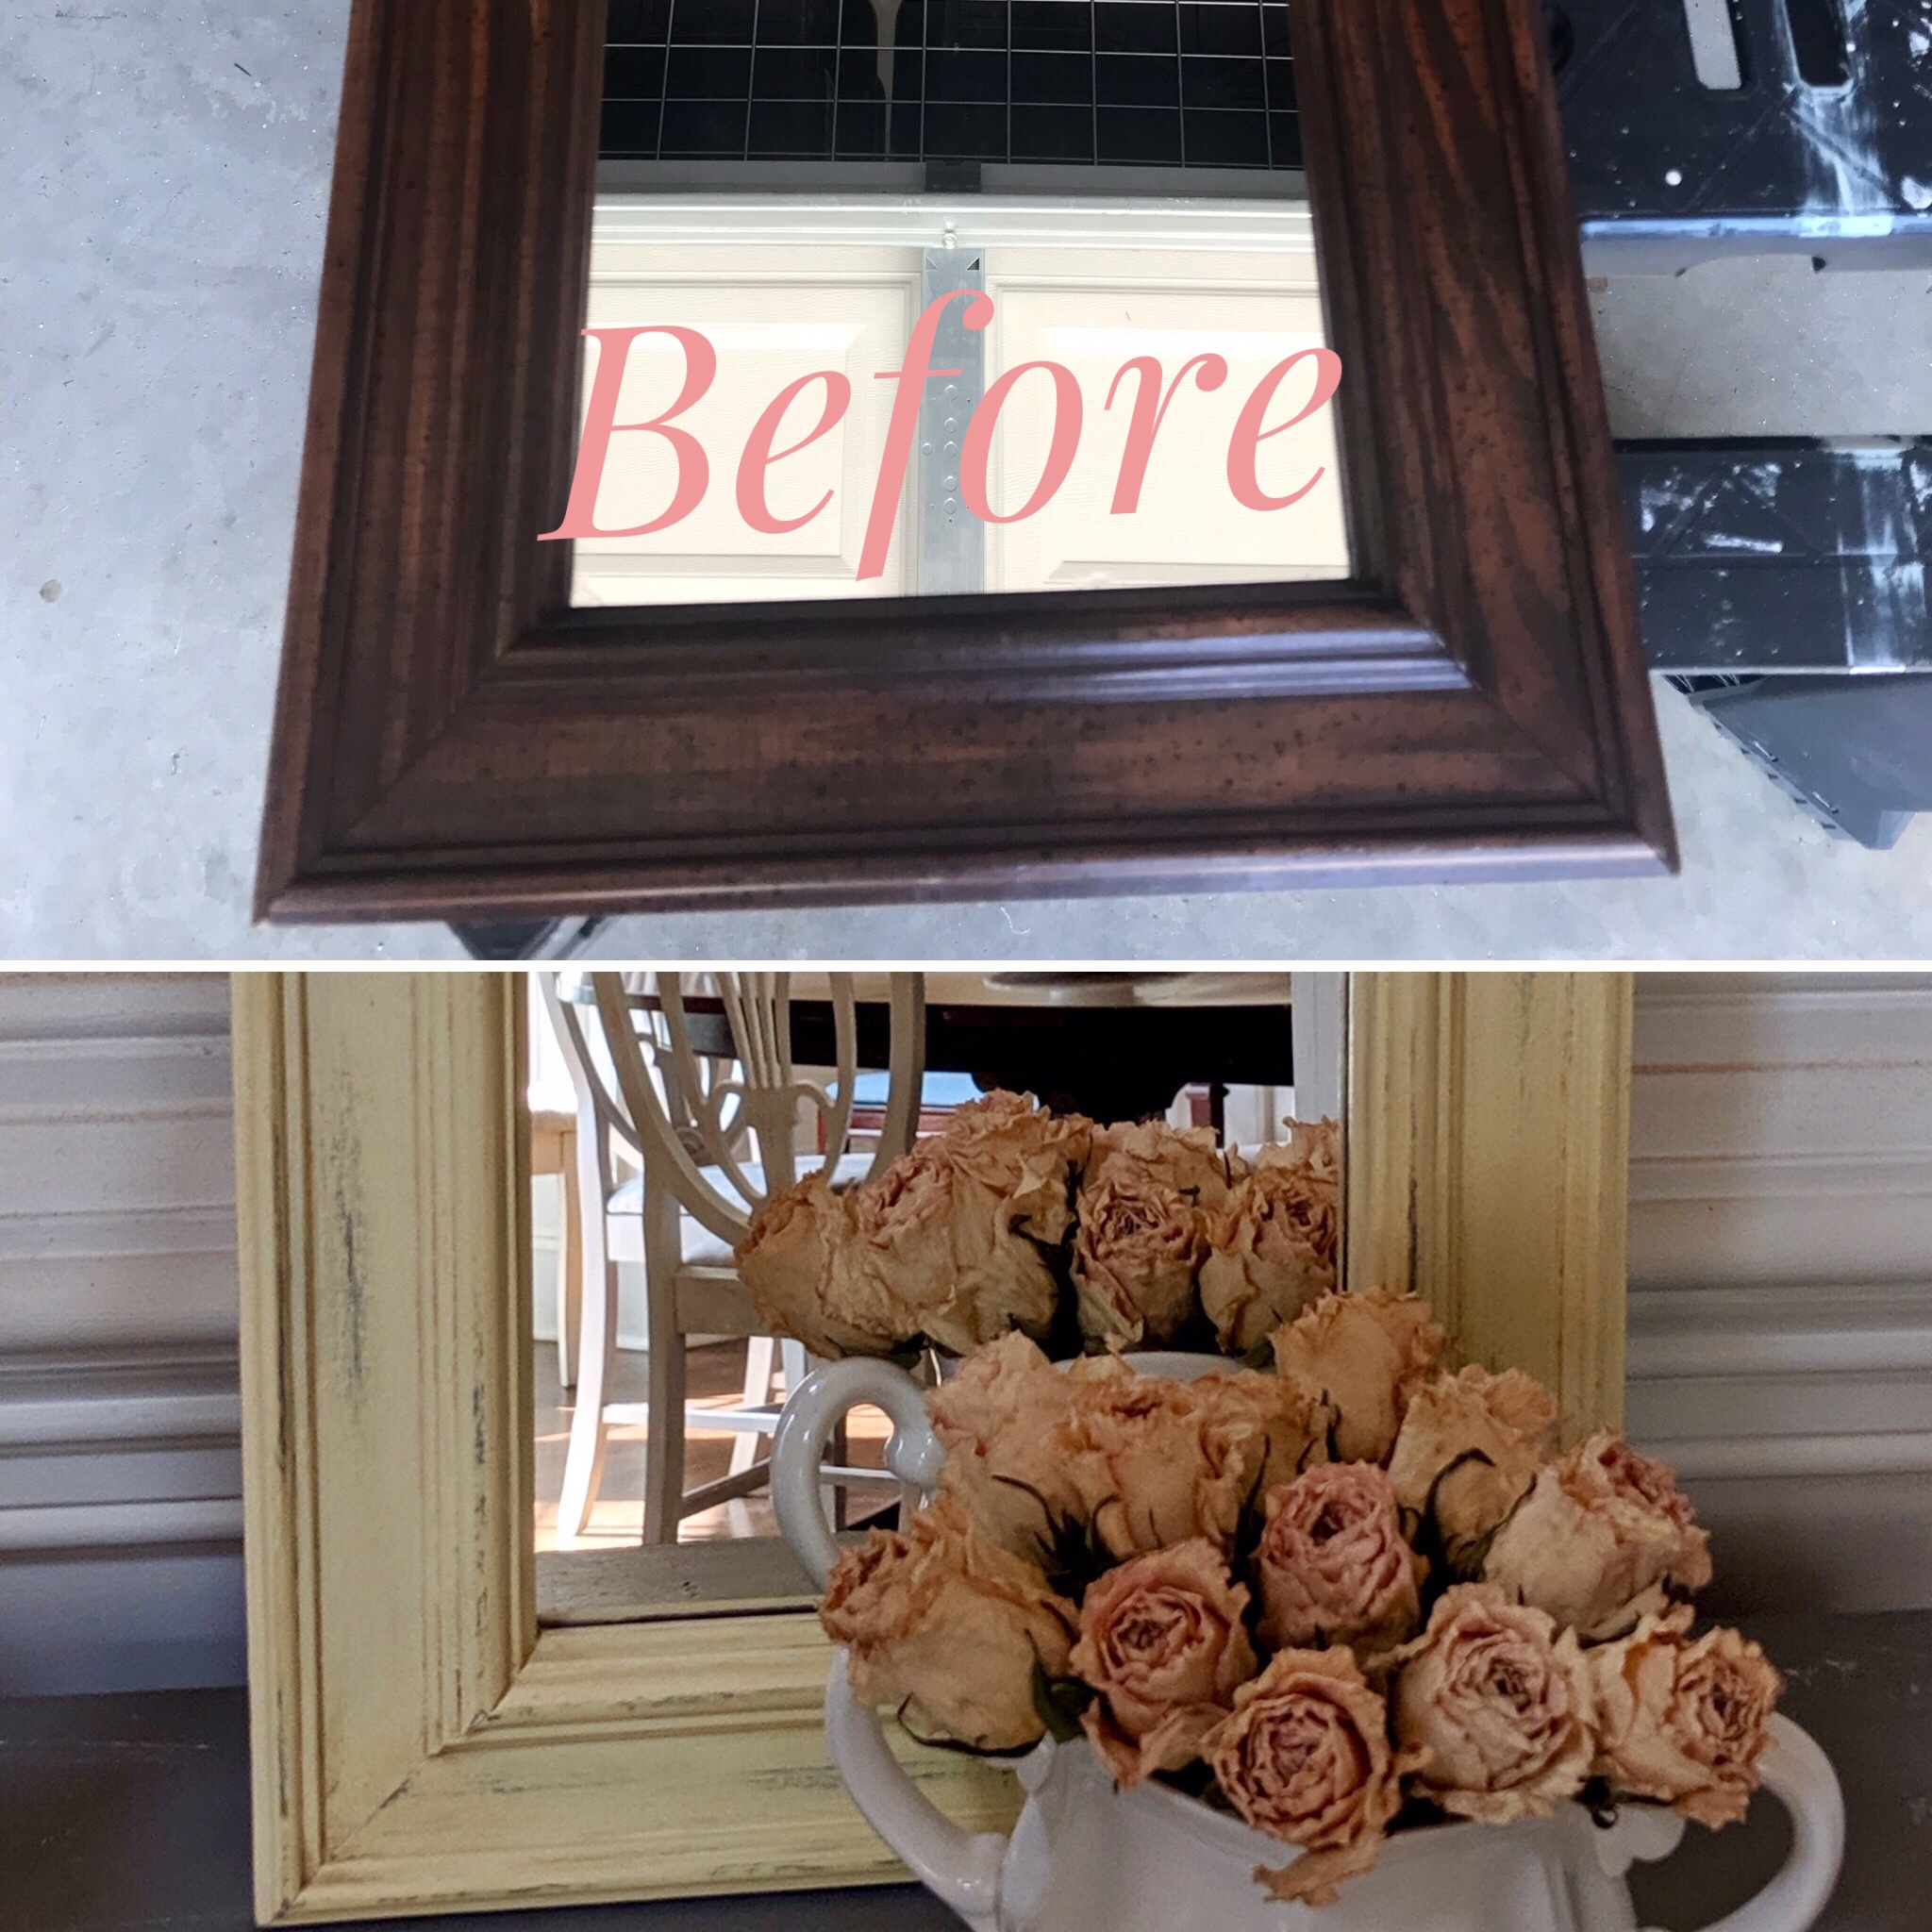
I decided to feature a very simple project this week, in the hopes of inspiring some “I could totally do that!”. 🤩 I like the fact that this mirror is something that anyone could find, for little money, in a big box store and transform it into something really pretty.
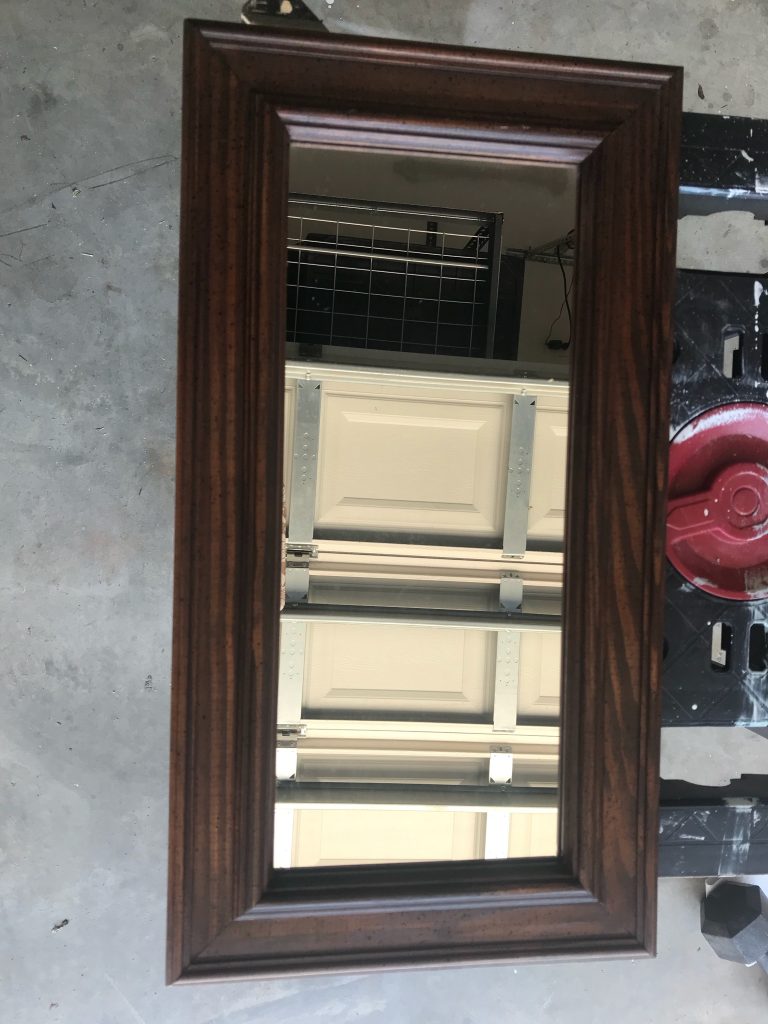
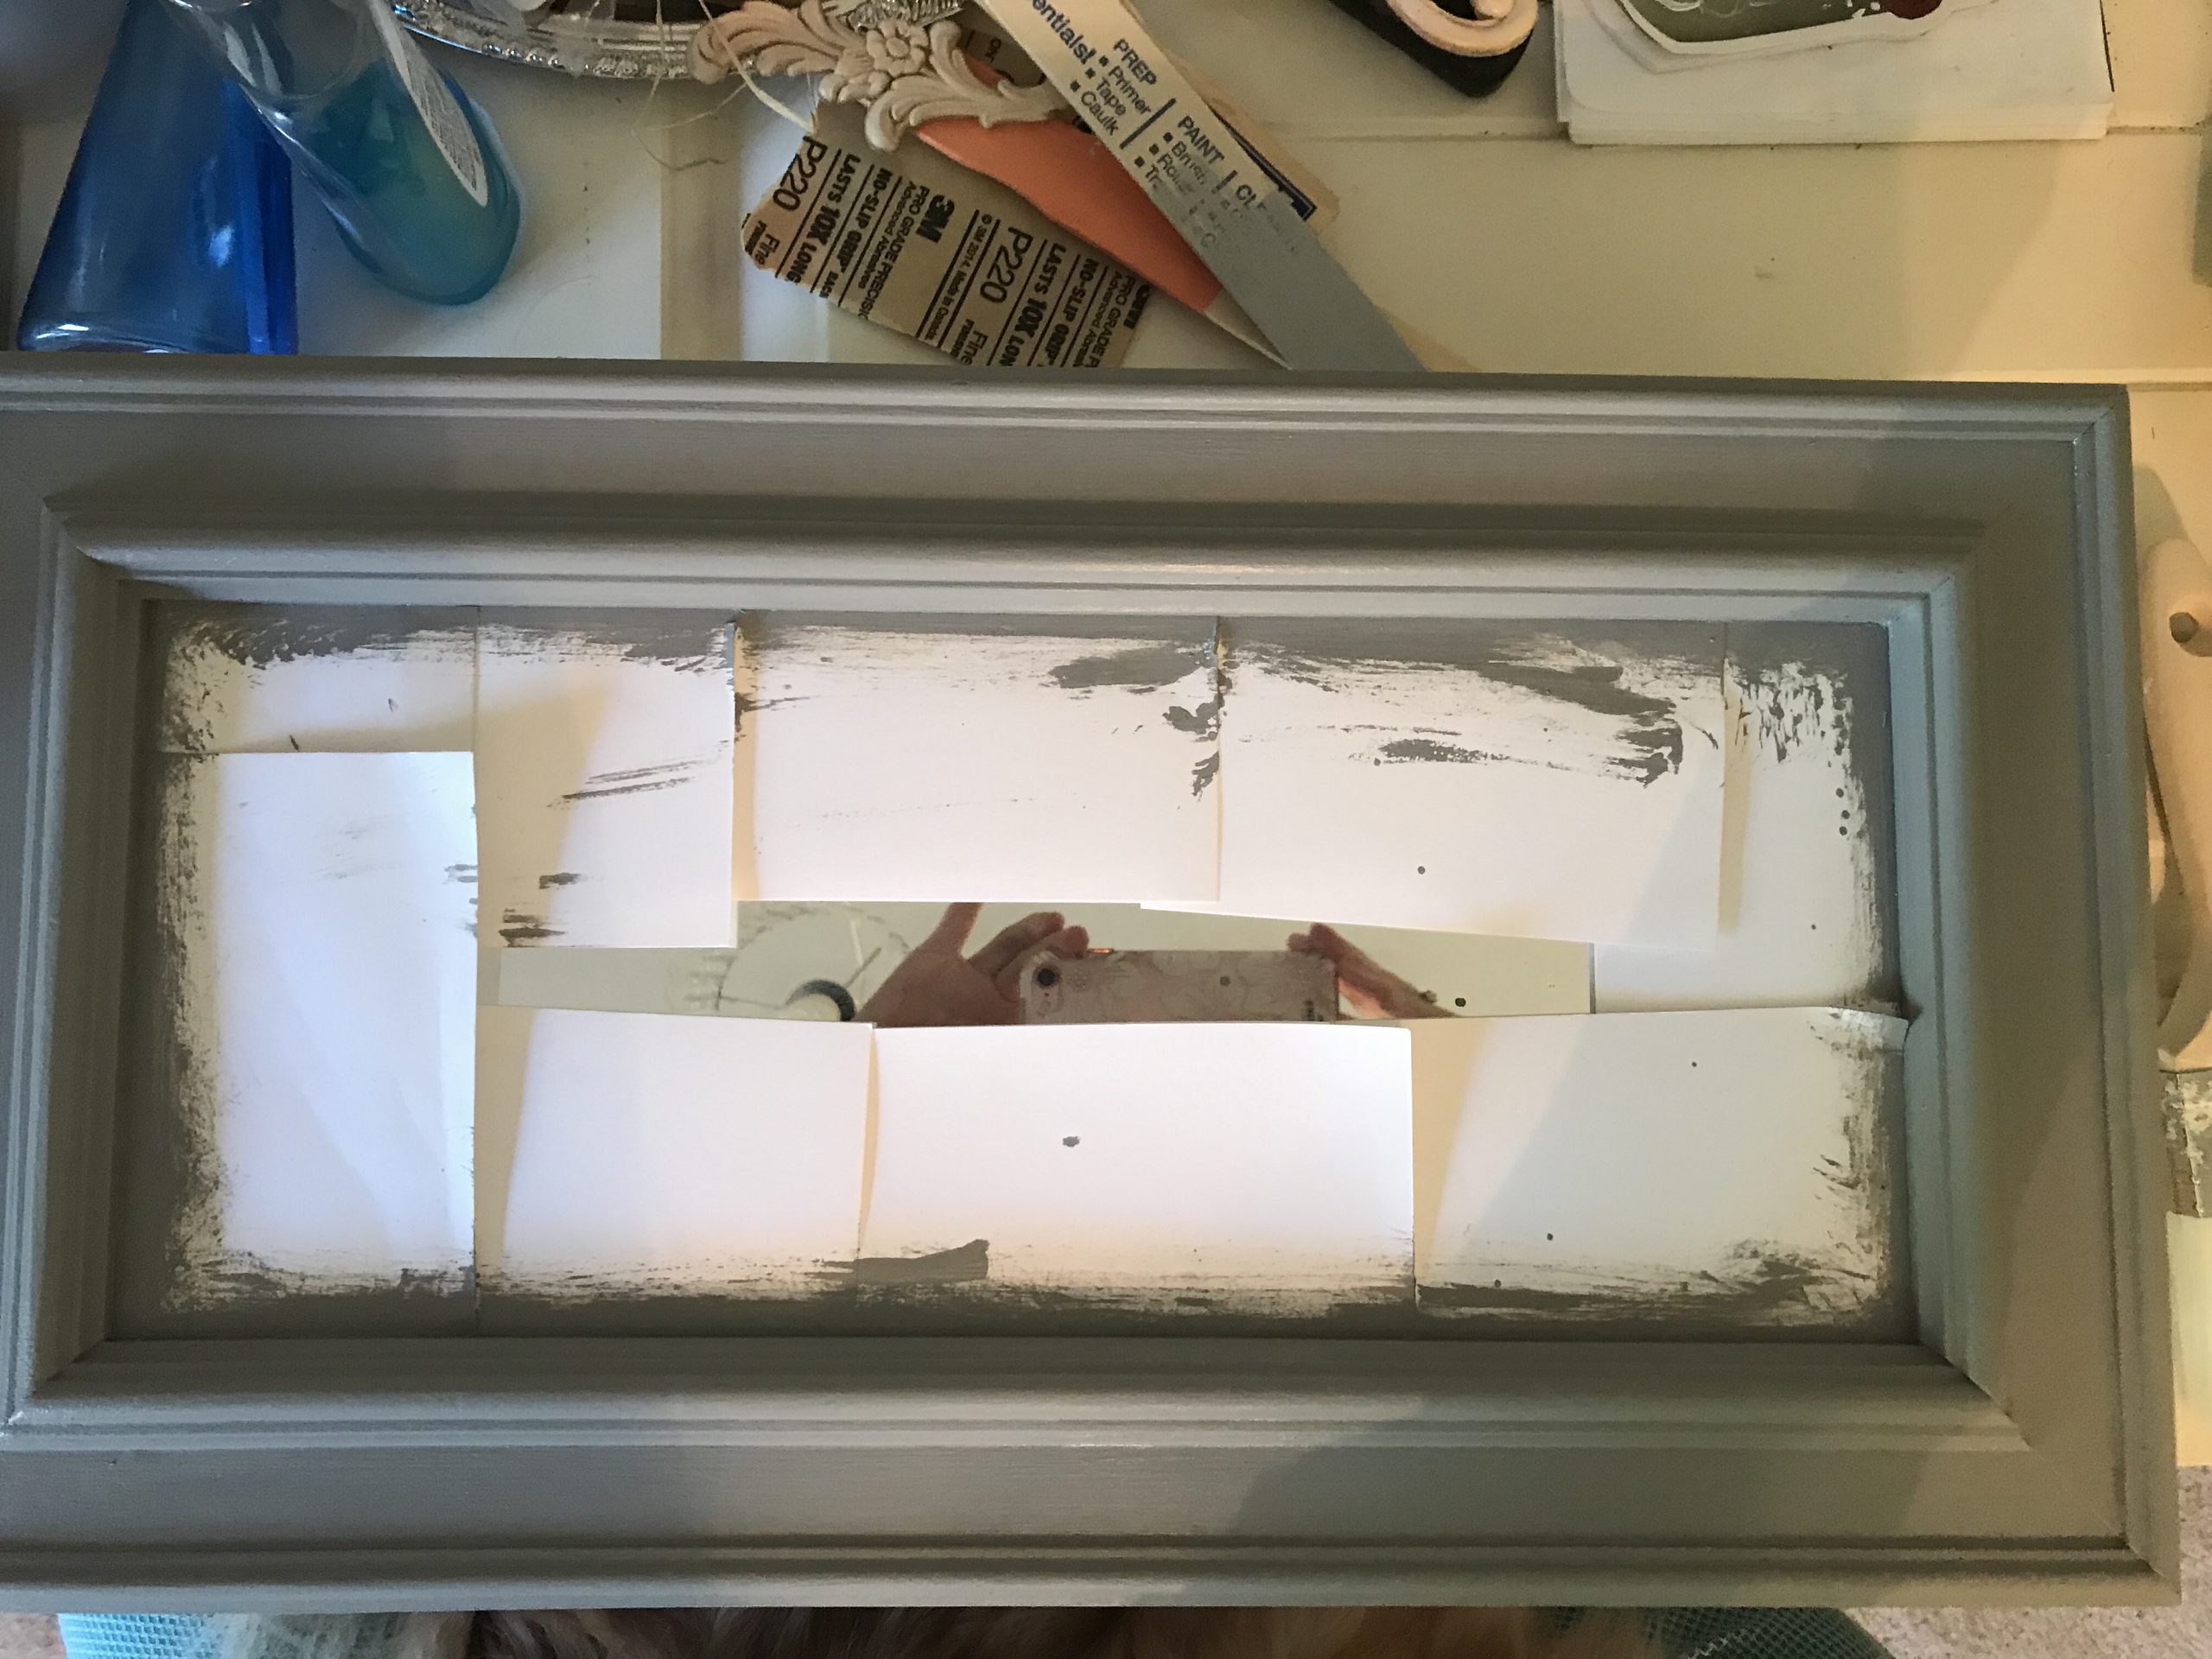
When I started cleaning it, I actually wasn’t even sure if it was wood or pressed wood, but it had a slick coating on it that I knew would cause paint adhesion problems. To prevent that, I scuff sanded lightly around the whole piece with 220 grit sandpaper to give it some “teeth” for the paint to stick to. Since the mirror is fairly small, I used a little trick to make sure that I got paint all around the edges of the mirror. Sometimes, if you use tape to trim, you can’t quite get the paint under the edges without getting paint on the mirror, so you will still see the brown frame reflecting in the mirror. My trick is………..index cards! Because they are fairly thin, but stiff, they are able to be wedged between the frame and the mirror. This allows for painting under the frame, without getting paint on the mirror. When you are done painting, just pull out the cards. Voila!
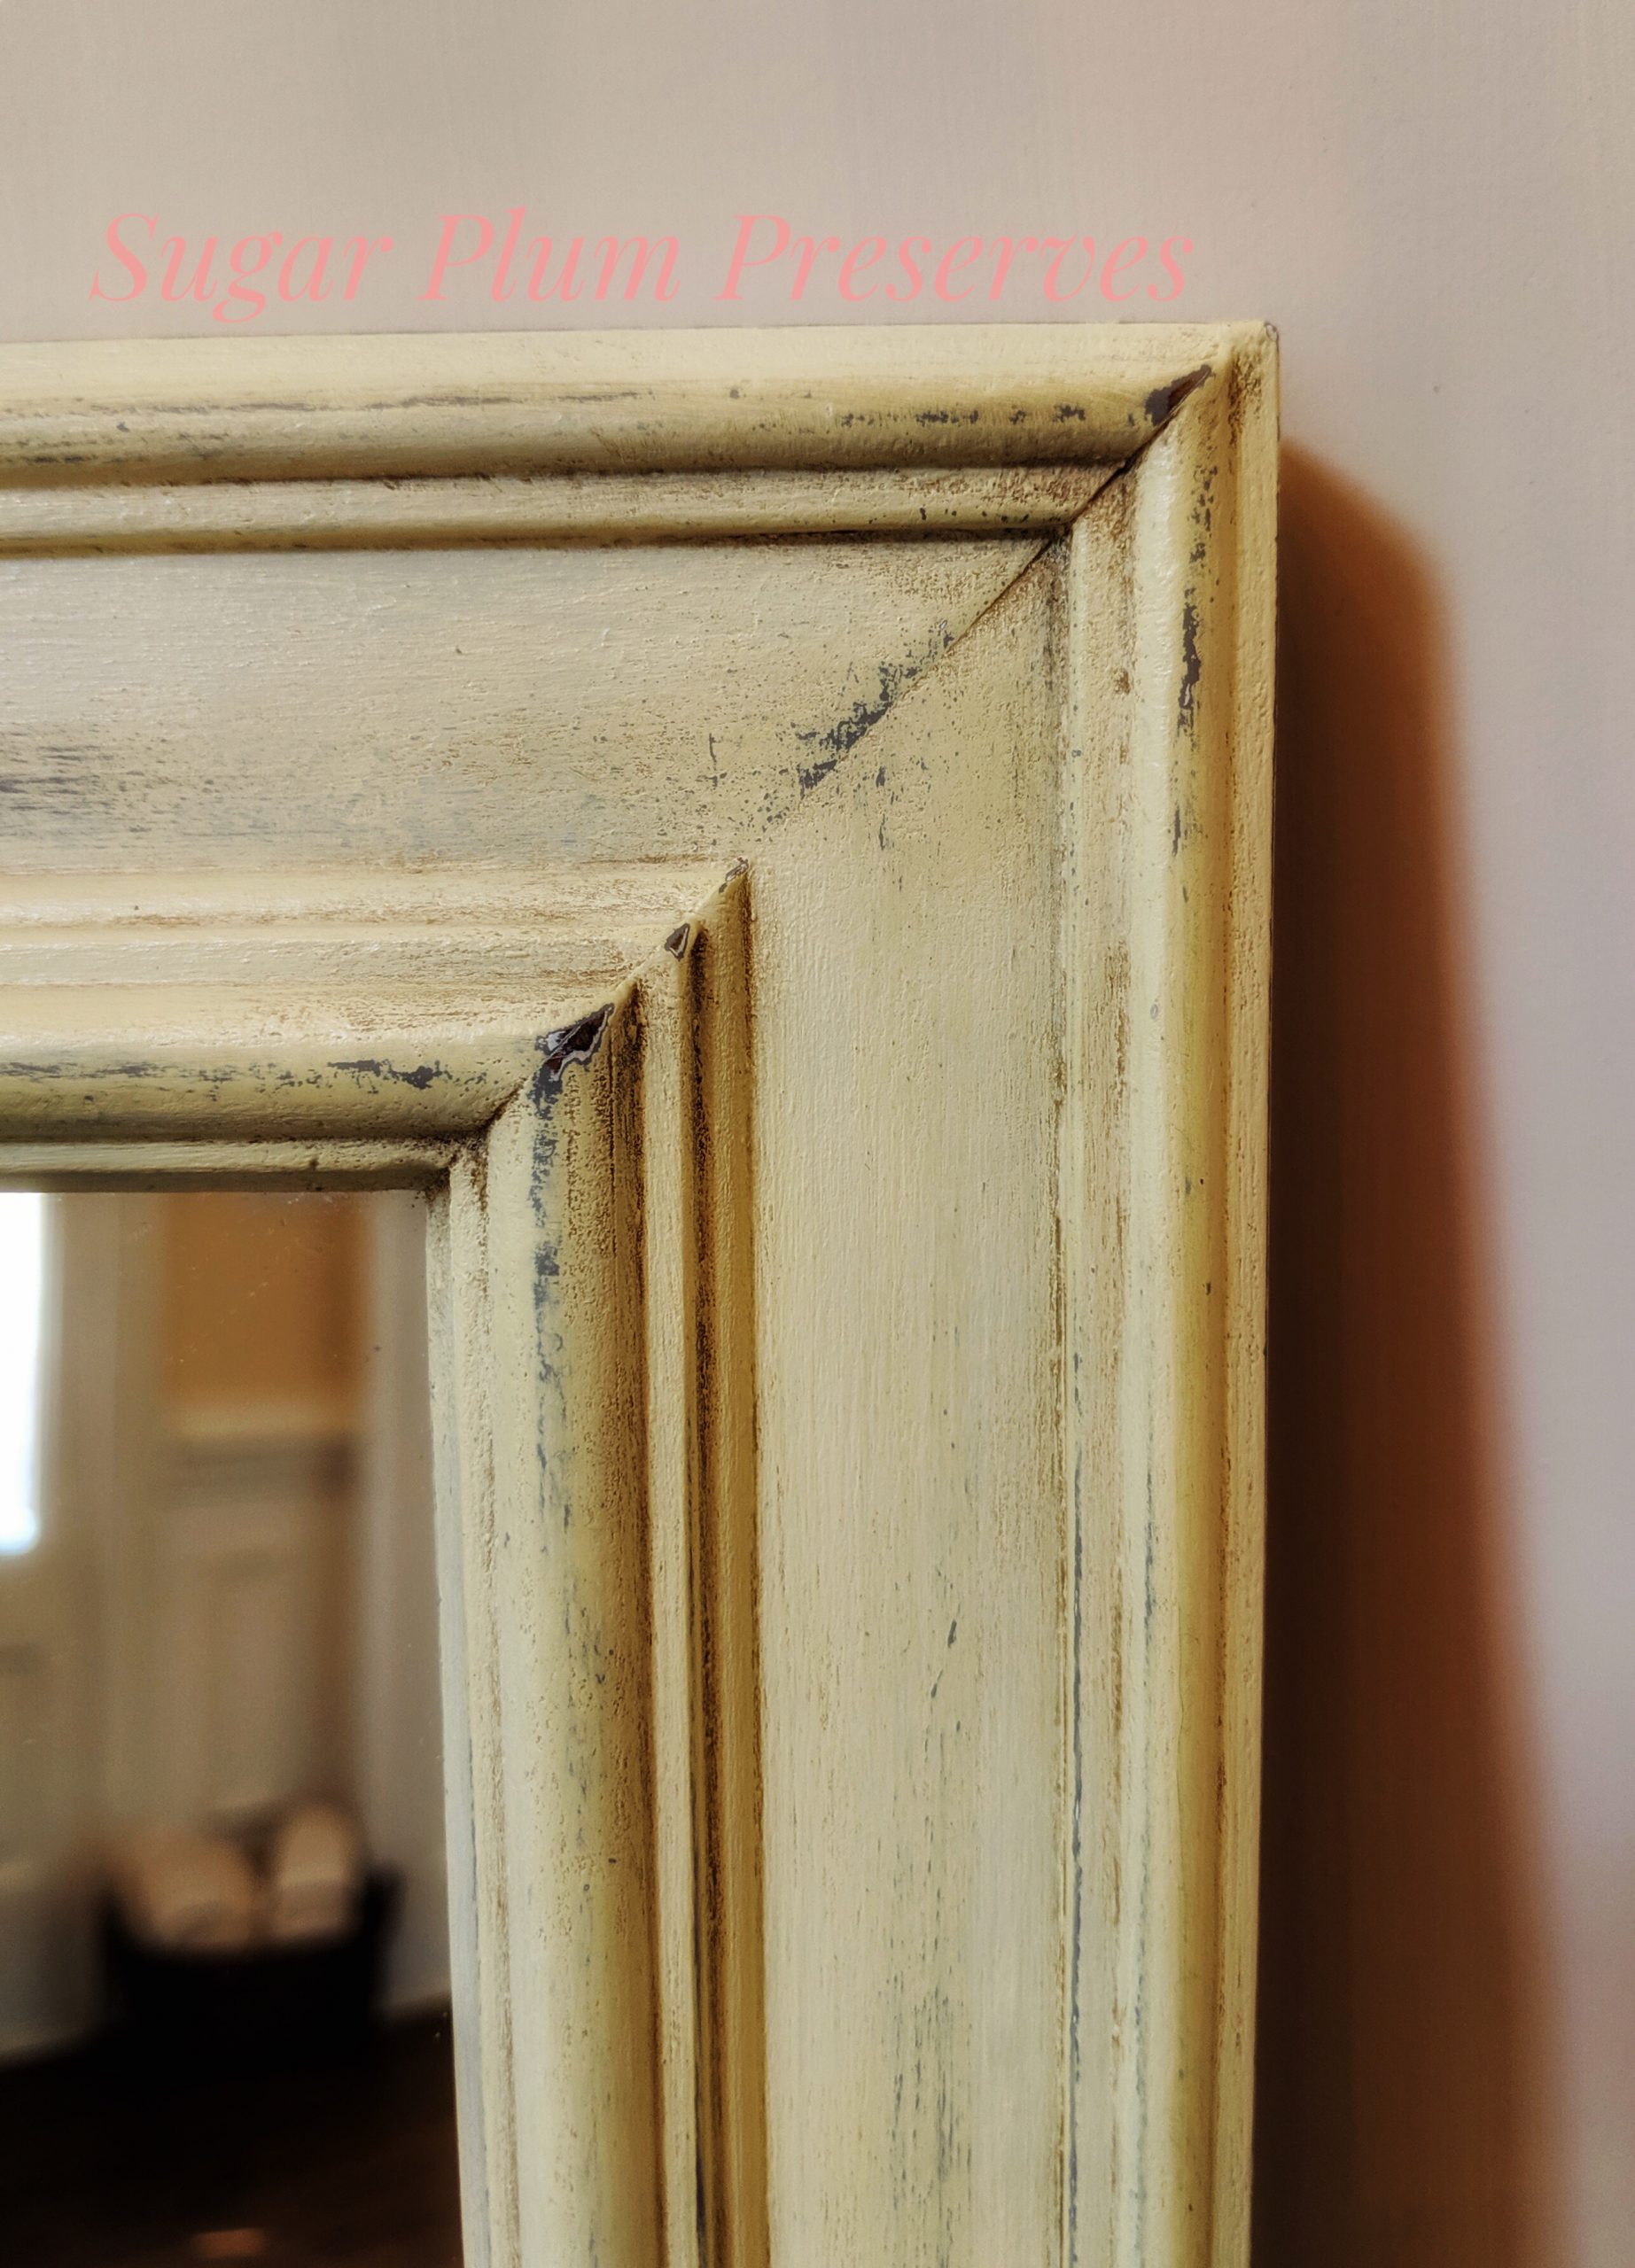
I planned to do a layering technique, and then distress, so that the original color would pop through. You can do this with any two colors that you like and get the same effect. For this piece, I chose to use Classic French Gray by Sherwin Williams as my base layer. I applied it with my handy Z!bra triangle trim brush. The triangle shape of this brush got into the corners and the raised trim detail beautifully!
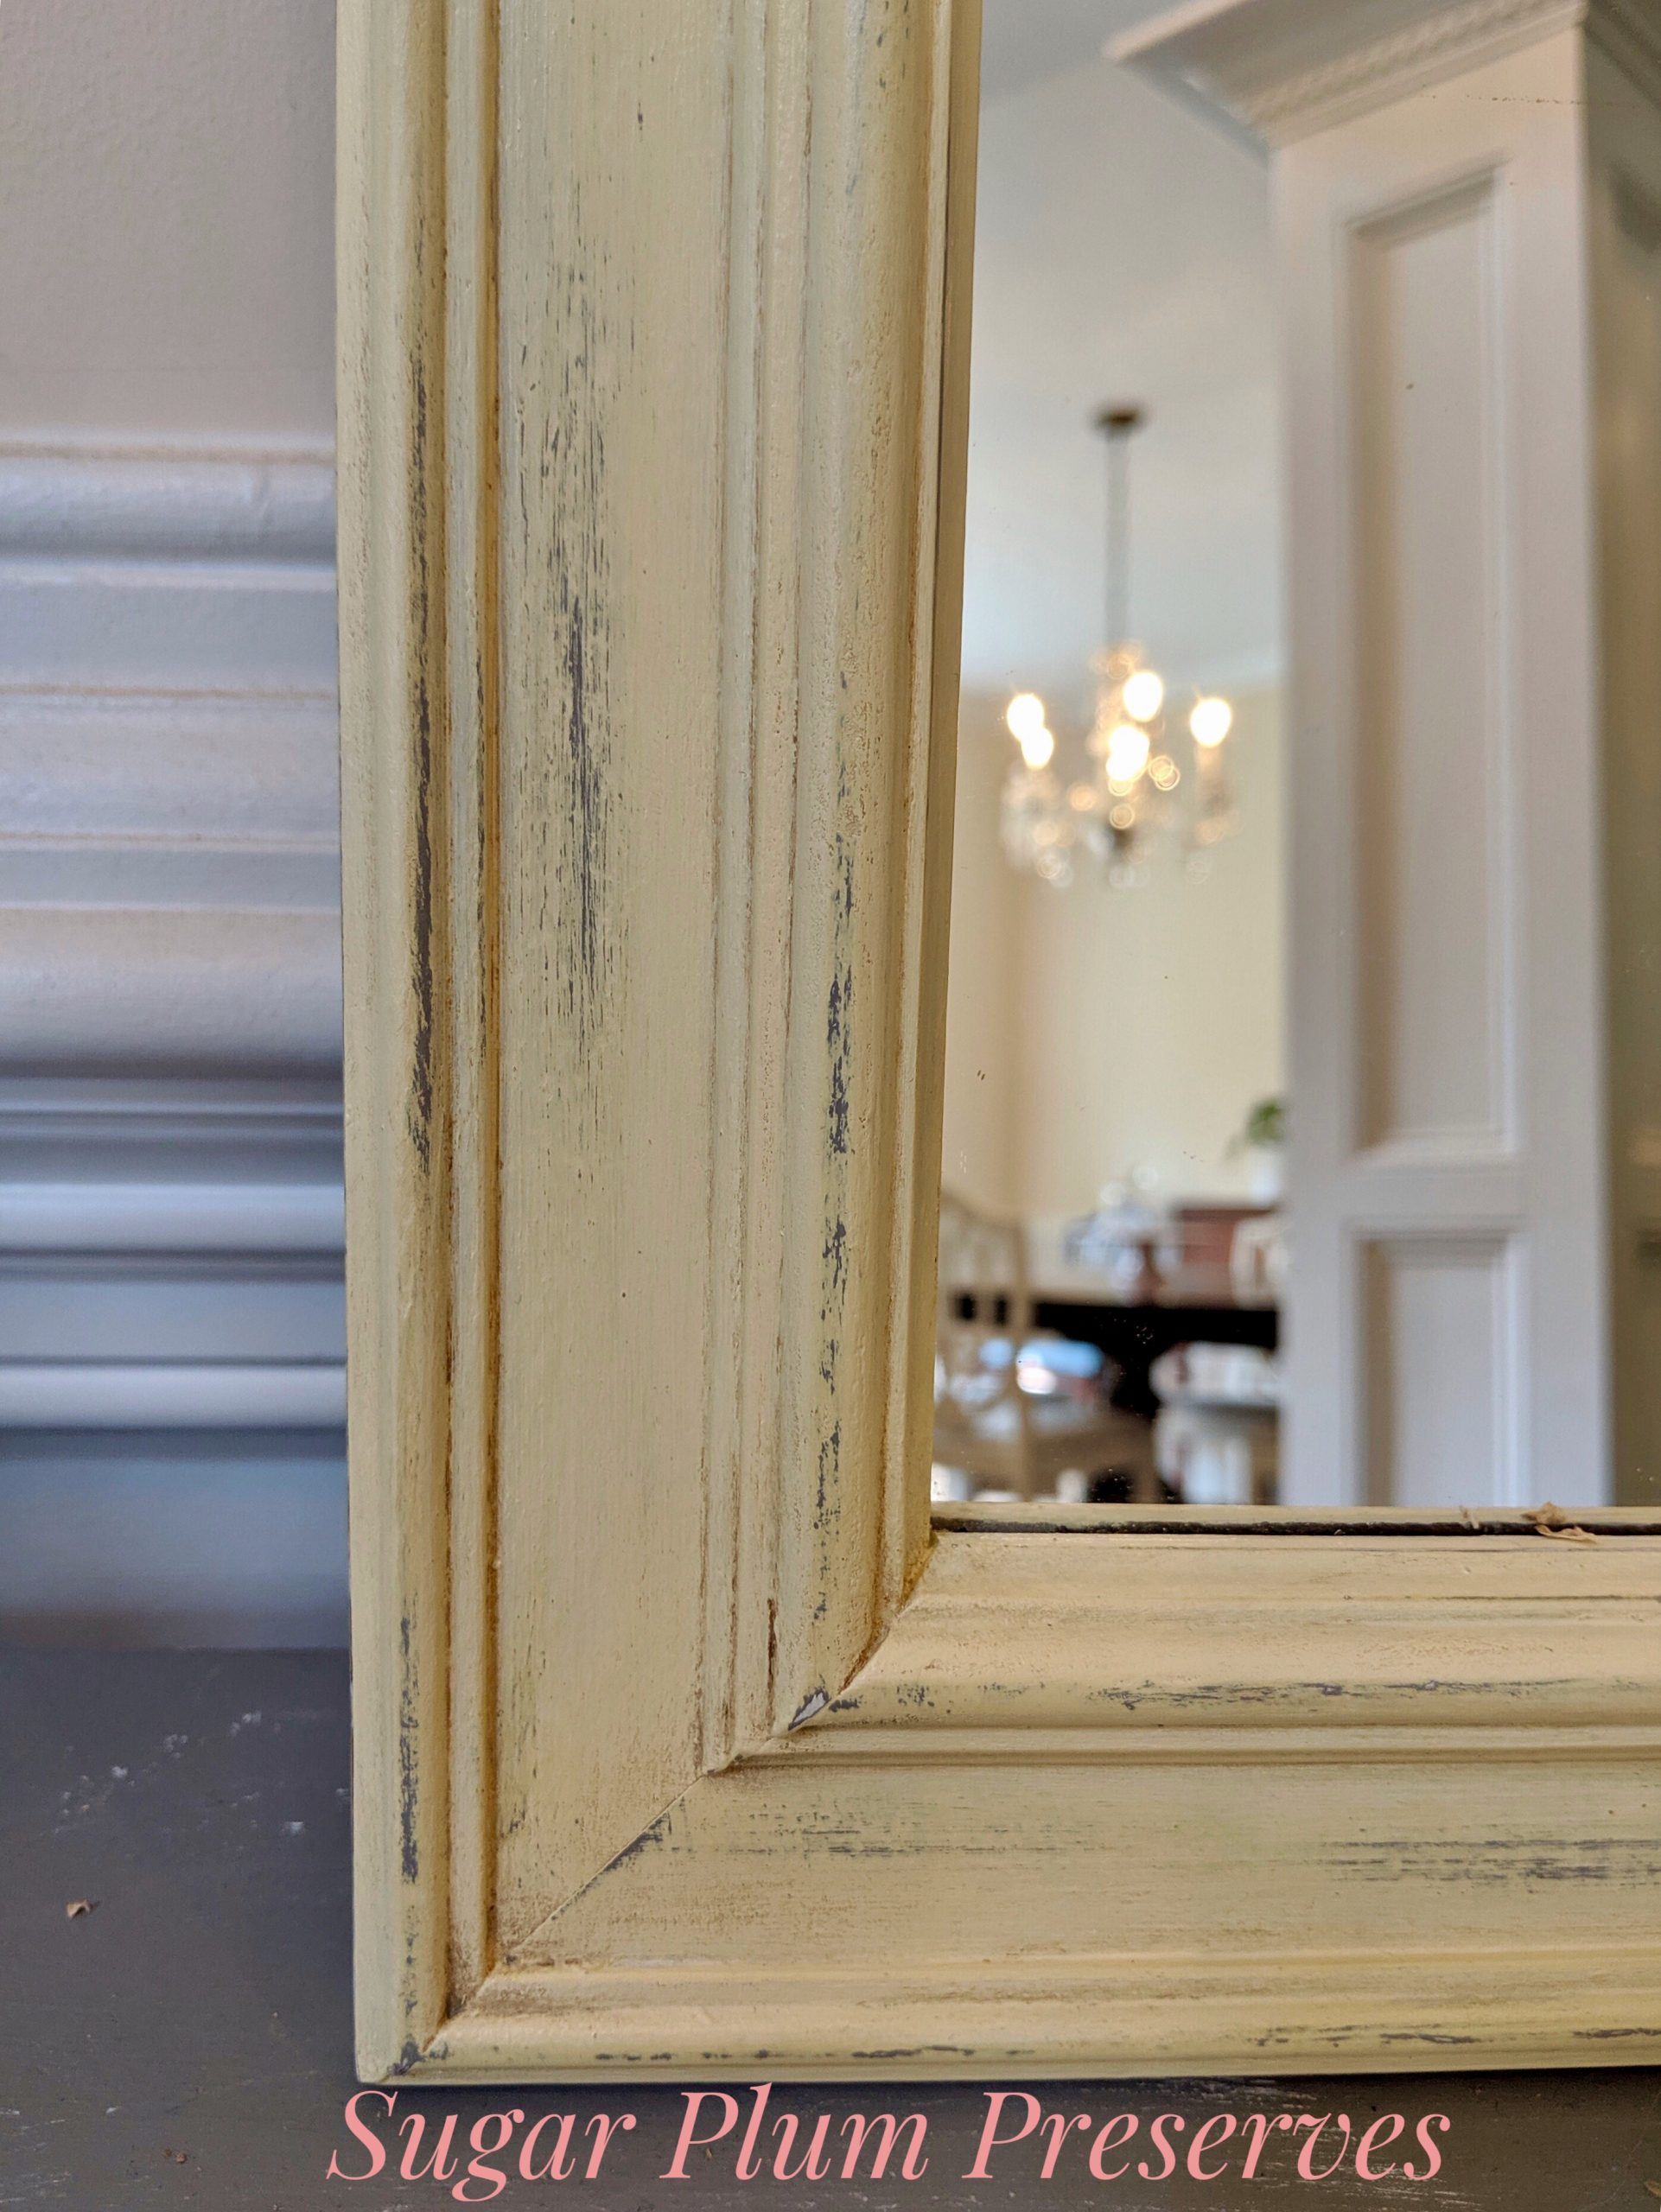
For the next layer of paint, I chose a creamy light yellow called, Pretty Pretty Picture (Indeed!) by Sherwin Williams. I painted right over the gray on the entire piece. When the yellow layer was dry, I took a piece of 220 grit sandpaper and went over areas of natural wear, such as the corners and raised details. I sanded lightly in some areas to expose the gray, and I sanded a little more vigorously in other areas to expose the wood beneath. Doing this gives a more naturally distressed look, adds beautiful texture, and also adds visual interest to the piece. When I was done with this (I apparently failed to get a picture of this stage. Ooopsie!), I took a step back and still felt like it was missing something. It still looked too “new”, too “bright”. Not to worry, I had a trick up my sleeve! I first sealed the whole piece in clear wax and buffed it out. Next, I took out my dark wax. You may ask why I bothered to put the layer of clear wax on first, if I was going to dark wax also? This is so that the dark wax is easier to manipulate or remove if you accidentally put too much on and it’s too dark. Trust me on this tip. I have made the mistake of putting on more dark wax than I intended and it’s hard to go backwards. If you do make this mistake, you can use clear wax to “erase” some of the dark wax. I applied the dark wax in the corners and in the details to create a little bit of a grungy, antiqued, worn look. That did it. That was what was missing! Much more interesting now!
This look is easy to create and gives a comfortable “lived in” look to any space. Give it a try, you could totally do this! 🙌🏻
Thank you so much for joining me for Sugar Plum Sundae! Please check back every Sunday for more yummy recipes to transform reclaimed “junk” into sweet little treats for the home! 🤗
For more delicious treats, follow Sugar Plum Preserves:
Facebook: https://www.facebook.com/SugarPlumPreserves/
Pinterest: https://www.pinterest.com/pinterest/sugarplumpreserves
Instagram: https://www.instagram.com/sugarplumpreserves/
YouTube: https://youtu.be/tQplTZMCjq0
XOXO
Michele
Materials List (may not be all inclusive):
Paint Brush, Triangle 1 and 1/4 inch https://bit.ly/3oI0V9z
Classic French Gray, Sherwin Williams
Pretty Pretty Picture, Sherwin Williams
Clear Wax, Annie Sloan
Dark Wax, Annie Sloan
*Affiliate disclosure: As an Amazon Associate I may earn a small commission from qualifying purchases from Amazon.com.